We redesigned this Aberdeen bathroom to accommodate more than a new shower. The homeowners wanted their washing machine and tumble dryer brought into the room, alongside a comfortable washing area and space for everyday essentials. Making that work meant reconsidering the layout, the appliance housing and even the way the room door opened.
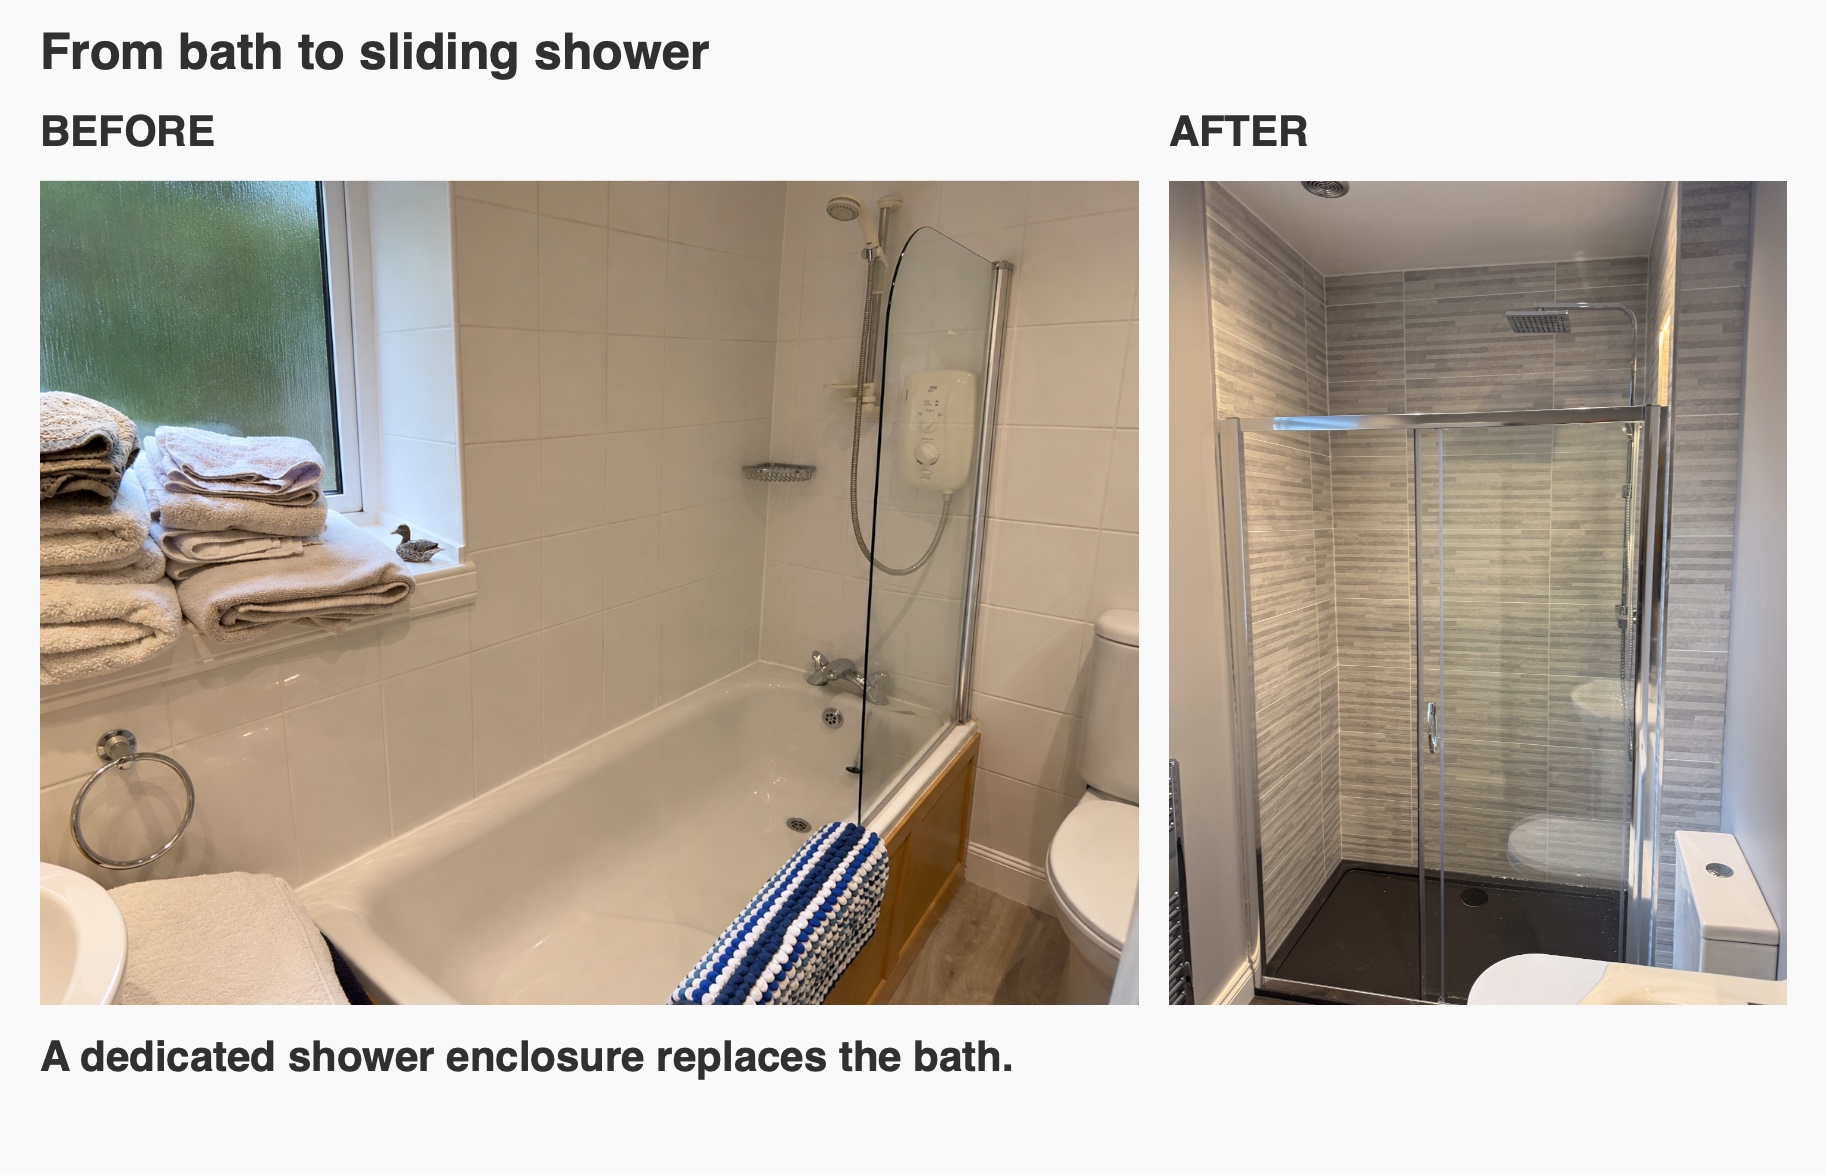
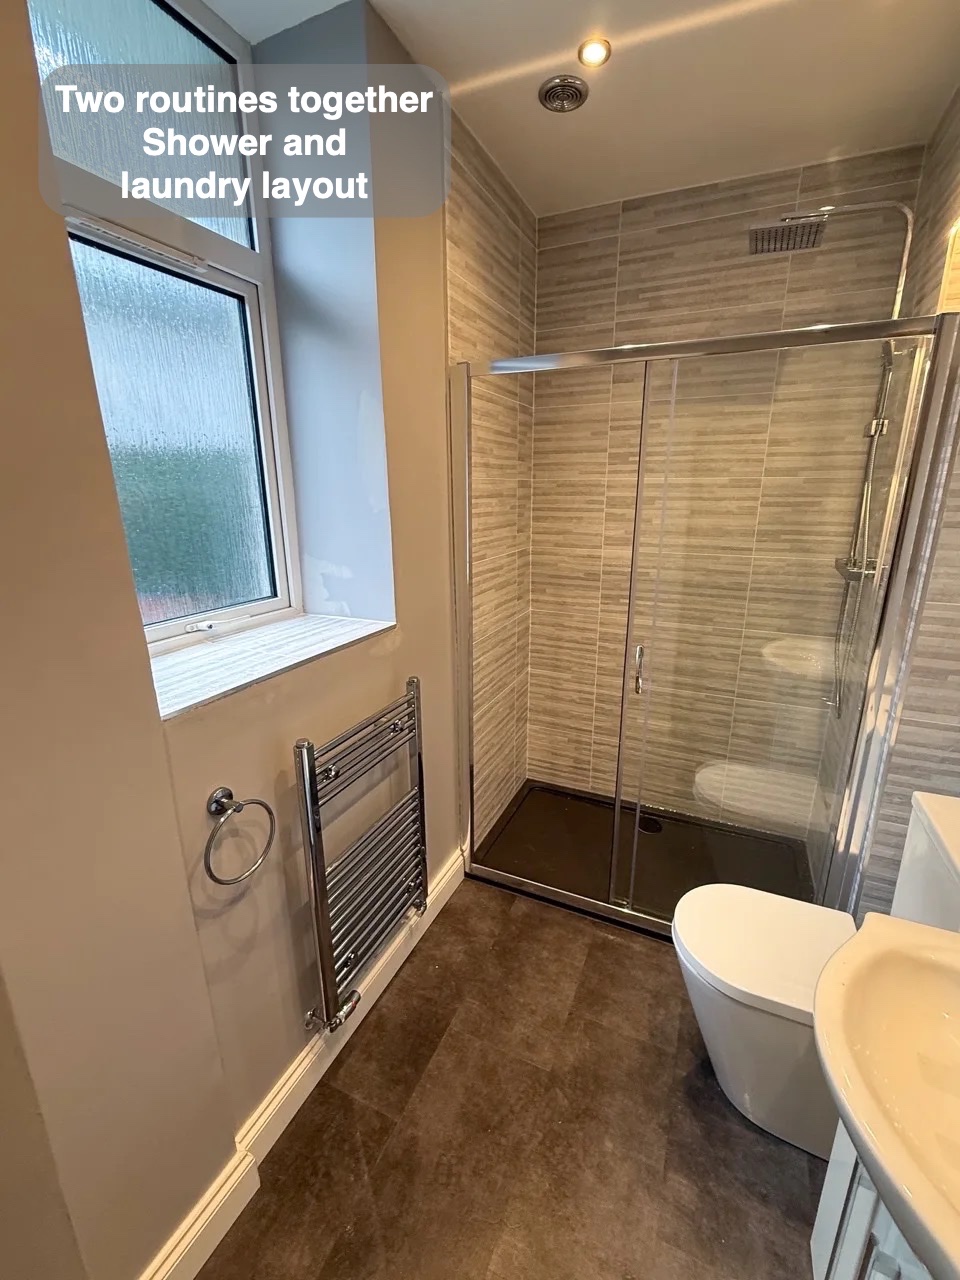
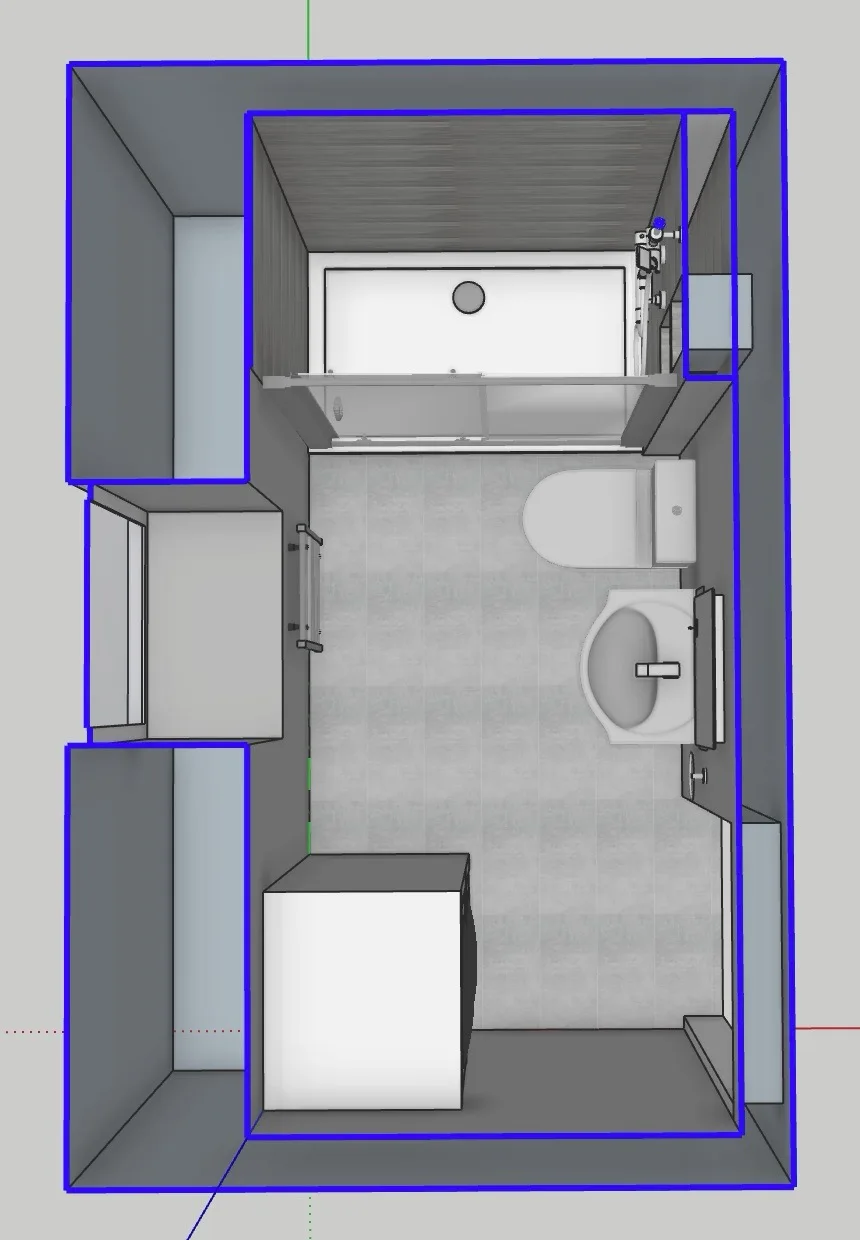
We replaced the bath with a shower enclosure at the far end of the room and created a dedicated space for the stacked appliances near the entrance. The finished arrangement brings showering and laundry together while keeping each function in its own part of the room.
Give the appliances a planned place
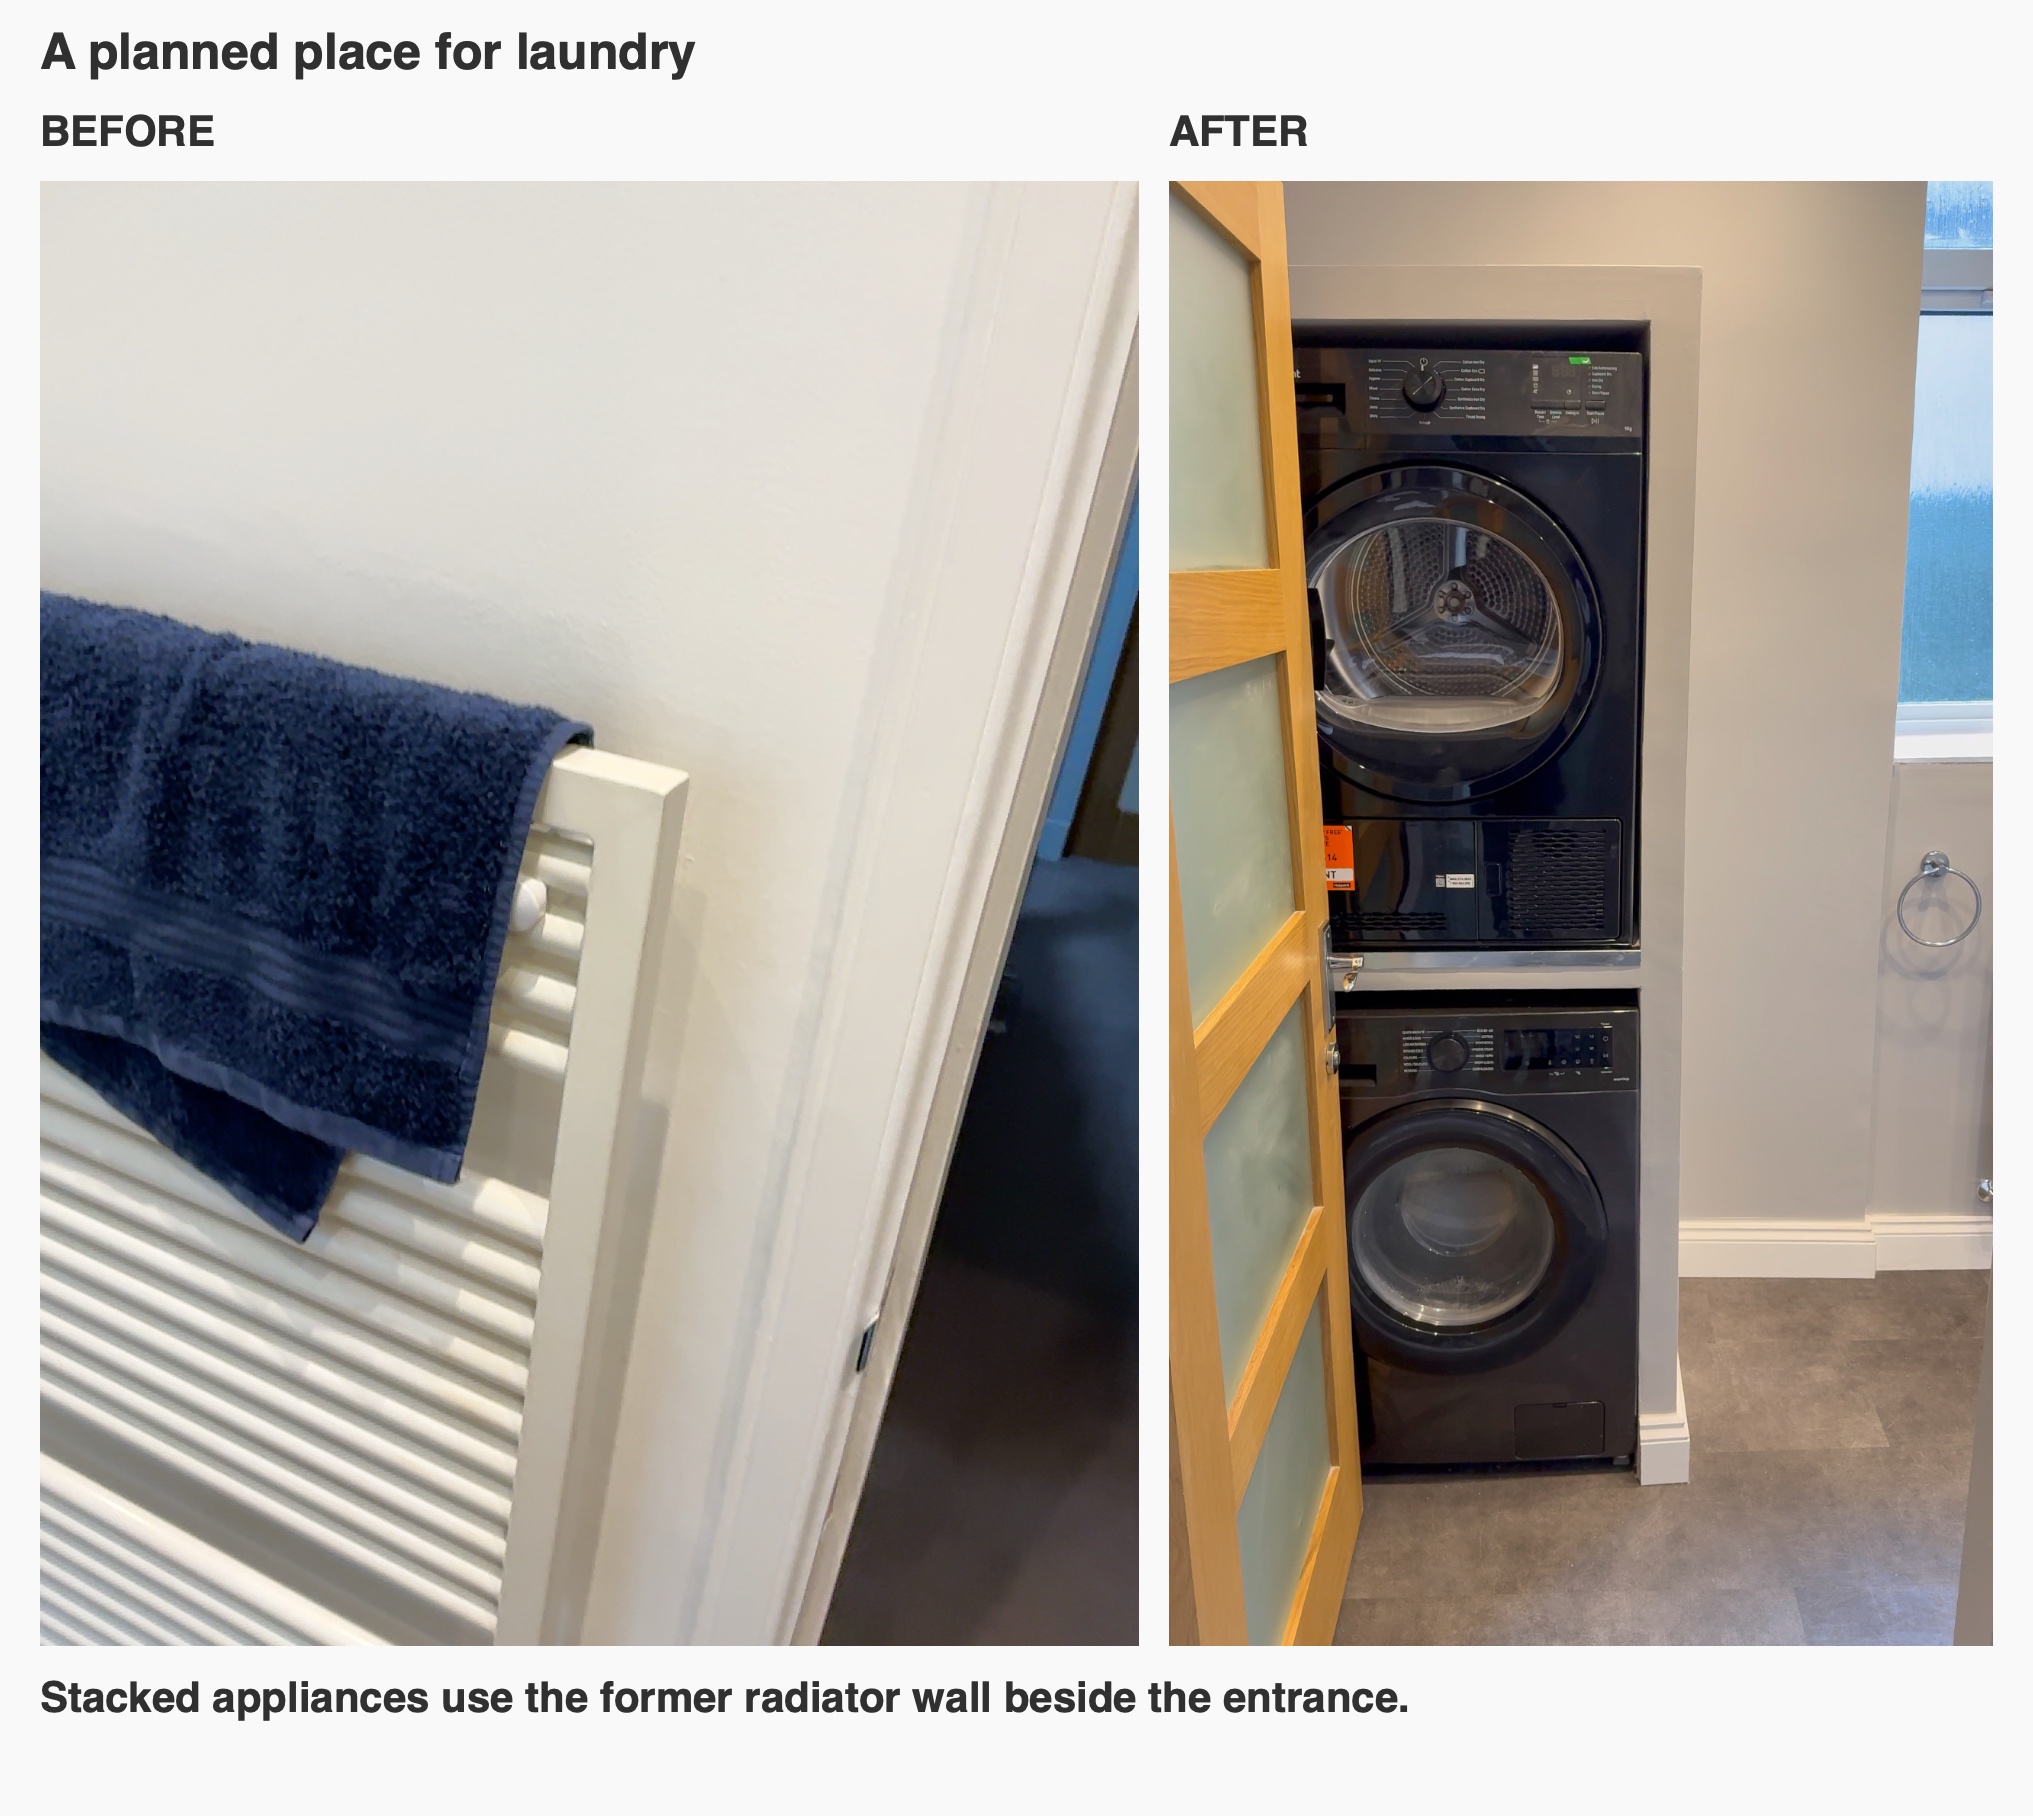
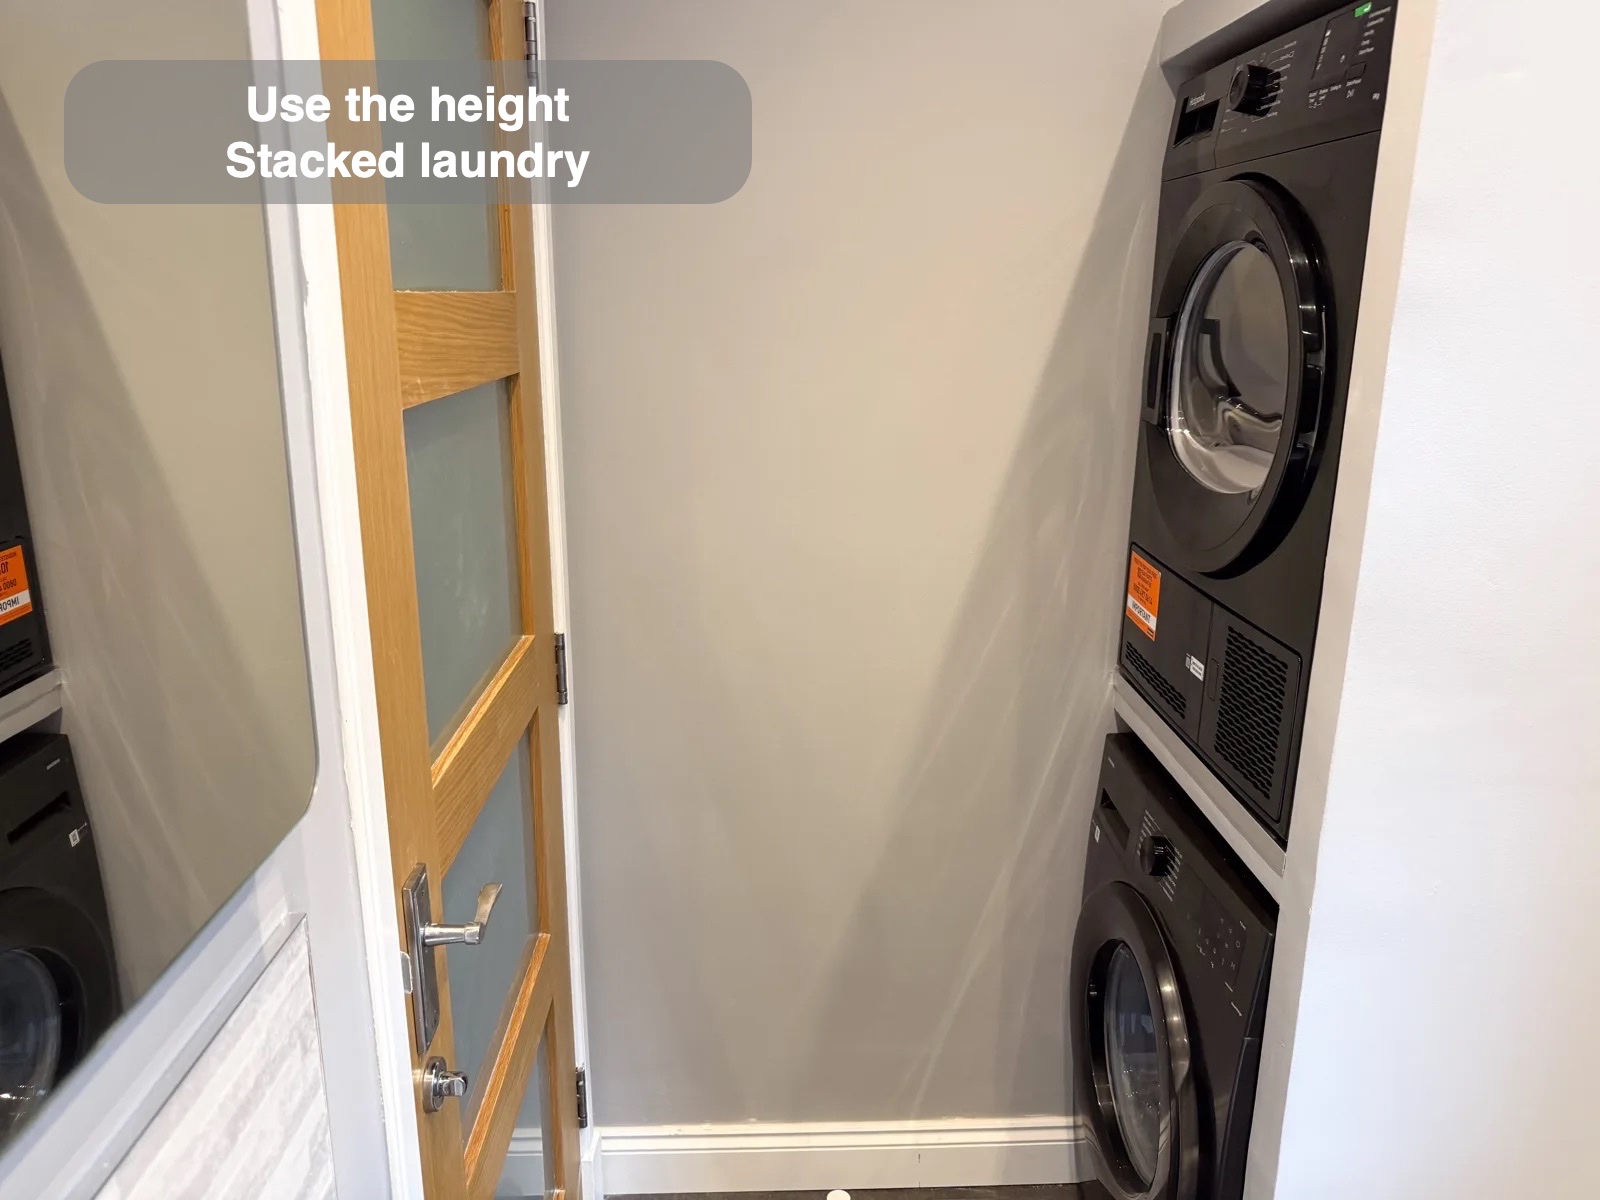
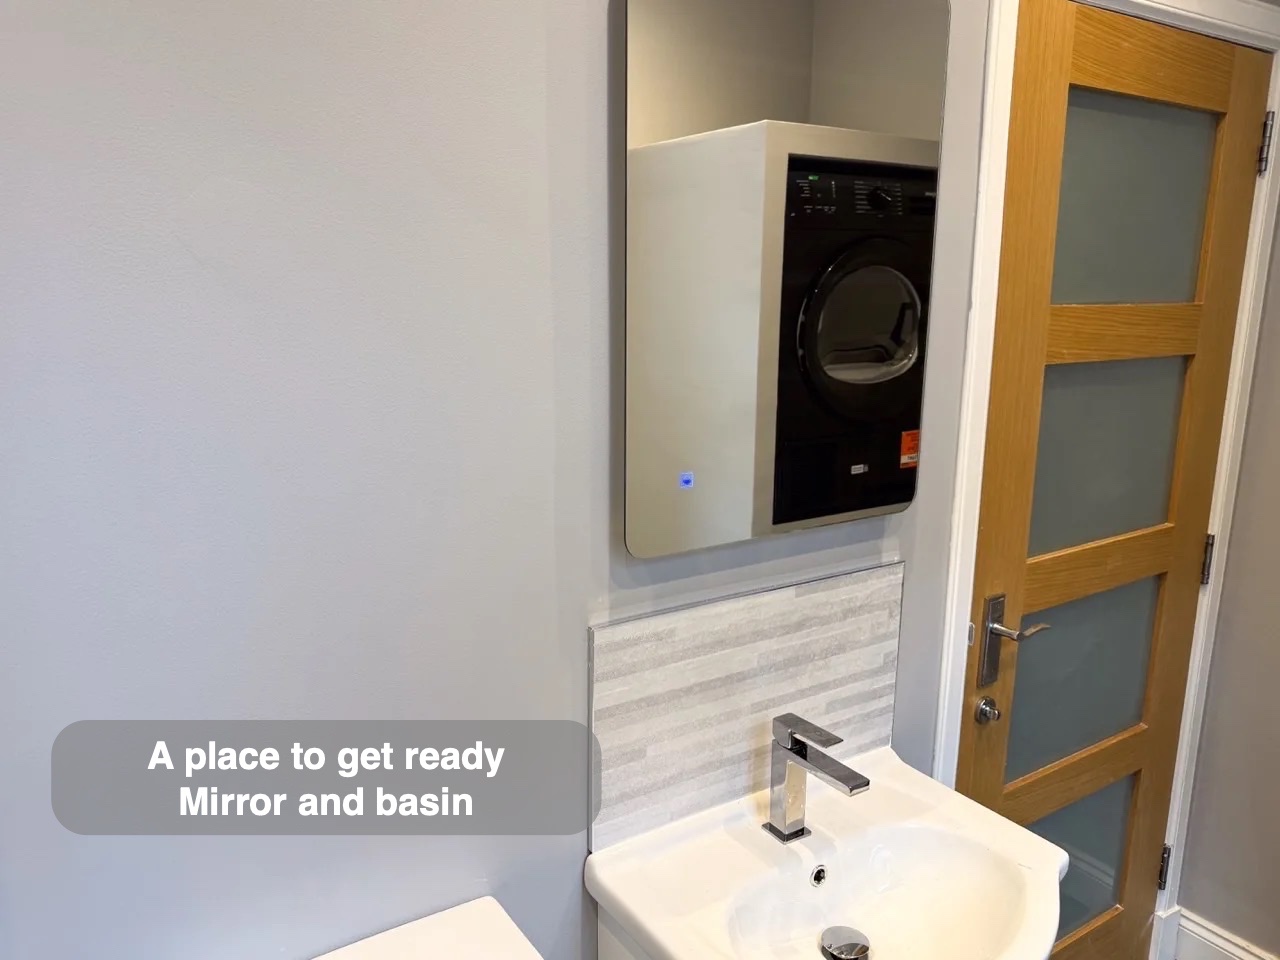
Stacking the washing machine and dryer uses the height of the room rather than placing two appliances side by side. Purpose-built housing separates them from the rest of the bathroom and gives the installation a defined edge beside the entrance.
The door needed attention too. During the design review, we explained that an open appliance door could be struck by the bathroom door if the original opening arrangement remained. Changing that opening was therefore included in the installer’s scope.
It is a small interaction that can be easy to miss when looking only at a floor plan. Our bathroom planning considers how doors and fittings will actually be used, including what happens when more than one thing is open at once.
Choose the enclosure around the available space
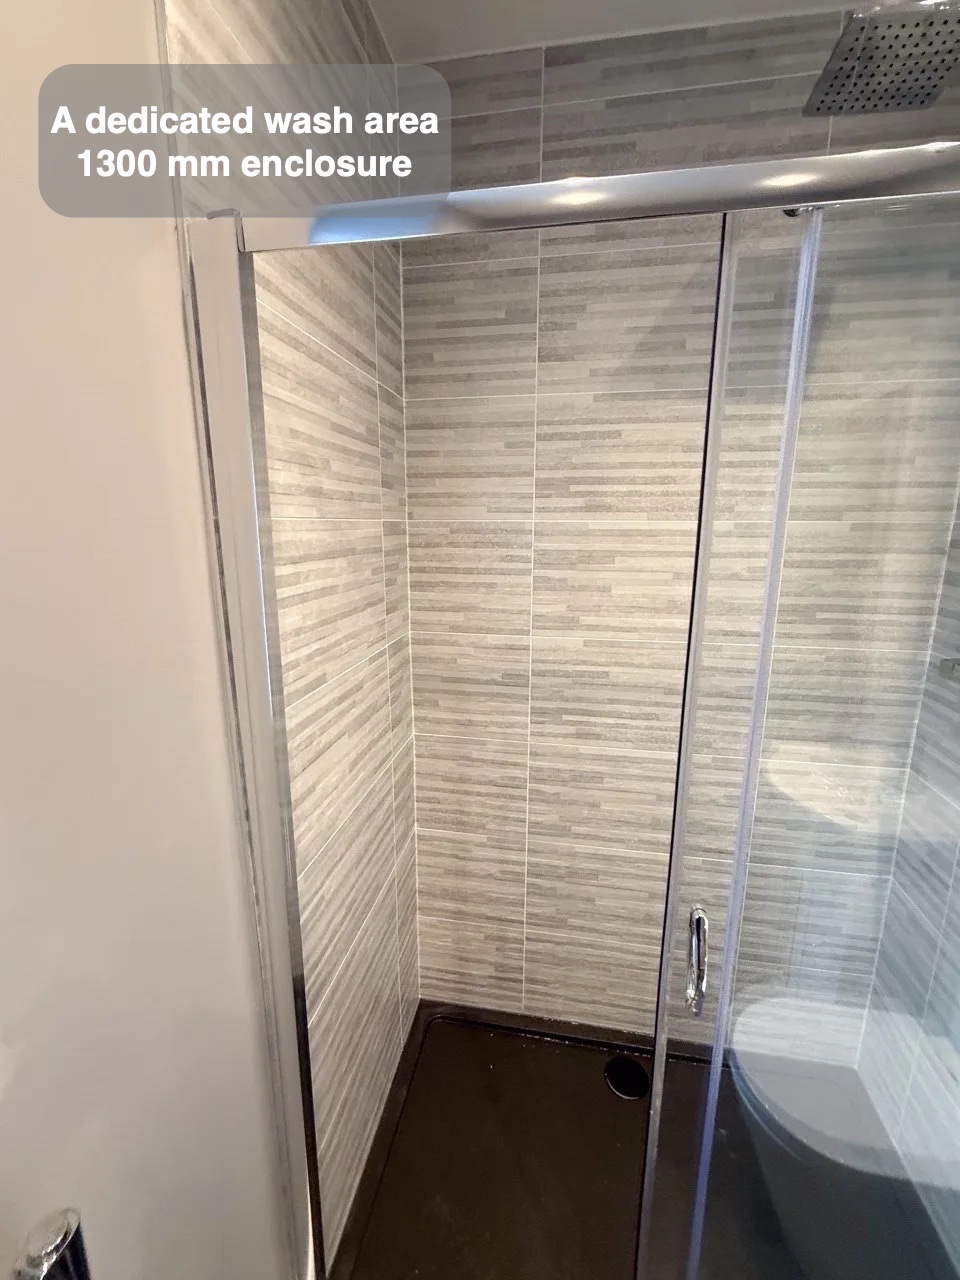
The initial preference was for a frameless shower door, but that option was available at 1200mm. We proposed a 1300mm sliding door to make fuller use of the space at the end of the room.
The finished shower combines a dark tray with clear sliding glass and grey wall tiles. The sliding opening keeps the door movement within the enclosure rather than requiring a hinged door to swing into the bathroom. This makes the choice of glass part of the practical layout, as well as the appearance.
Working through those options before installation helped establish which details mattered most: the showering space, its entrance and how it sat alongside the other fittings.
Three recesses for everyday shower essentials
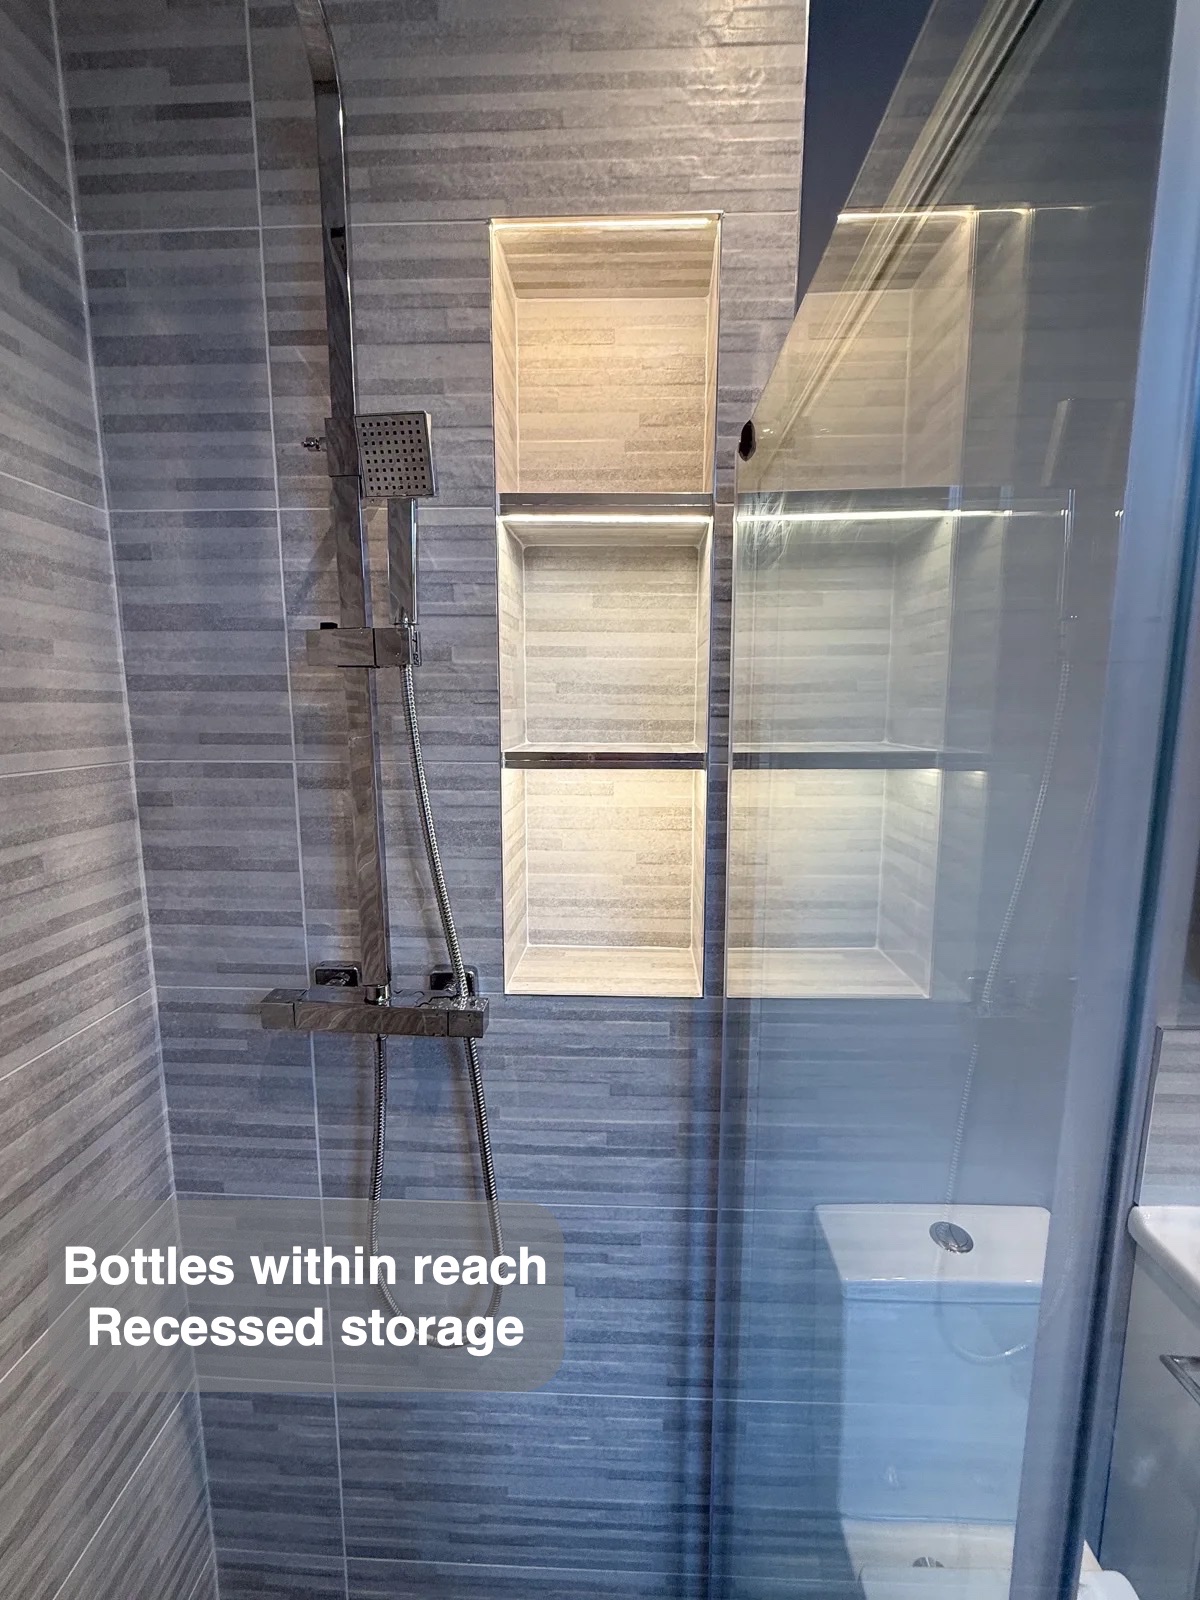
Three illuminated recesses are built into the shower wall, giving bottles their own storage without adding a projecting basket. Their stacked arrangement makes use of the wall height while keeping them close to the shower controls and handset.
The lighting was added during the selection process, with all three recesses included in the final scope. It draws attention to the storage and breaks up the tiled wall with a warmer light.
We planned these recesses with the wall construction, rather than treating storage as something to attach after the shower was finished. That is particularly useful in a room where the floor area already has several jobs to do.
Make the smaller fittings work together
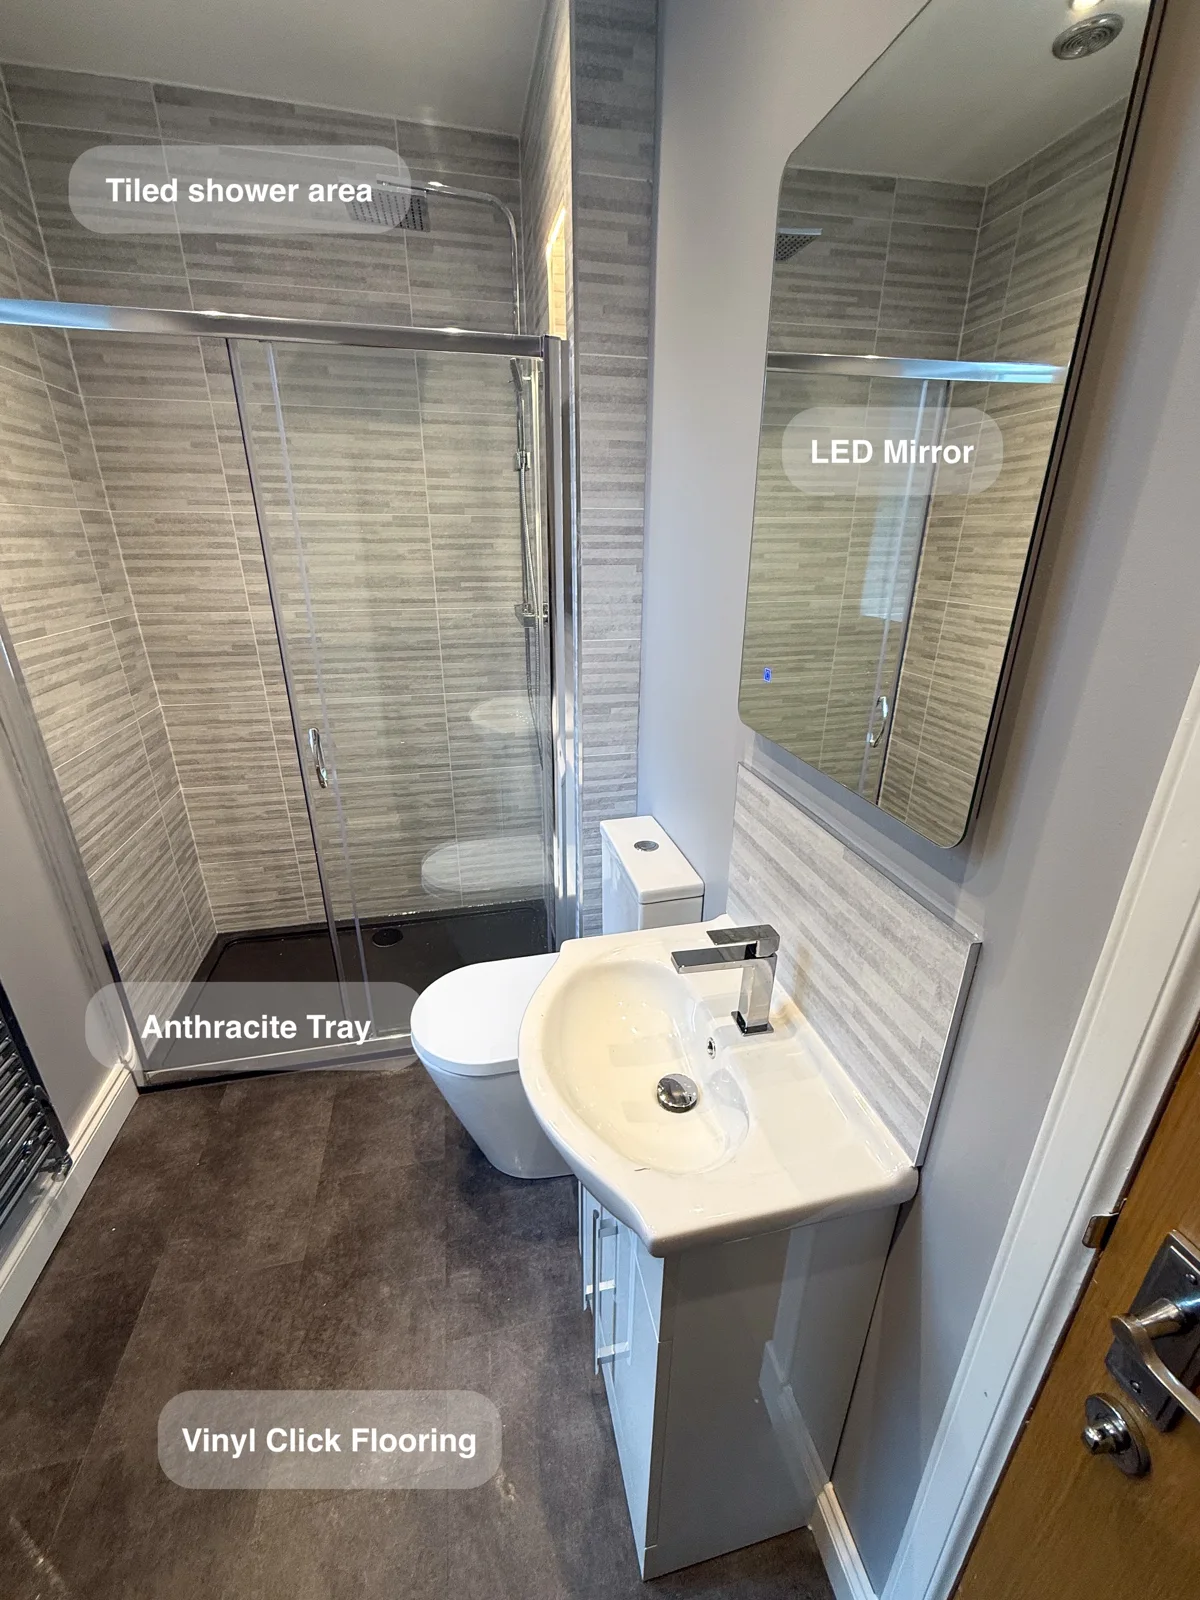
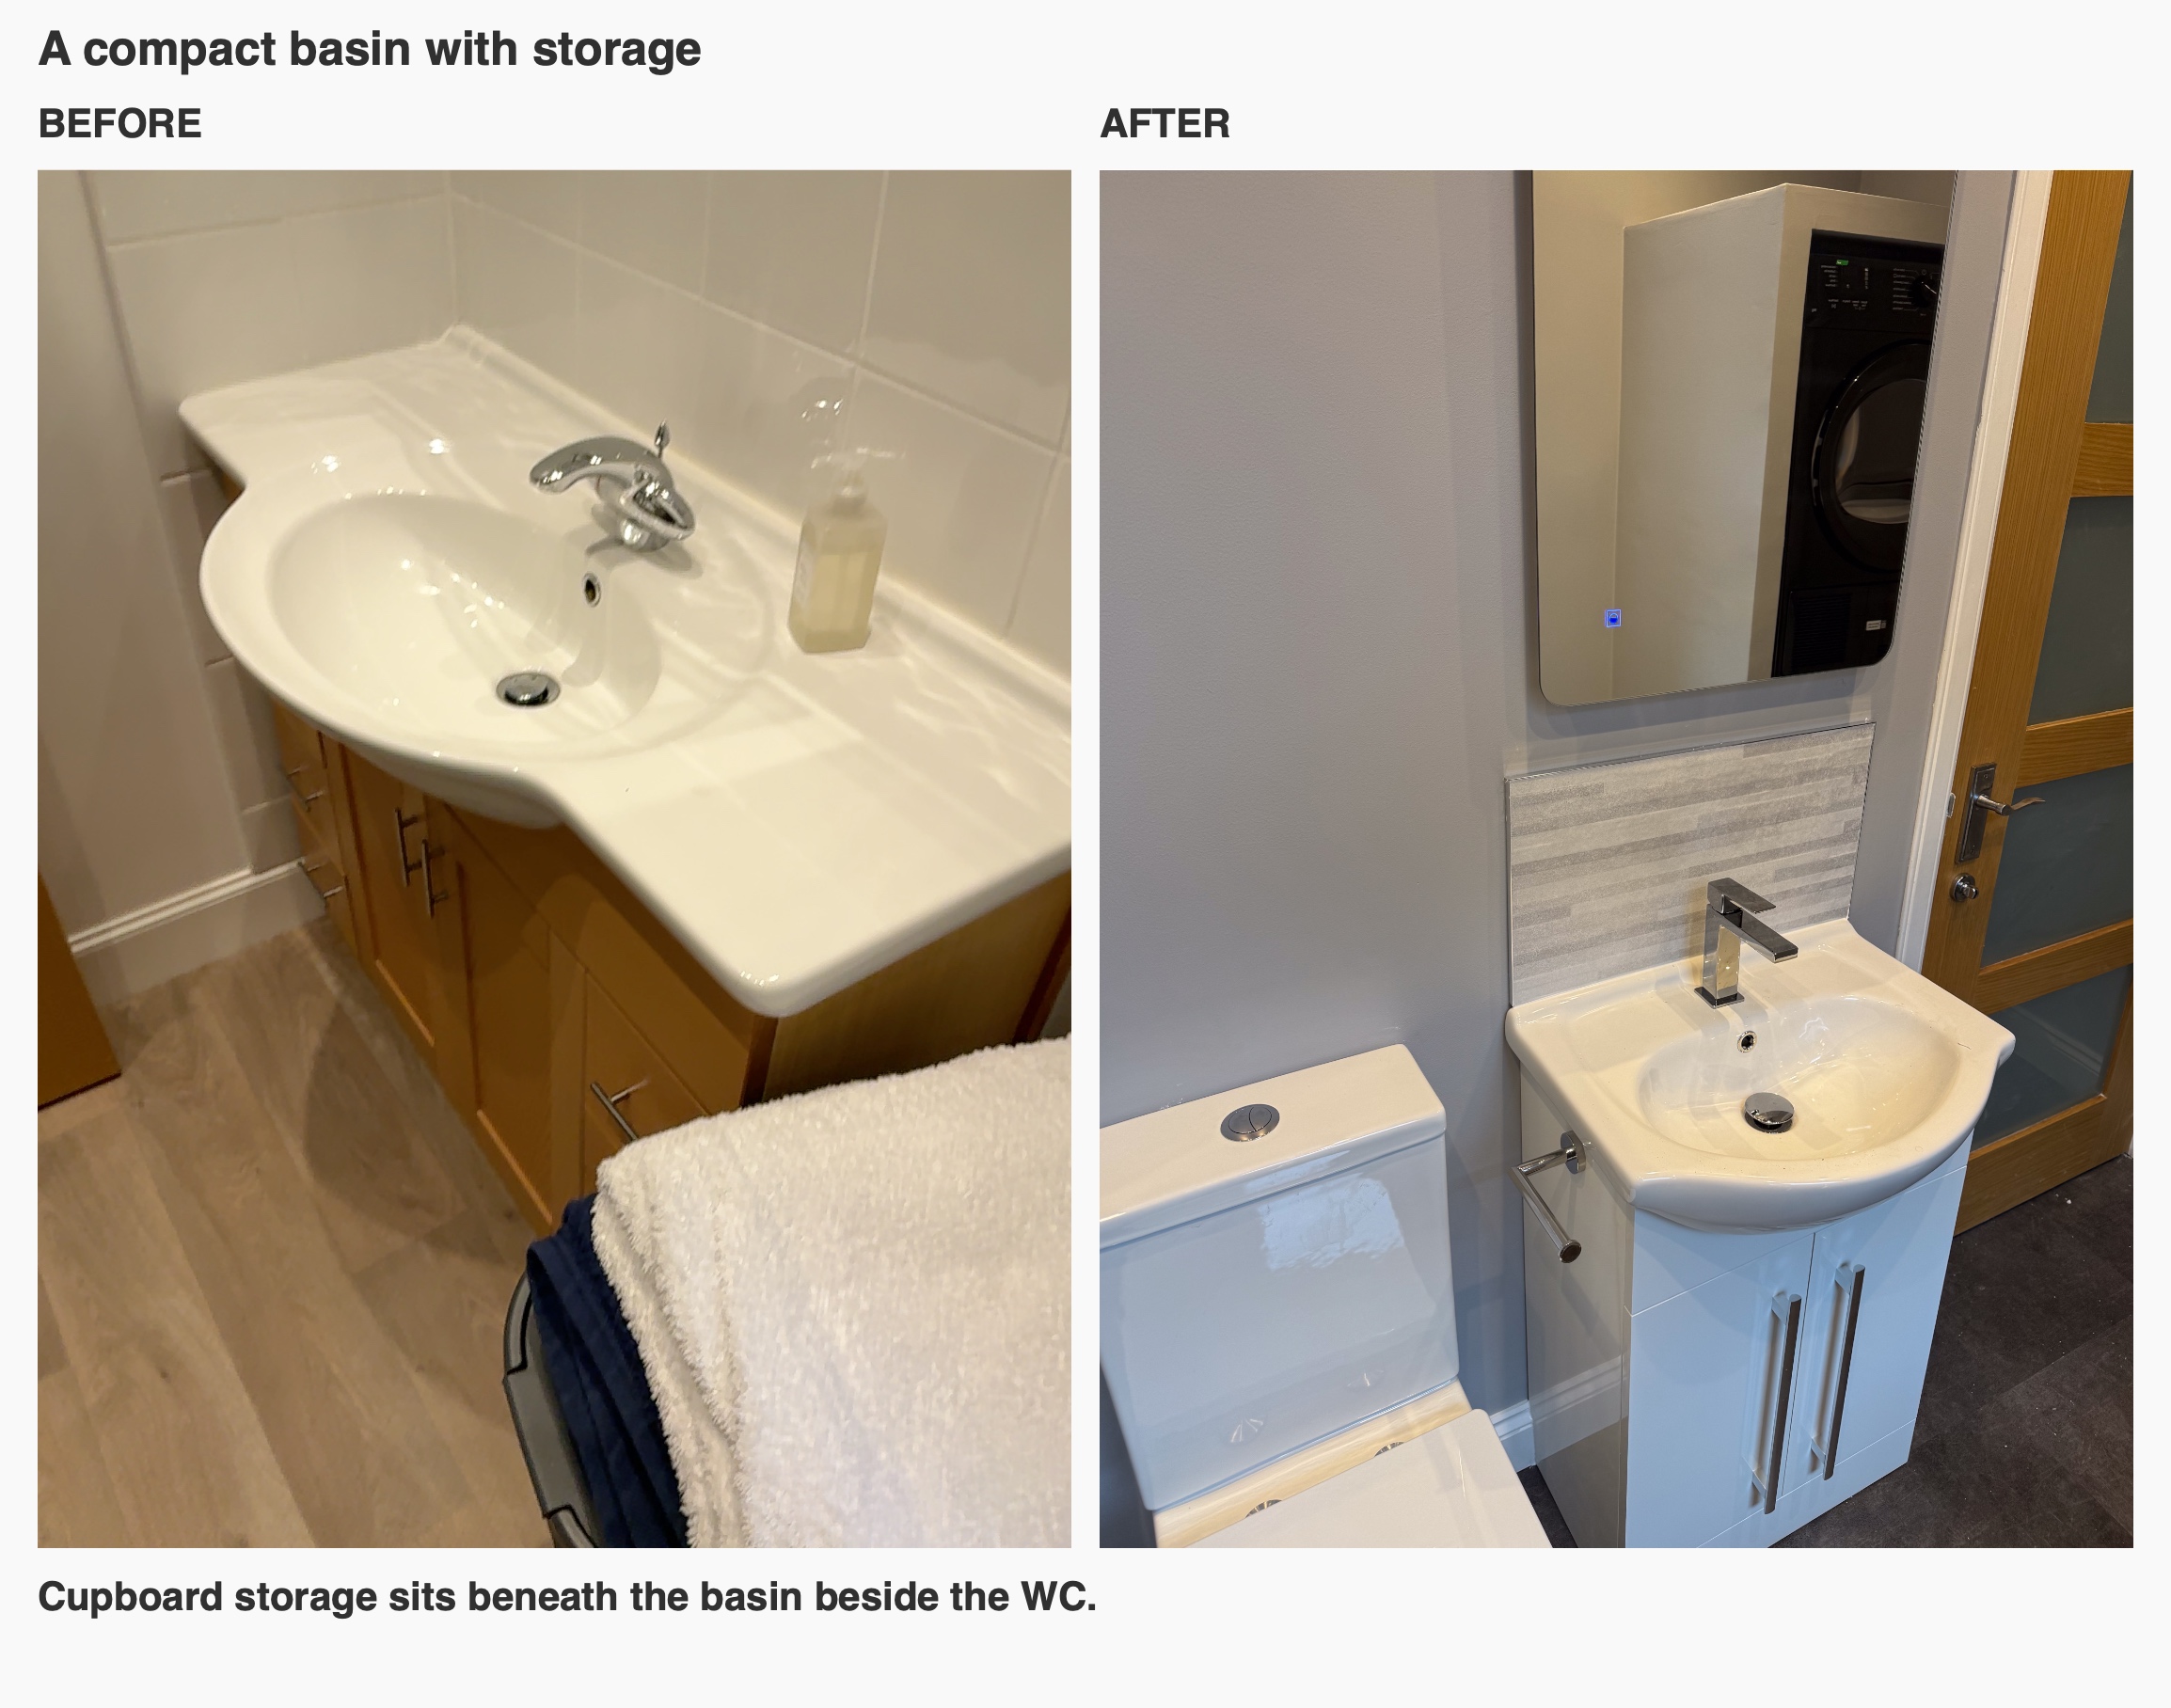
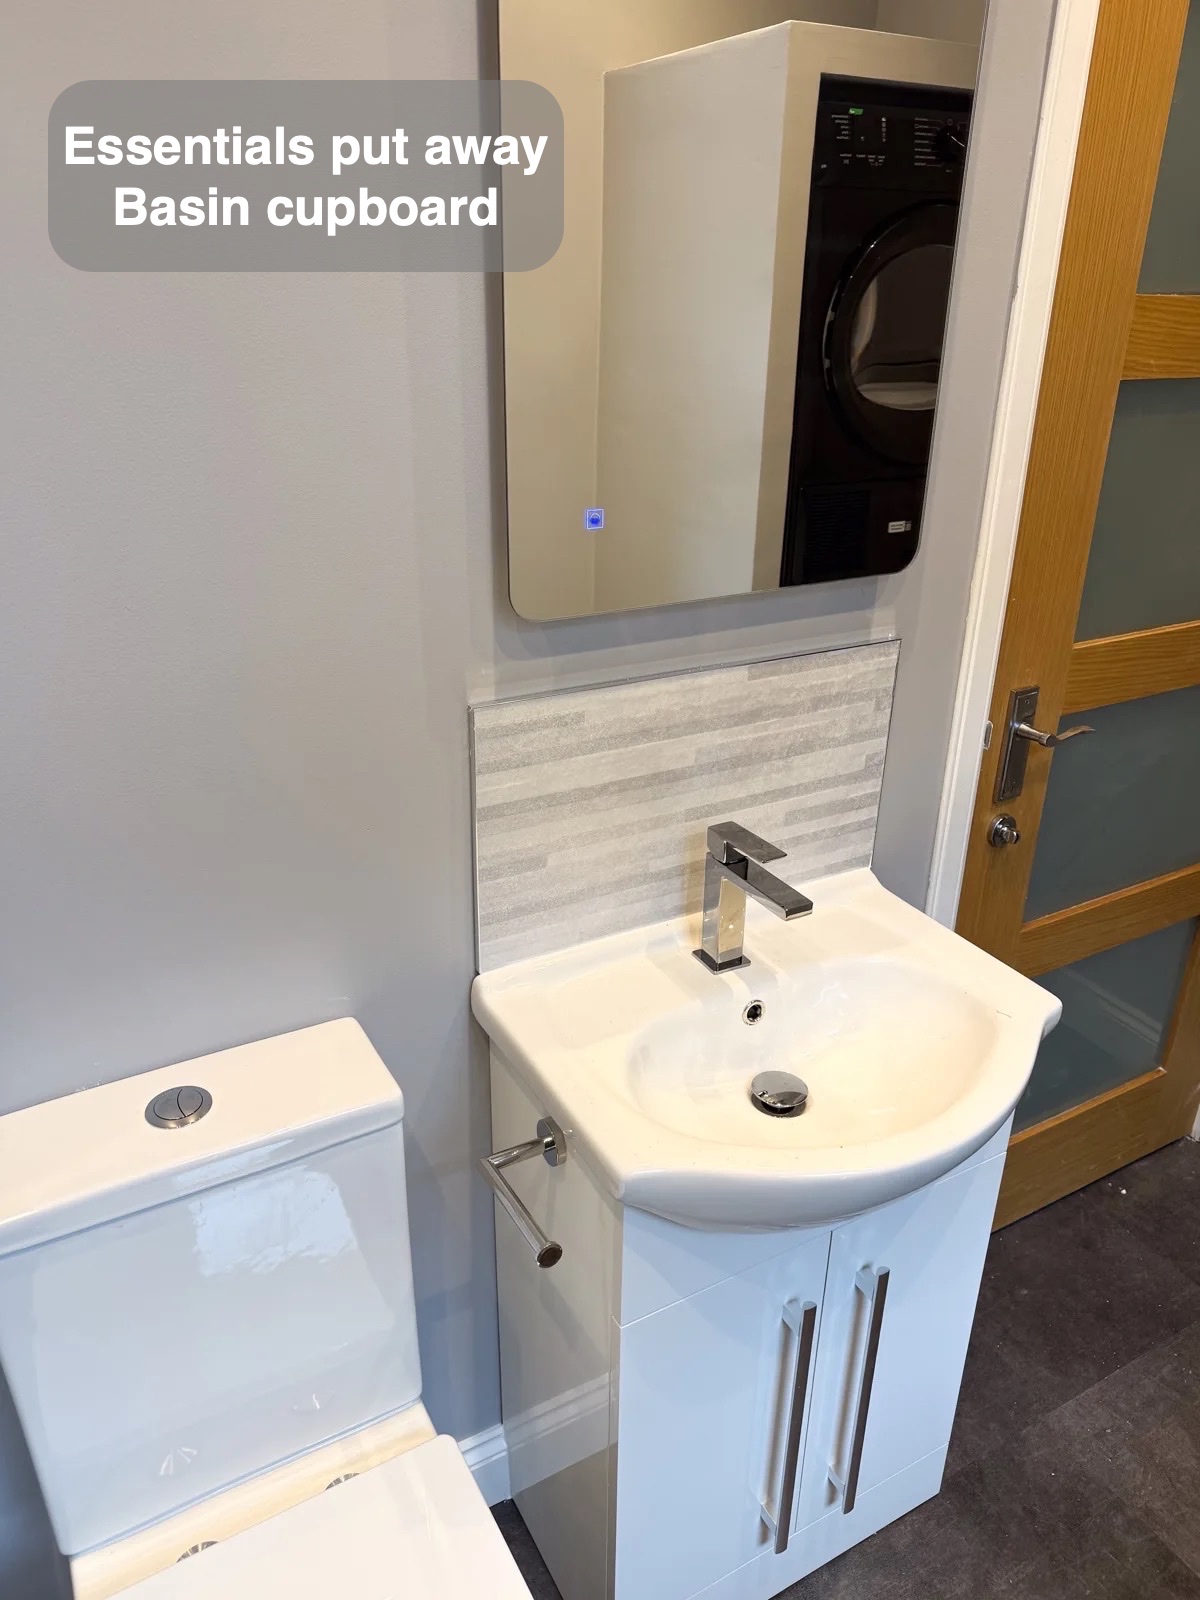
The homeowner also asked for the basin to move slightly towards the door to leave room for a toilet-roll holder beside the WC. This adjustment was carried into the workplan, showing how a modest change in position can make an everyday accessory easier to accommodate.
The compact vanity provides storage below the basin, with an illuminated mirror above. The shower’s tiled finish continues behind the basin, linking the washing areas while the remaining walls keep a quieter painted finish.
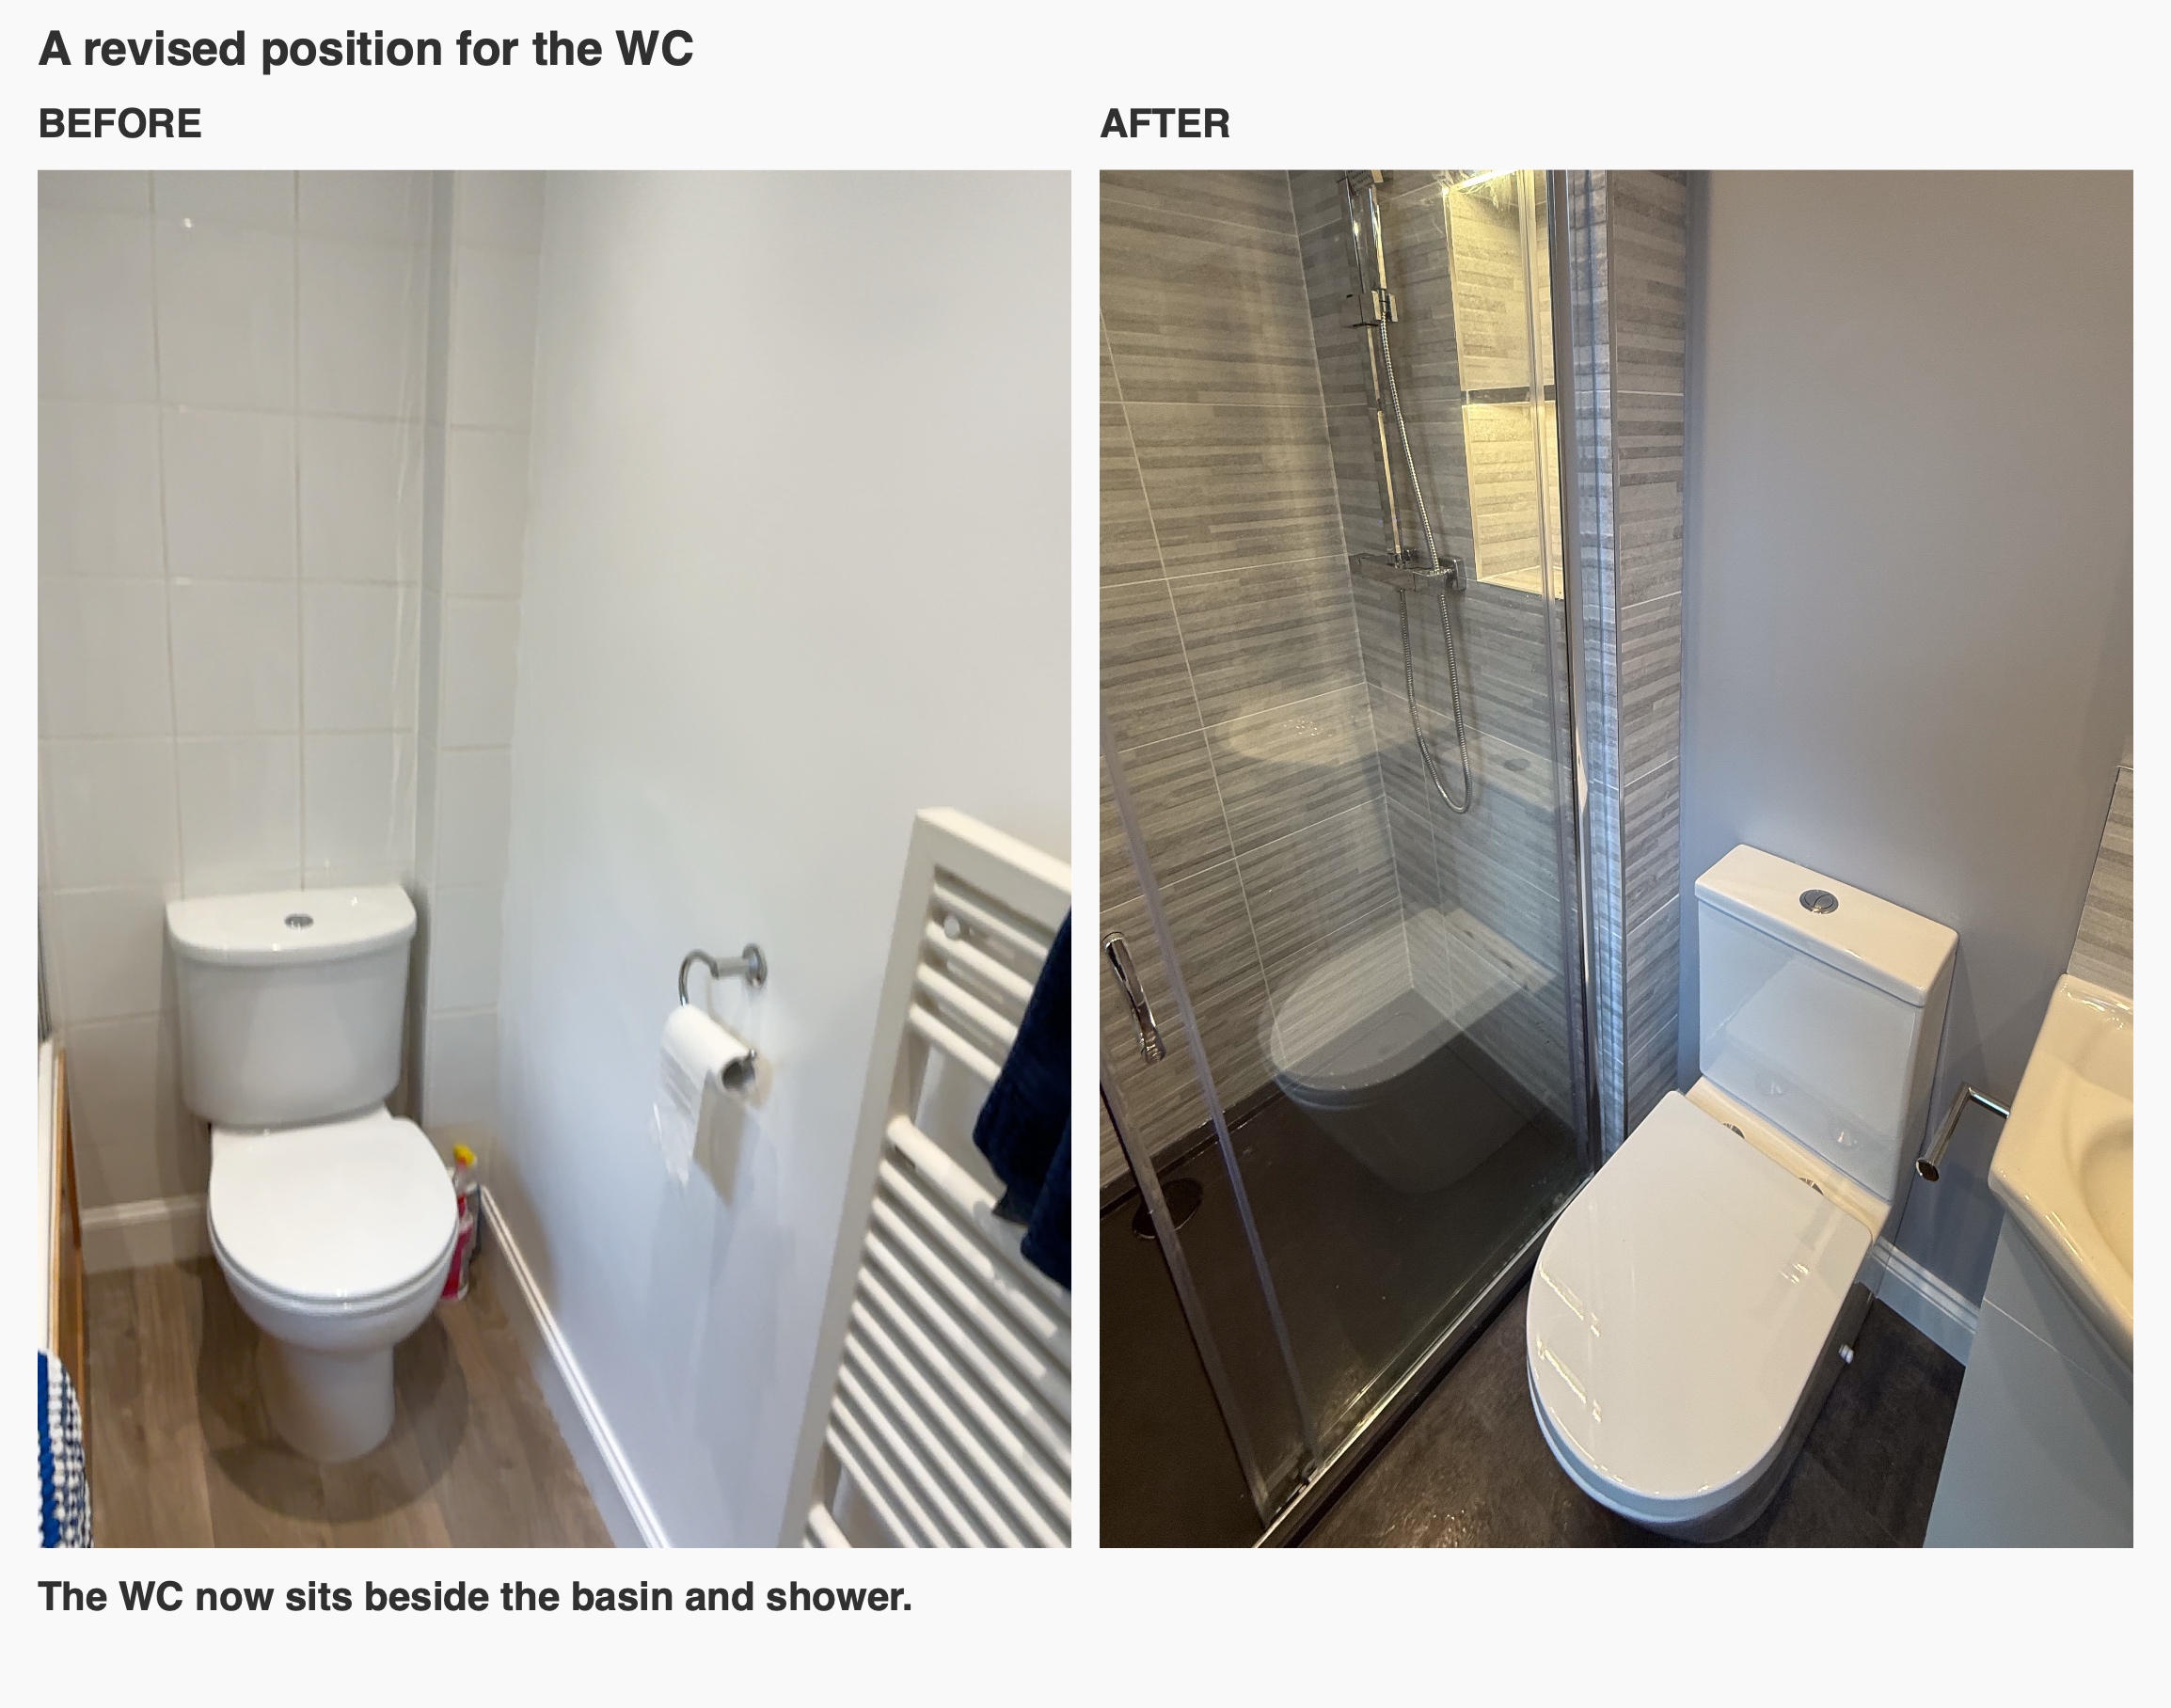
The WC now sits beside the basin and shower. We considered these fittings together, including the requested space for a toilet-roll holder, rather than choosing each item in isolation.
Warmth and finishes within the revised layout
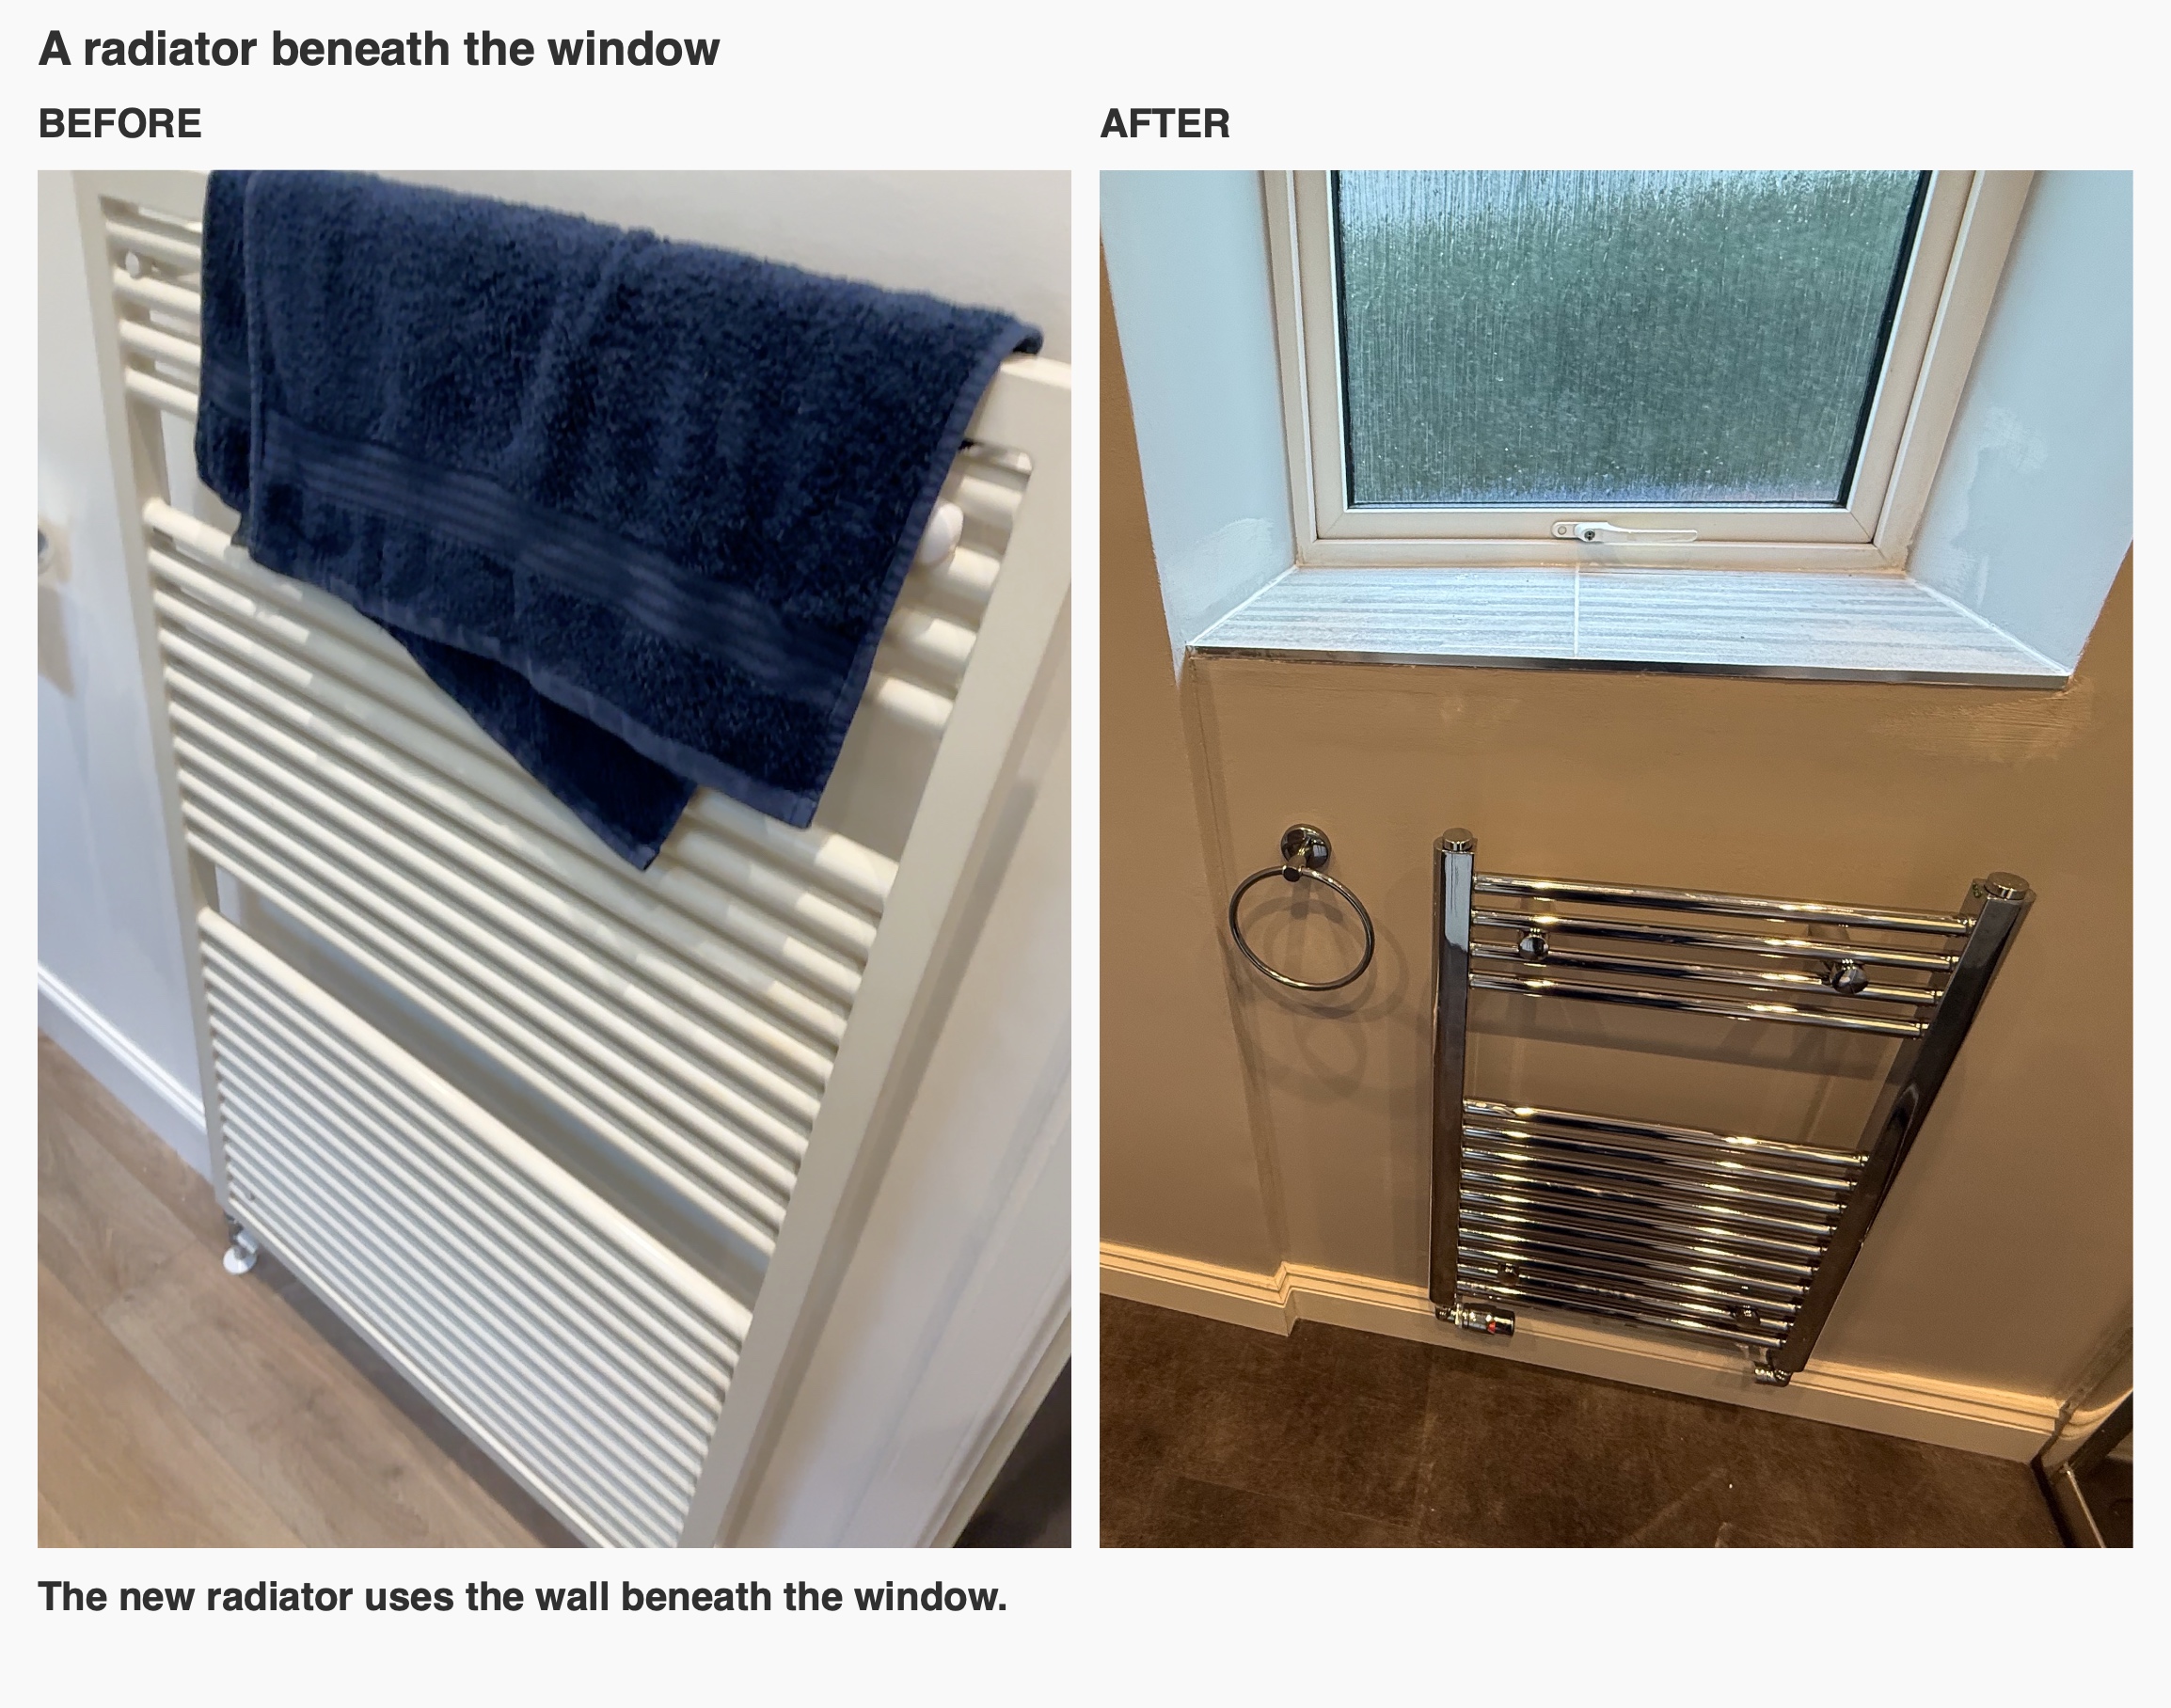
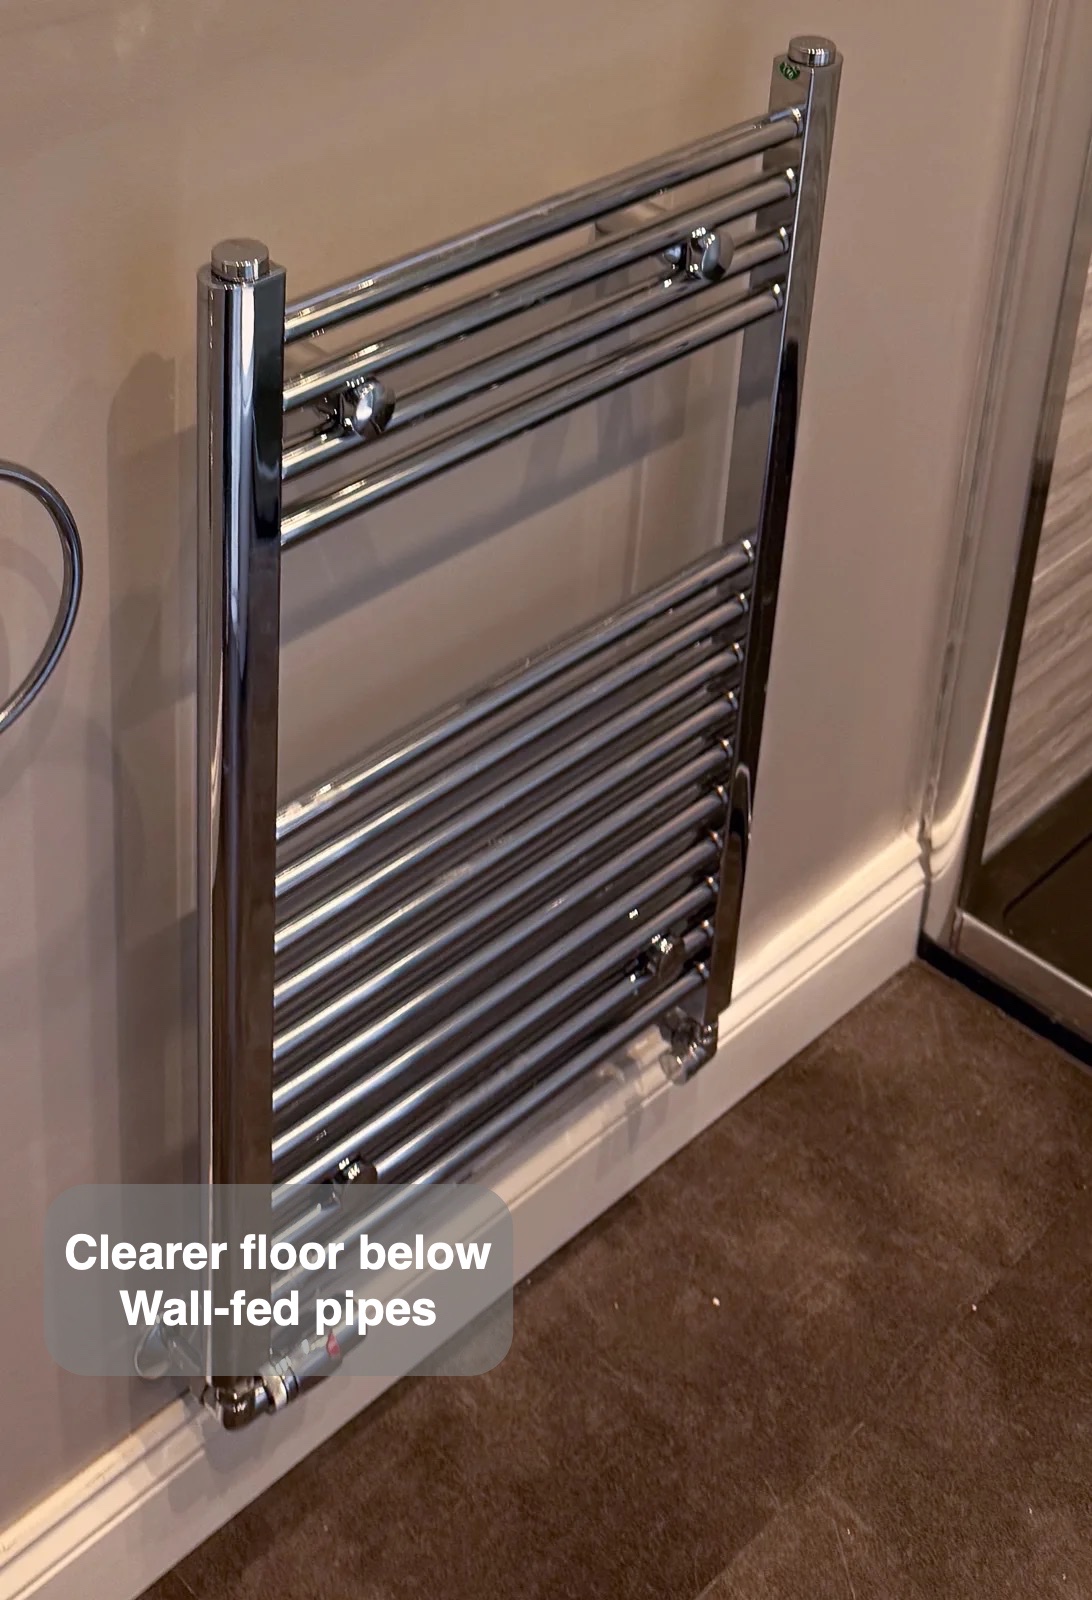
We moved the towel radiator from the entrance-side wall to beneath the window, making room for the laundry housing. Planning heating alongside the other fittings helps avoid leaving it to compete for wall space at the end of a project.
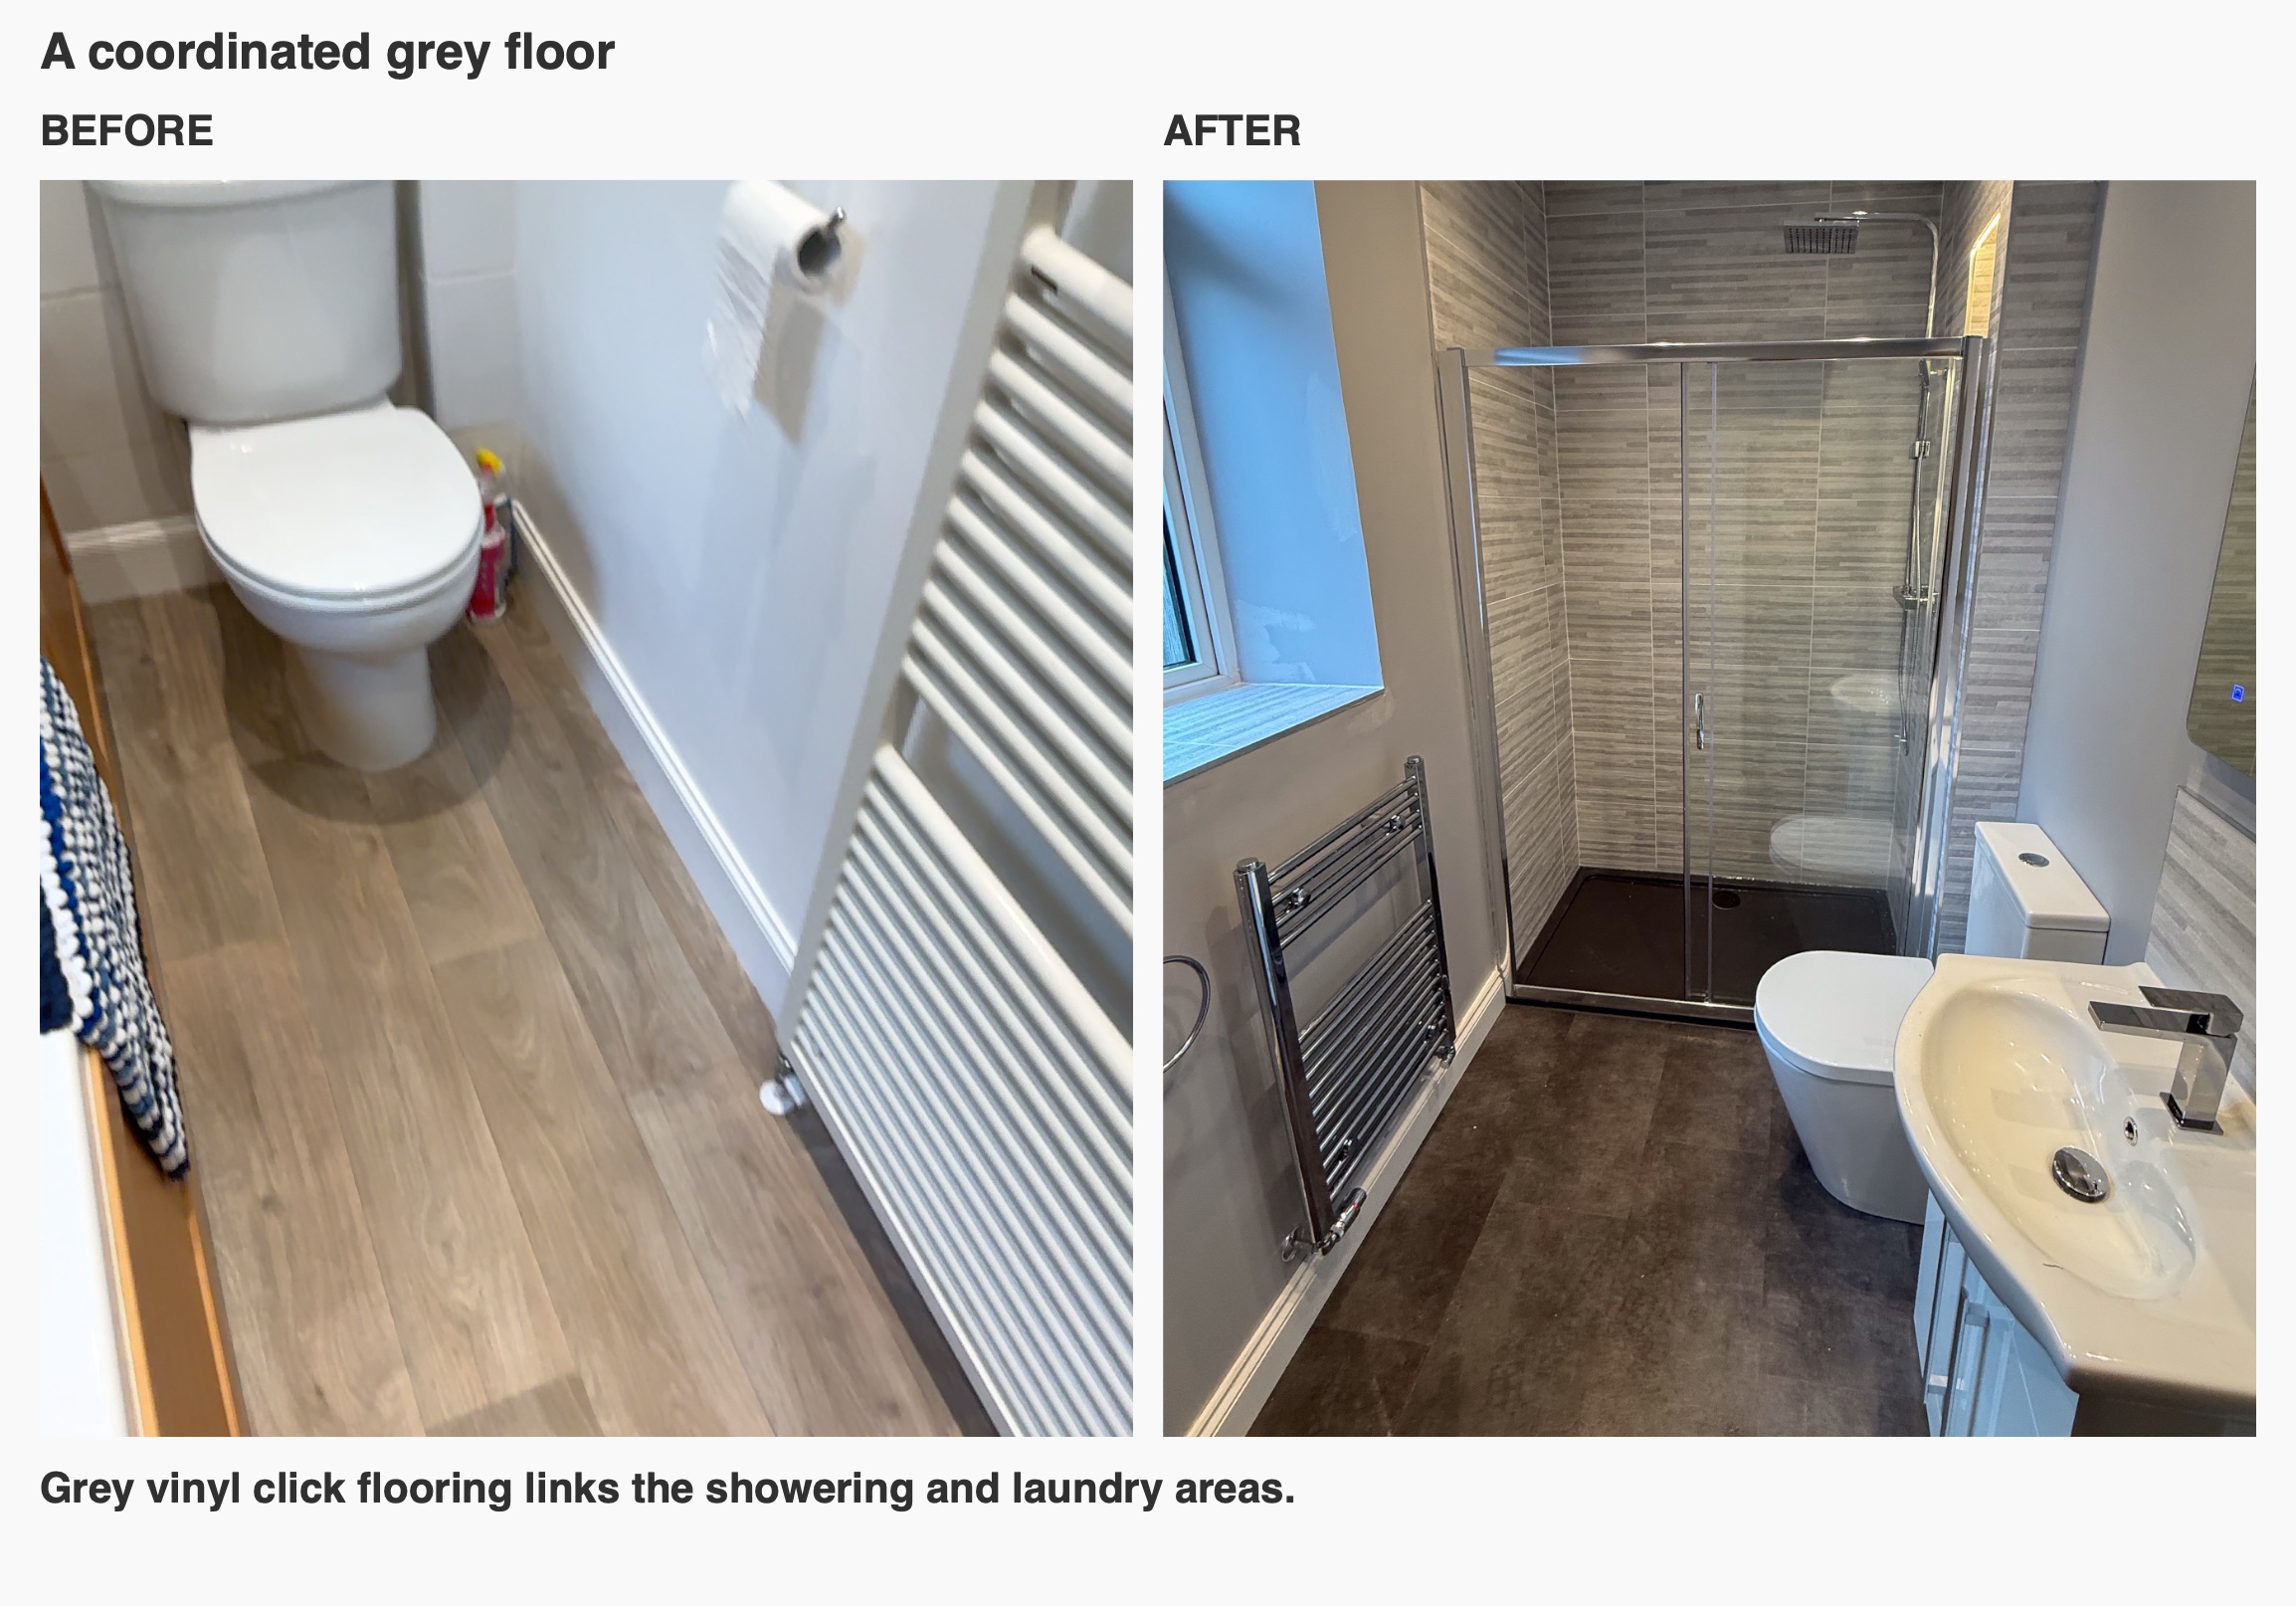
Grey vinyl click flooring replaces the previous wood-effect finish and links the shower, basin and laundry areas. We coordinated this darker floor with the grey tiles and quieter painted walls, so the room has a consistent finish despite its different uses. Subfloor preparation and levelling were included in the scope before fitting the new floor.
Ventilation and lighting were also included in the refurbishment scope. These practical requirements belong in the initial plan alongside storage and layout.
Plan the room around your routine
This project shows why a bathroom with an additional purpose needs more than a list of products. Appliance access, door movement, shower width and smaller fittings all influence how comfortably the space works.
If you are considering combining laundry and showering in your Aberdeen home, start with what the room needs to do each day. We can help explore an arrangement that gives each task a useful place.
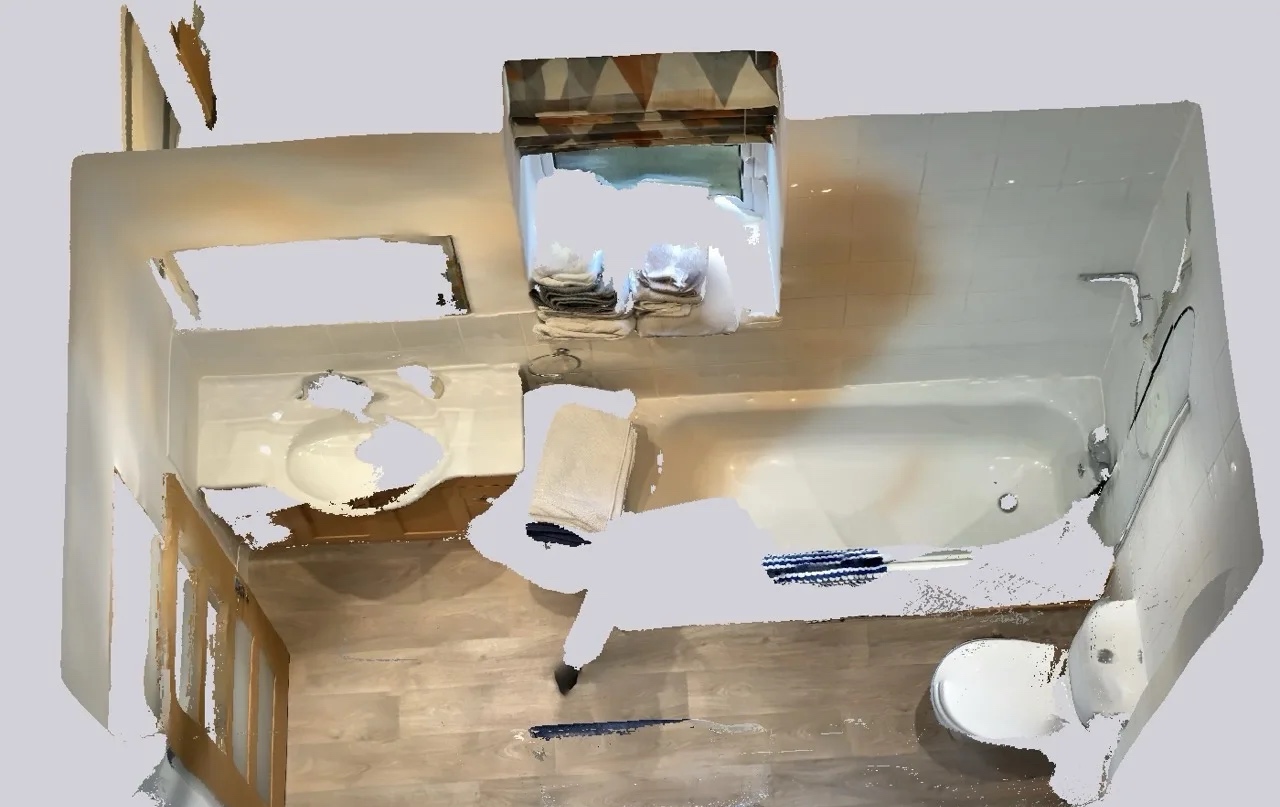
Original layout
The earlier room provides the context for the finished arrangement.
Project videos
Explore our bathroom planning process and arrange a quotation visit.
More projects you might like
Separate Bathing and Generous Storage in Bridge of Don, Aberdeen
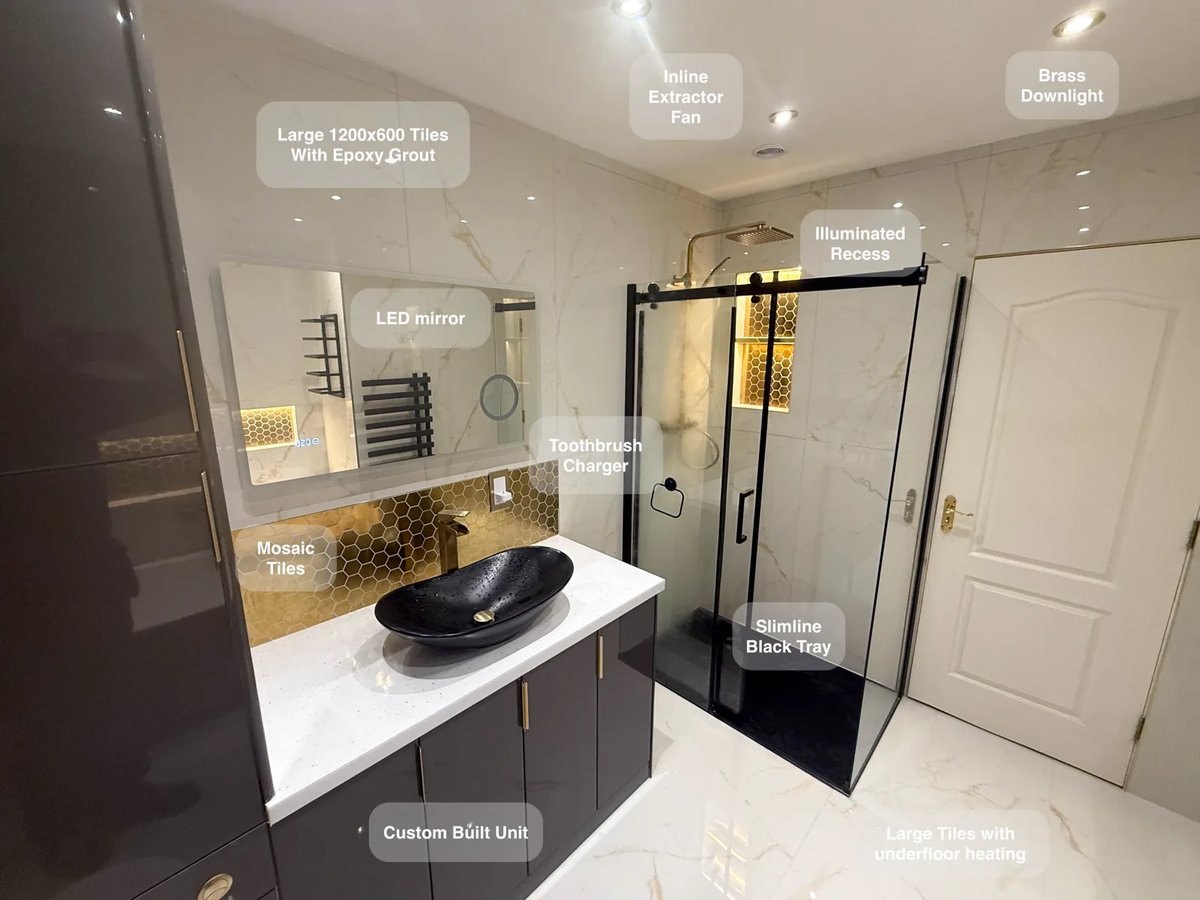
Large tiles with epoxy grout reduce the number of joints to clean, making everyday upkeep more manageable across the bathroom.
A Bath and Separate Shower in Newtonhill
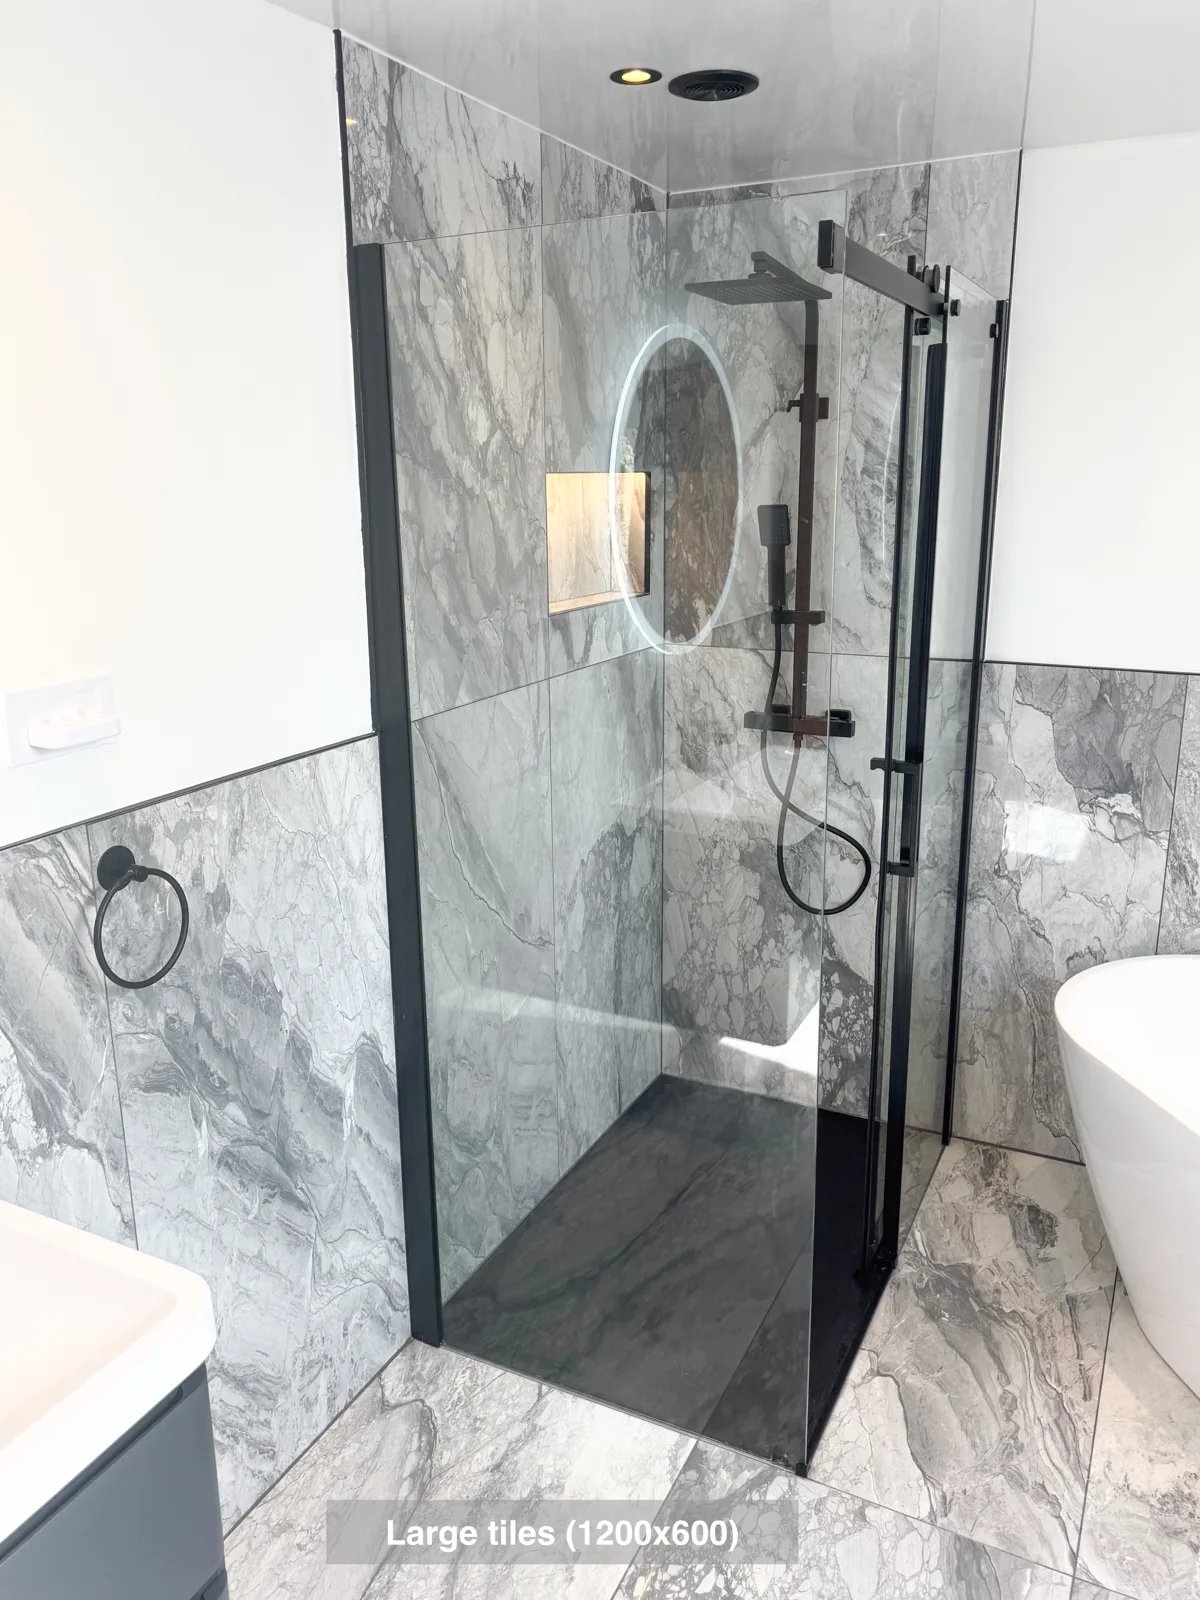
Reach the Velux window more easily, with the freestanding bath positioned at an angle to preserve access in the ensuite.
A separate bath, shower and useful storage in Oldmeldrum
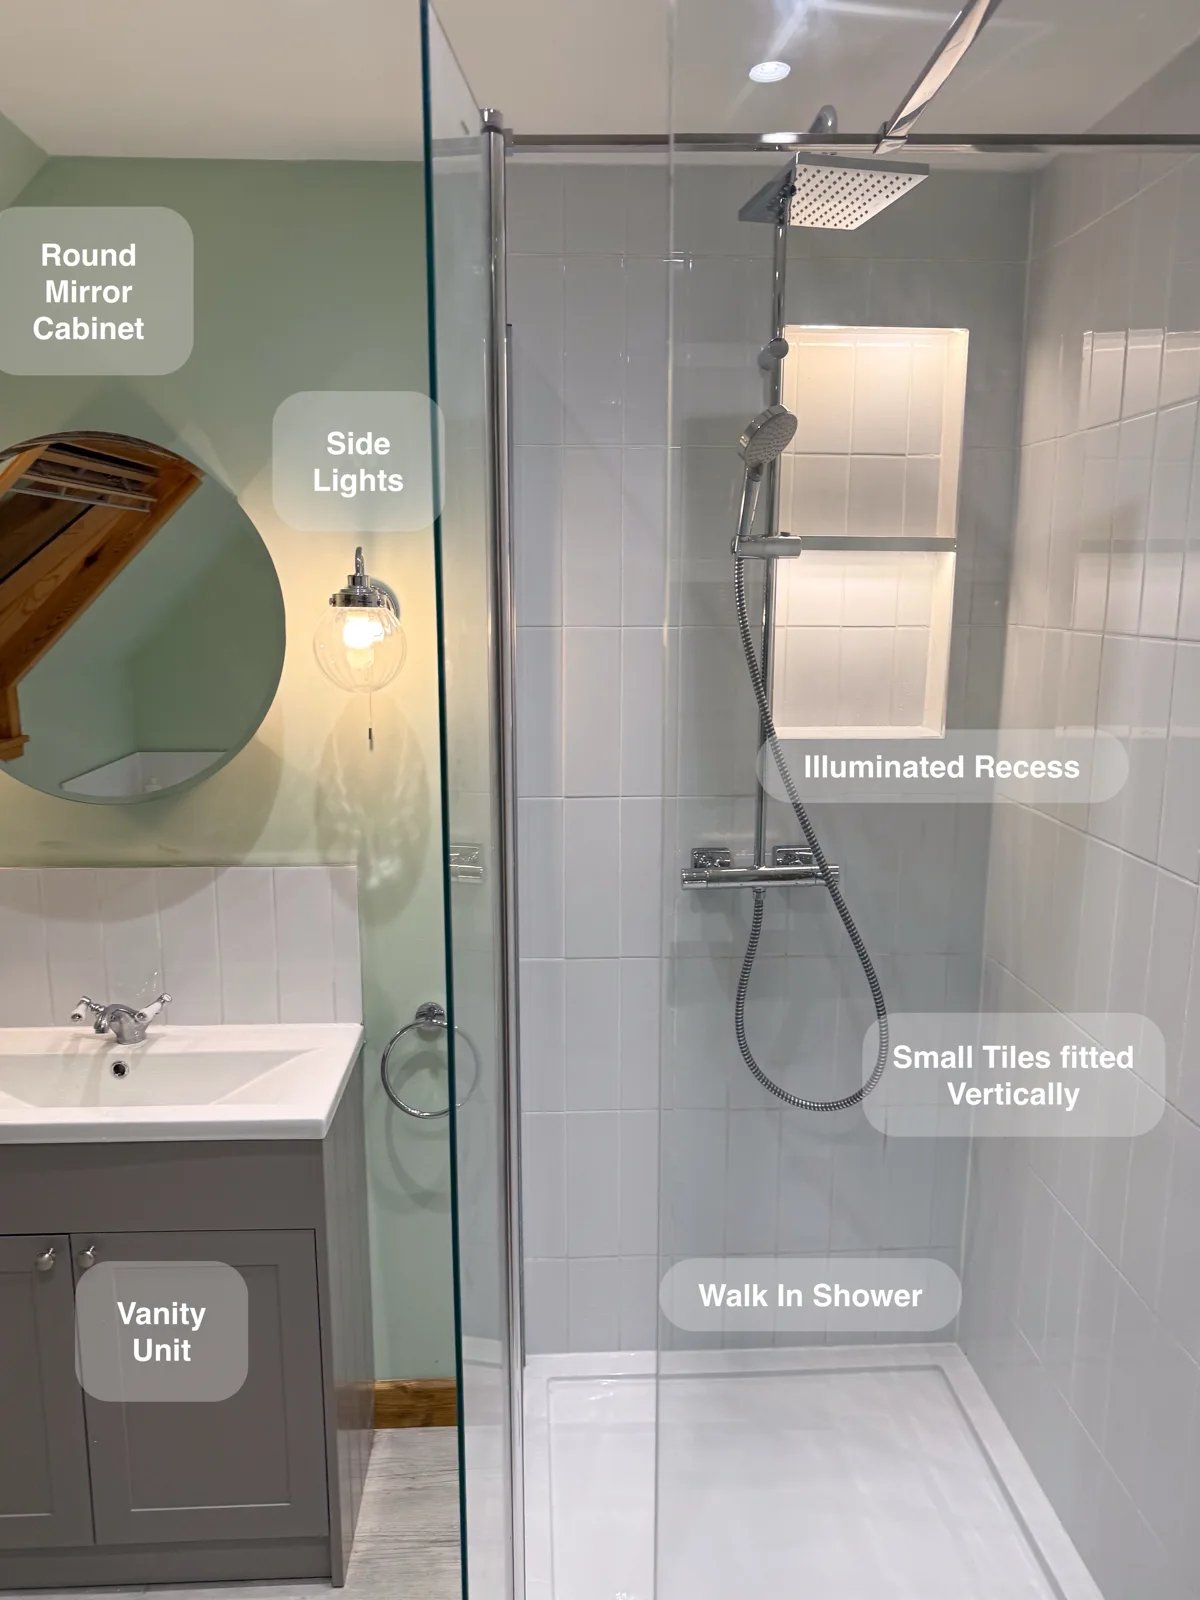
A separate walk-in shower and repositioned bath provide a choice between everyday showering and bathing within the same redesigned room.
More Storage and a Dedicated Shower in Aberdeen
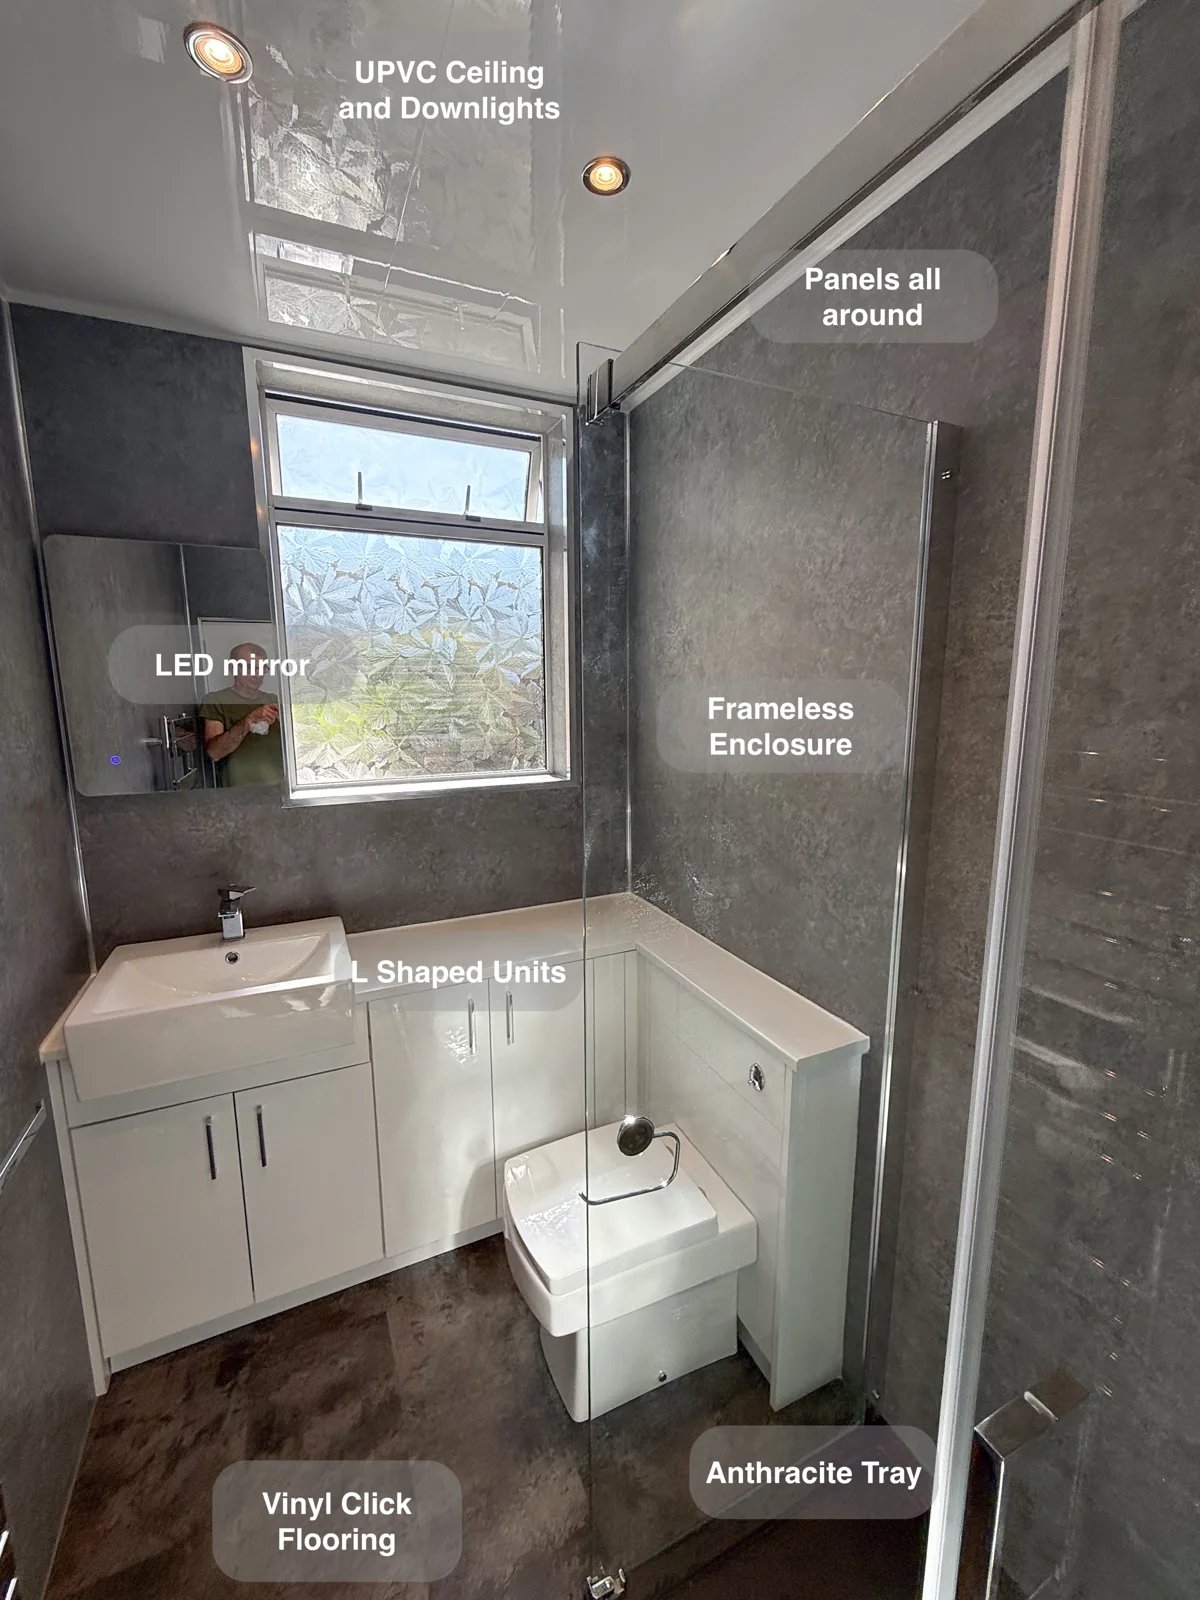
L-shaped fitted units make use of the available space, providing cupboard storage that keeps toiletries and cleaning supplies off surfaces.