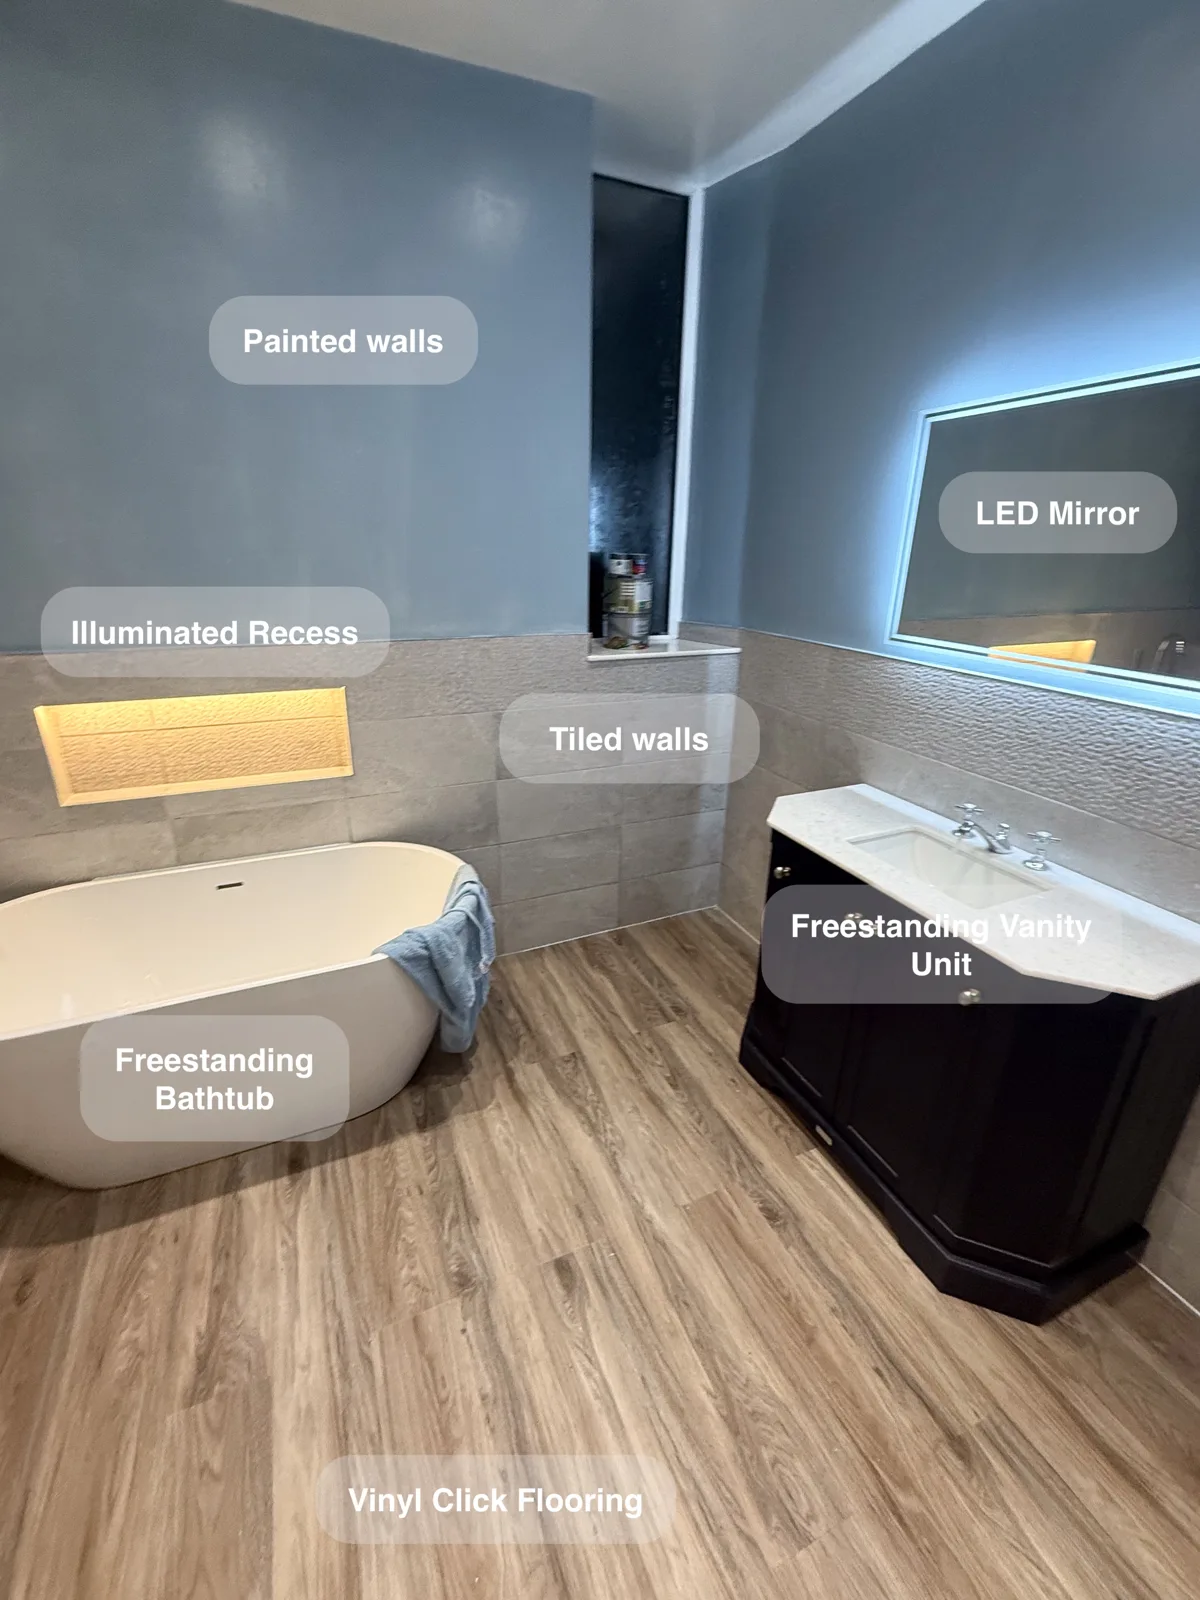
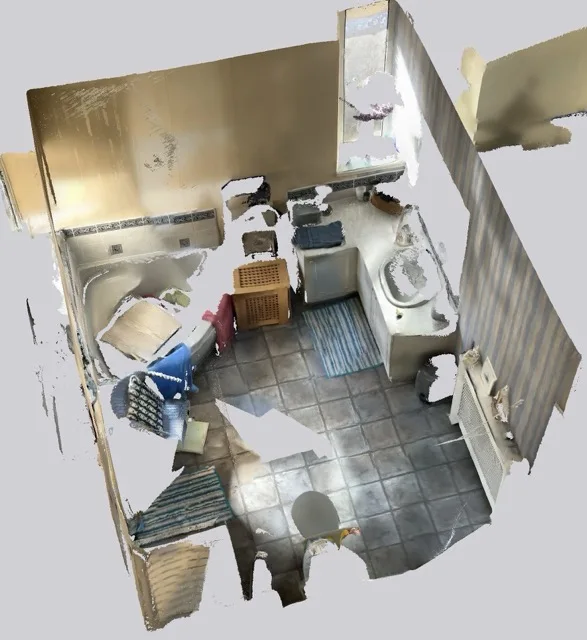
This Aberdeen bathroom had room for a bath and a separate shower. We kept both so there’s somewhere for a quick wash in the morning and a bath for a longer soak. We focused on how each area would work on its own, with storage close to where things are used and a clear route between the fittings.
A bath with its own place
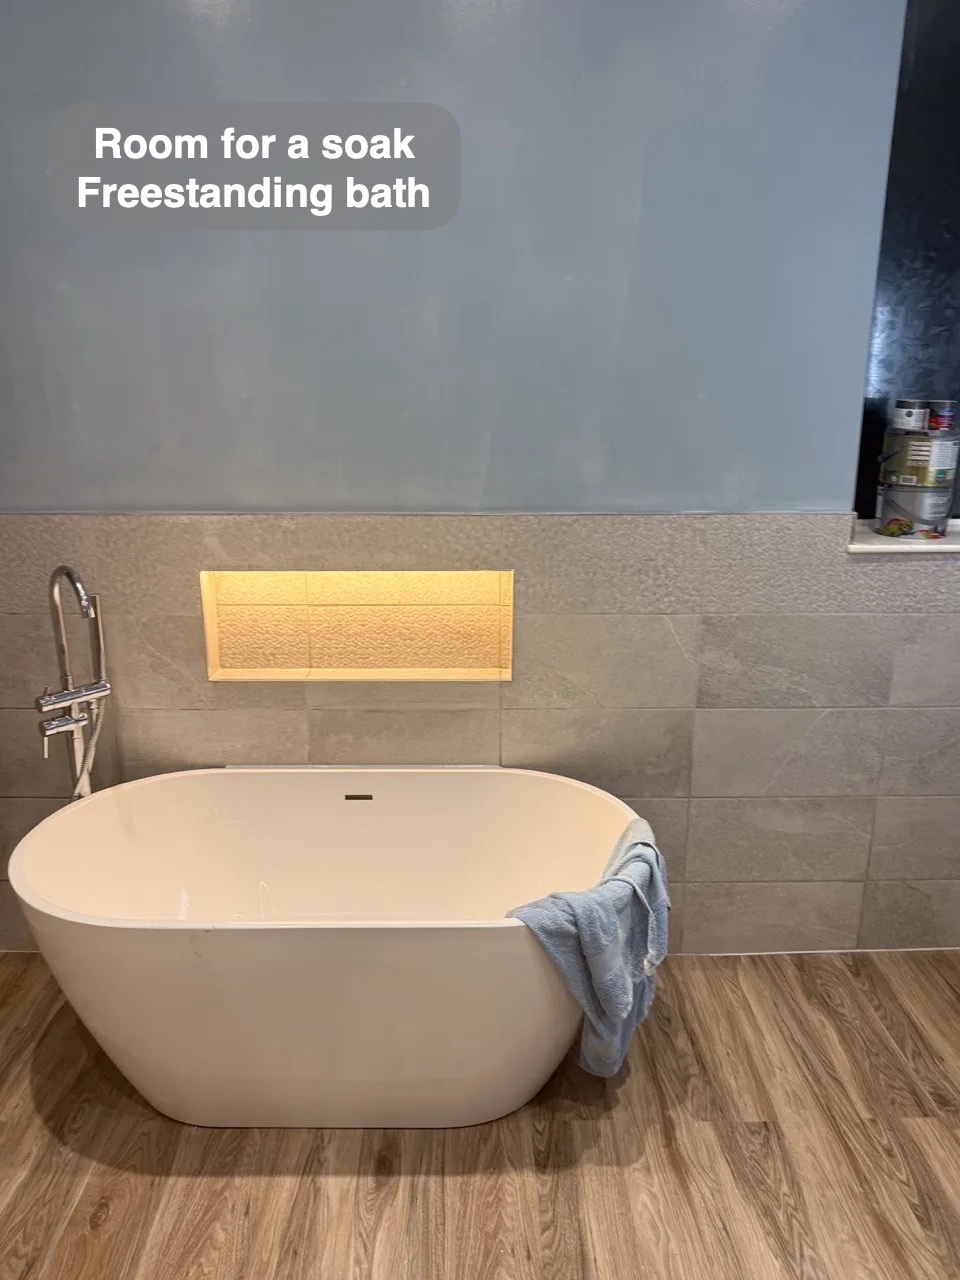
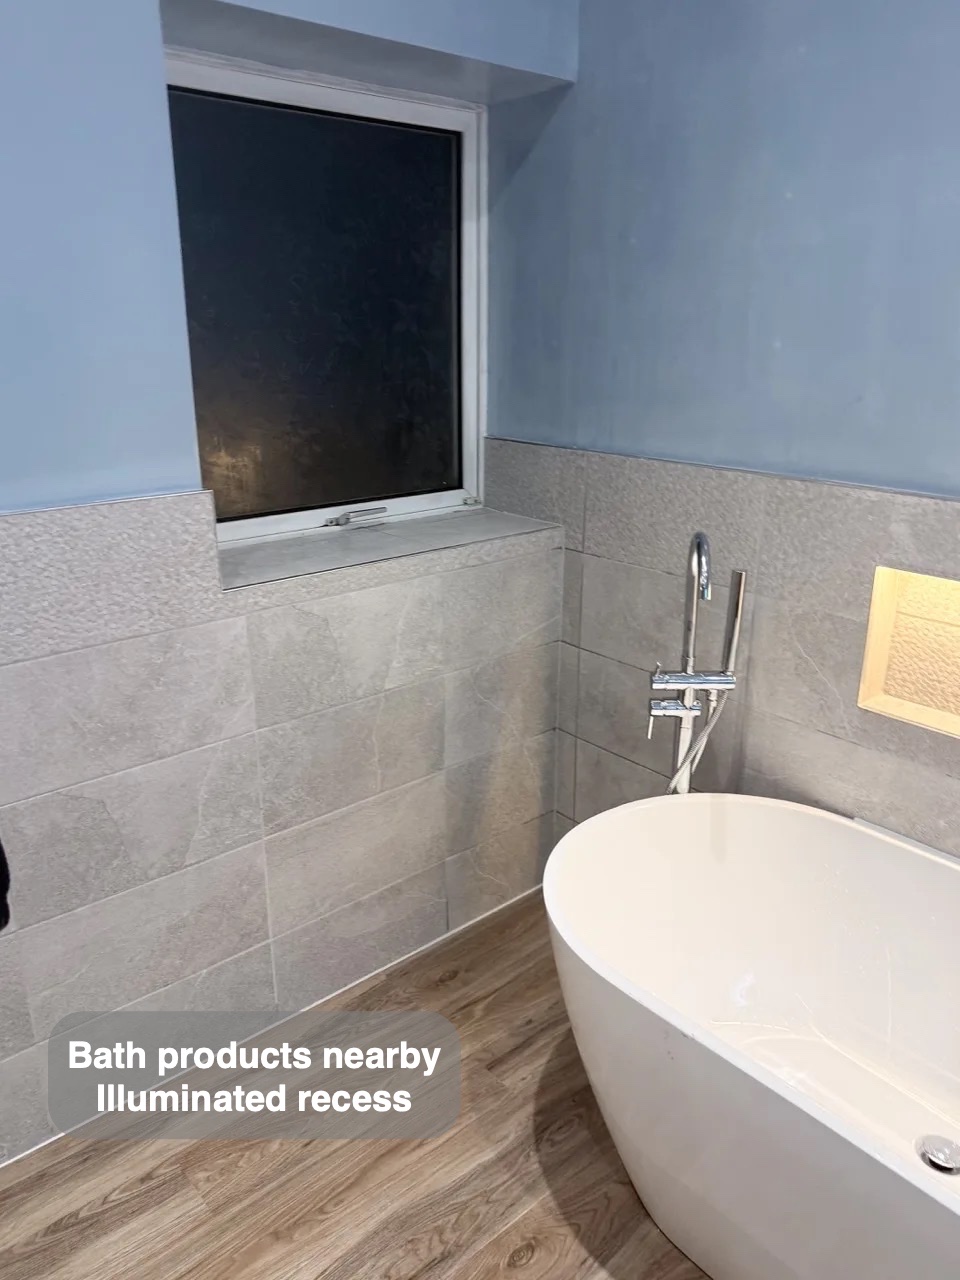
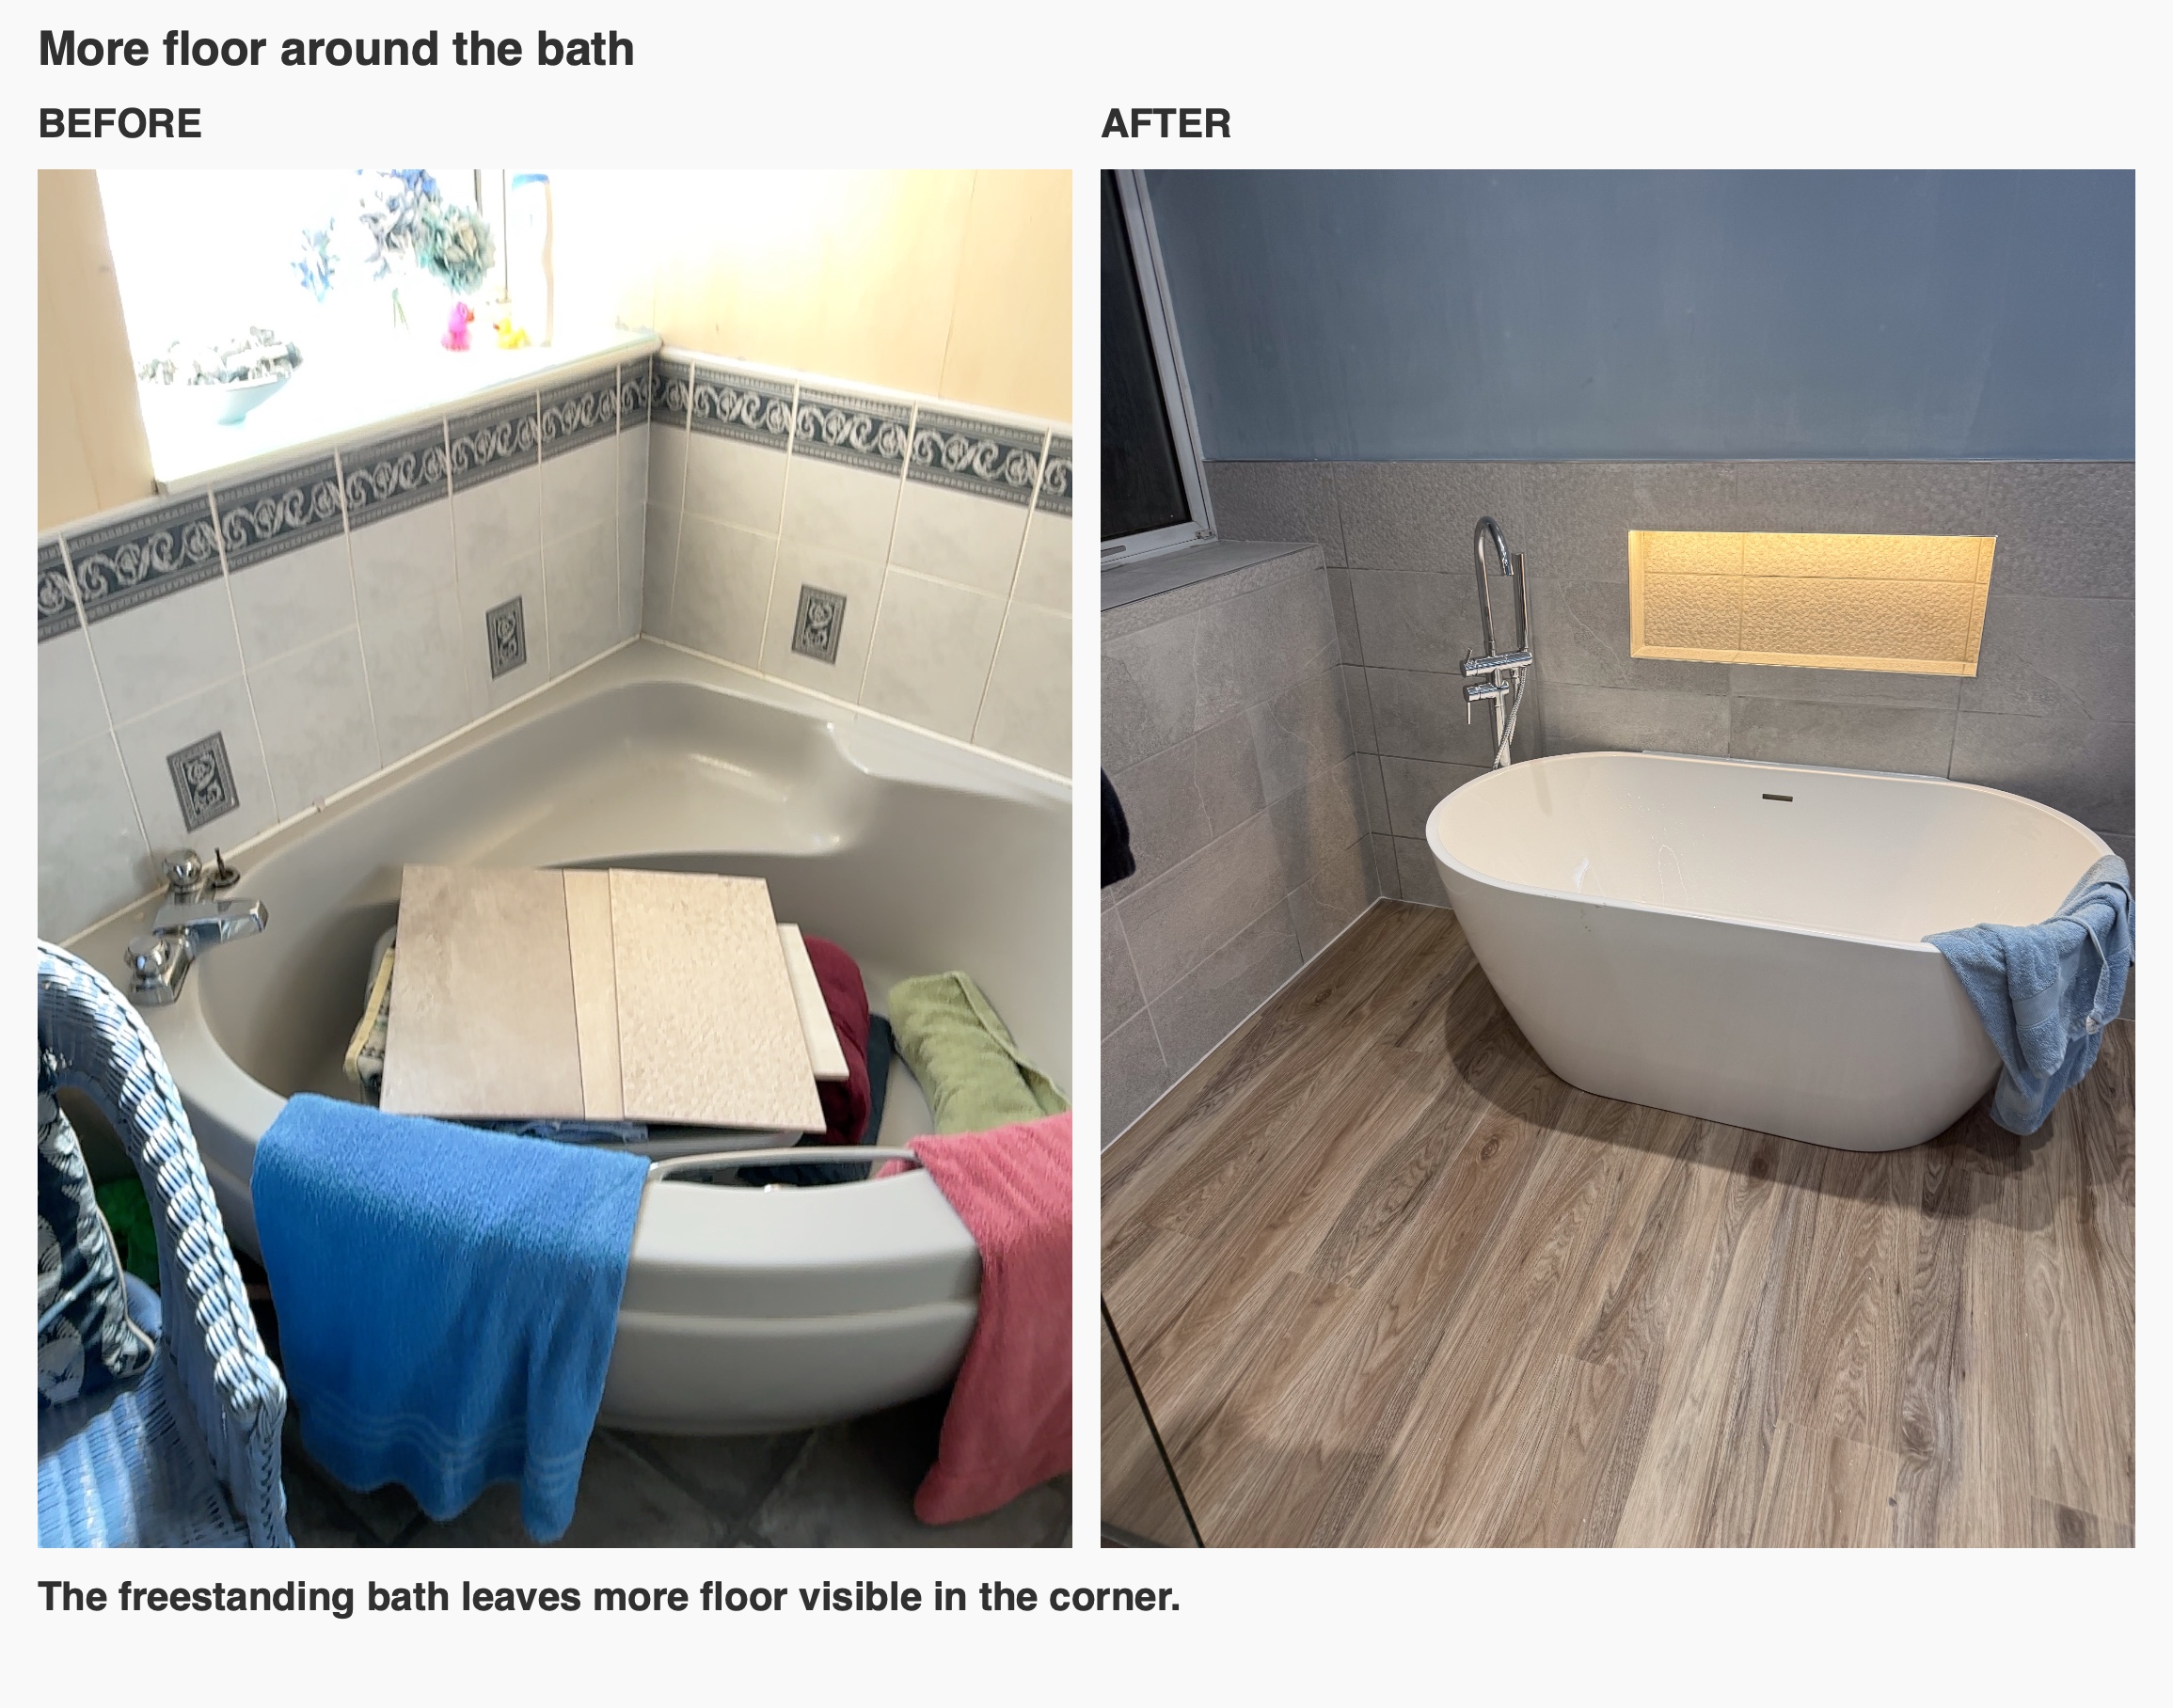
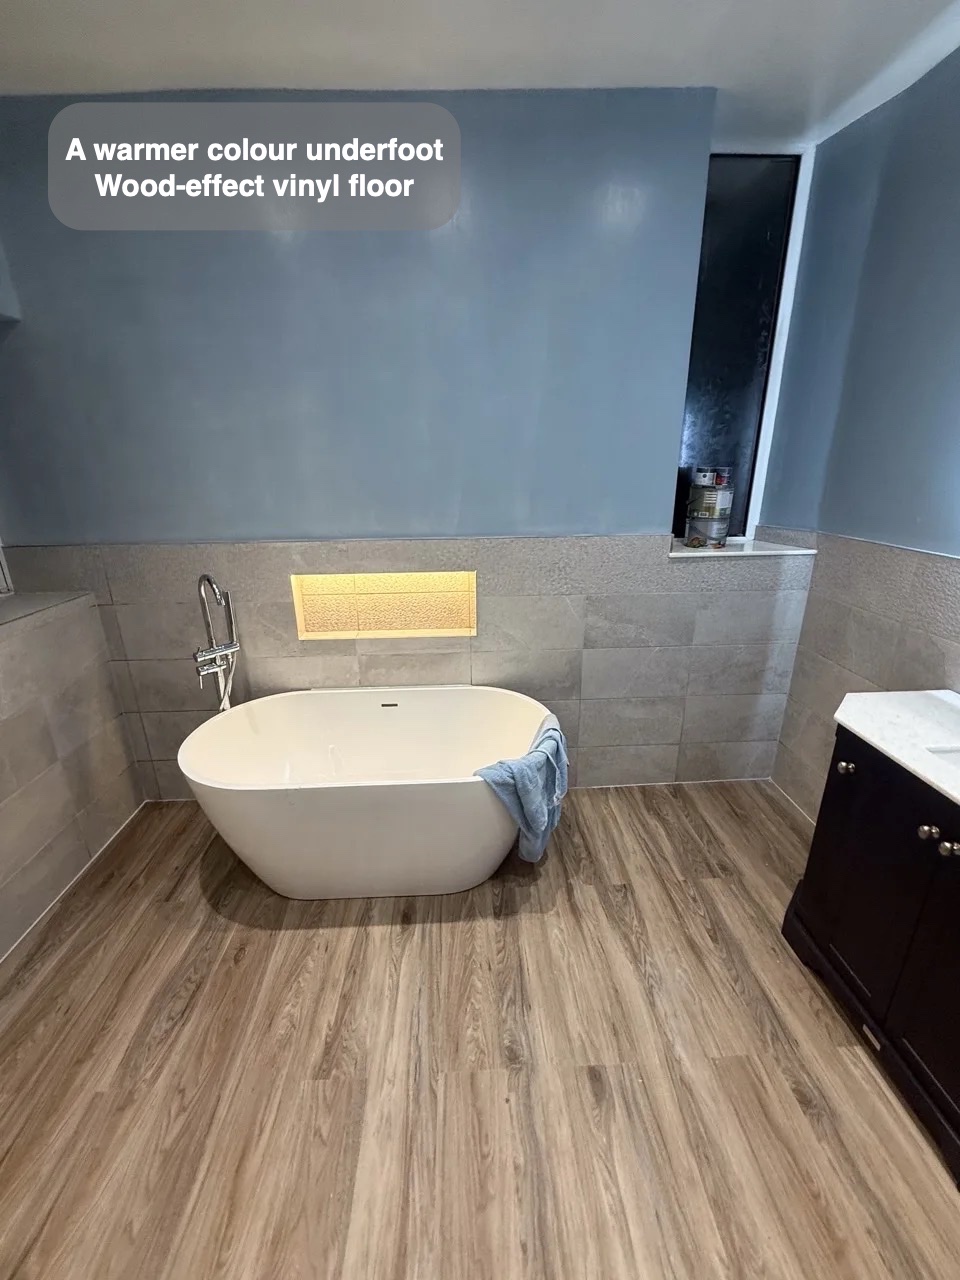
We replaced the old corner bath with a freestanding one. Its curved shape leaves more of the floor visible at this end of the room, and the separate floor-mounted tap keeps the rim clear. When we plan a freestanding bath, we look at where the filler and storage will go as well as where the bath fits. Here, we left access to the window and set the filler at that end. The lit recess gives bath products somewhere within reach and leaves the rim clear.
A shower that keeps the tray clear
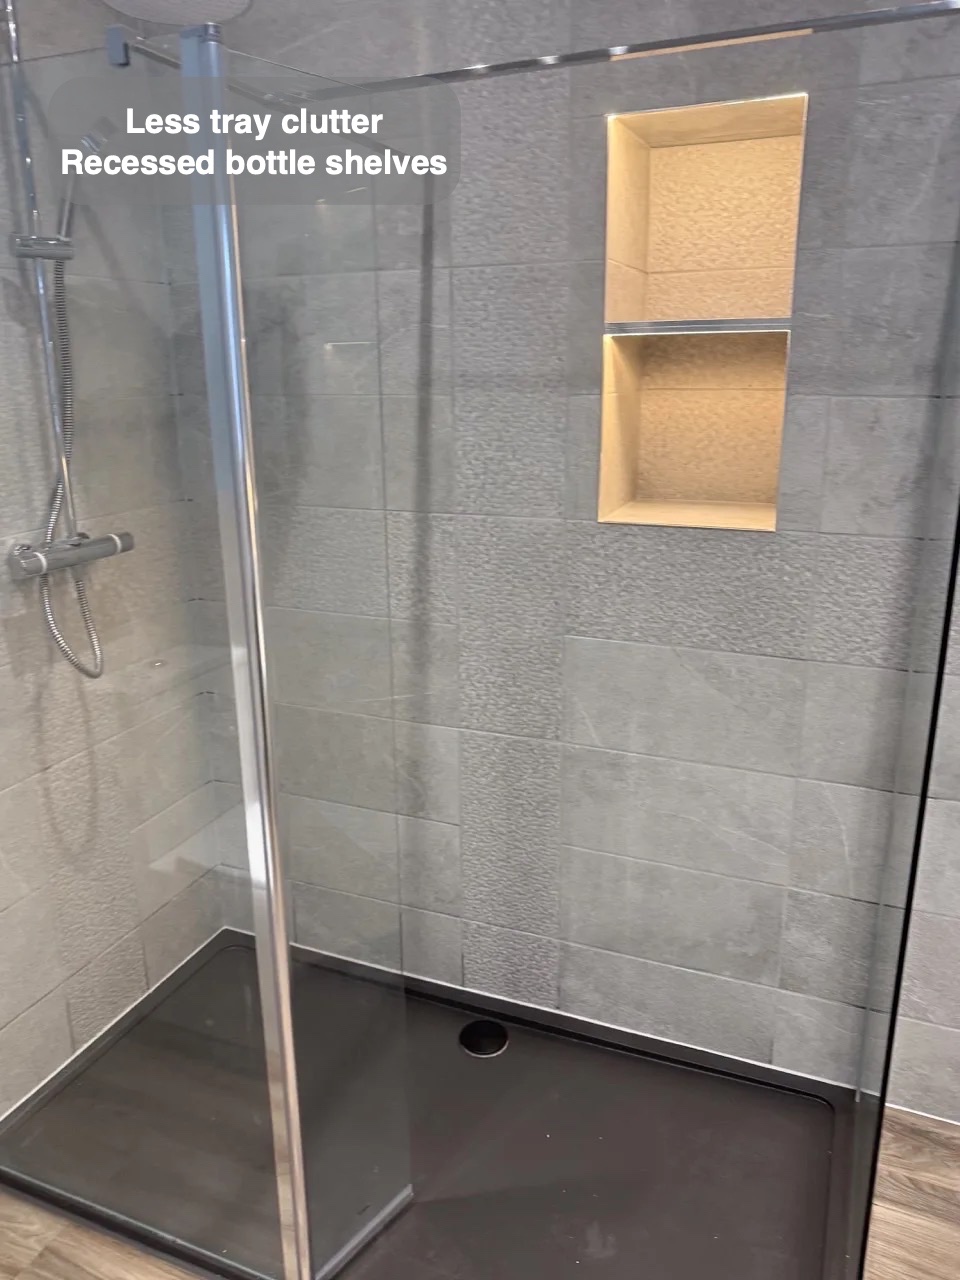
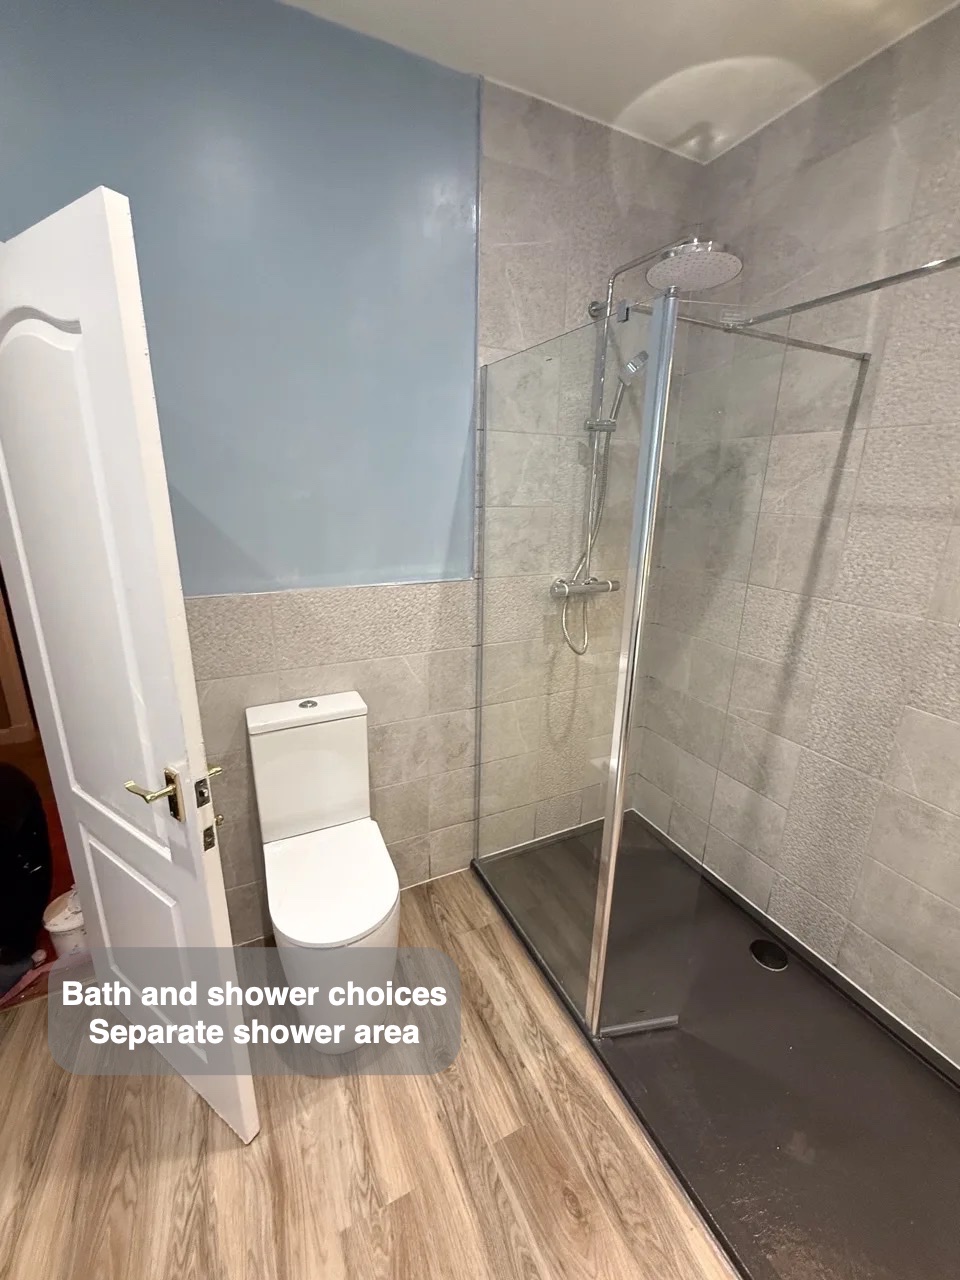
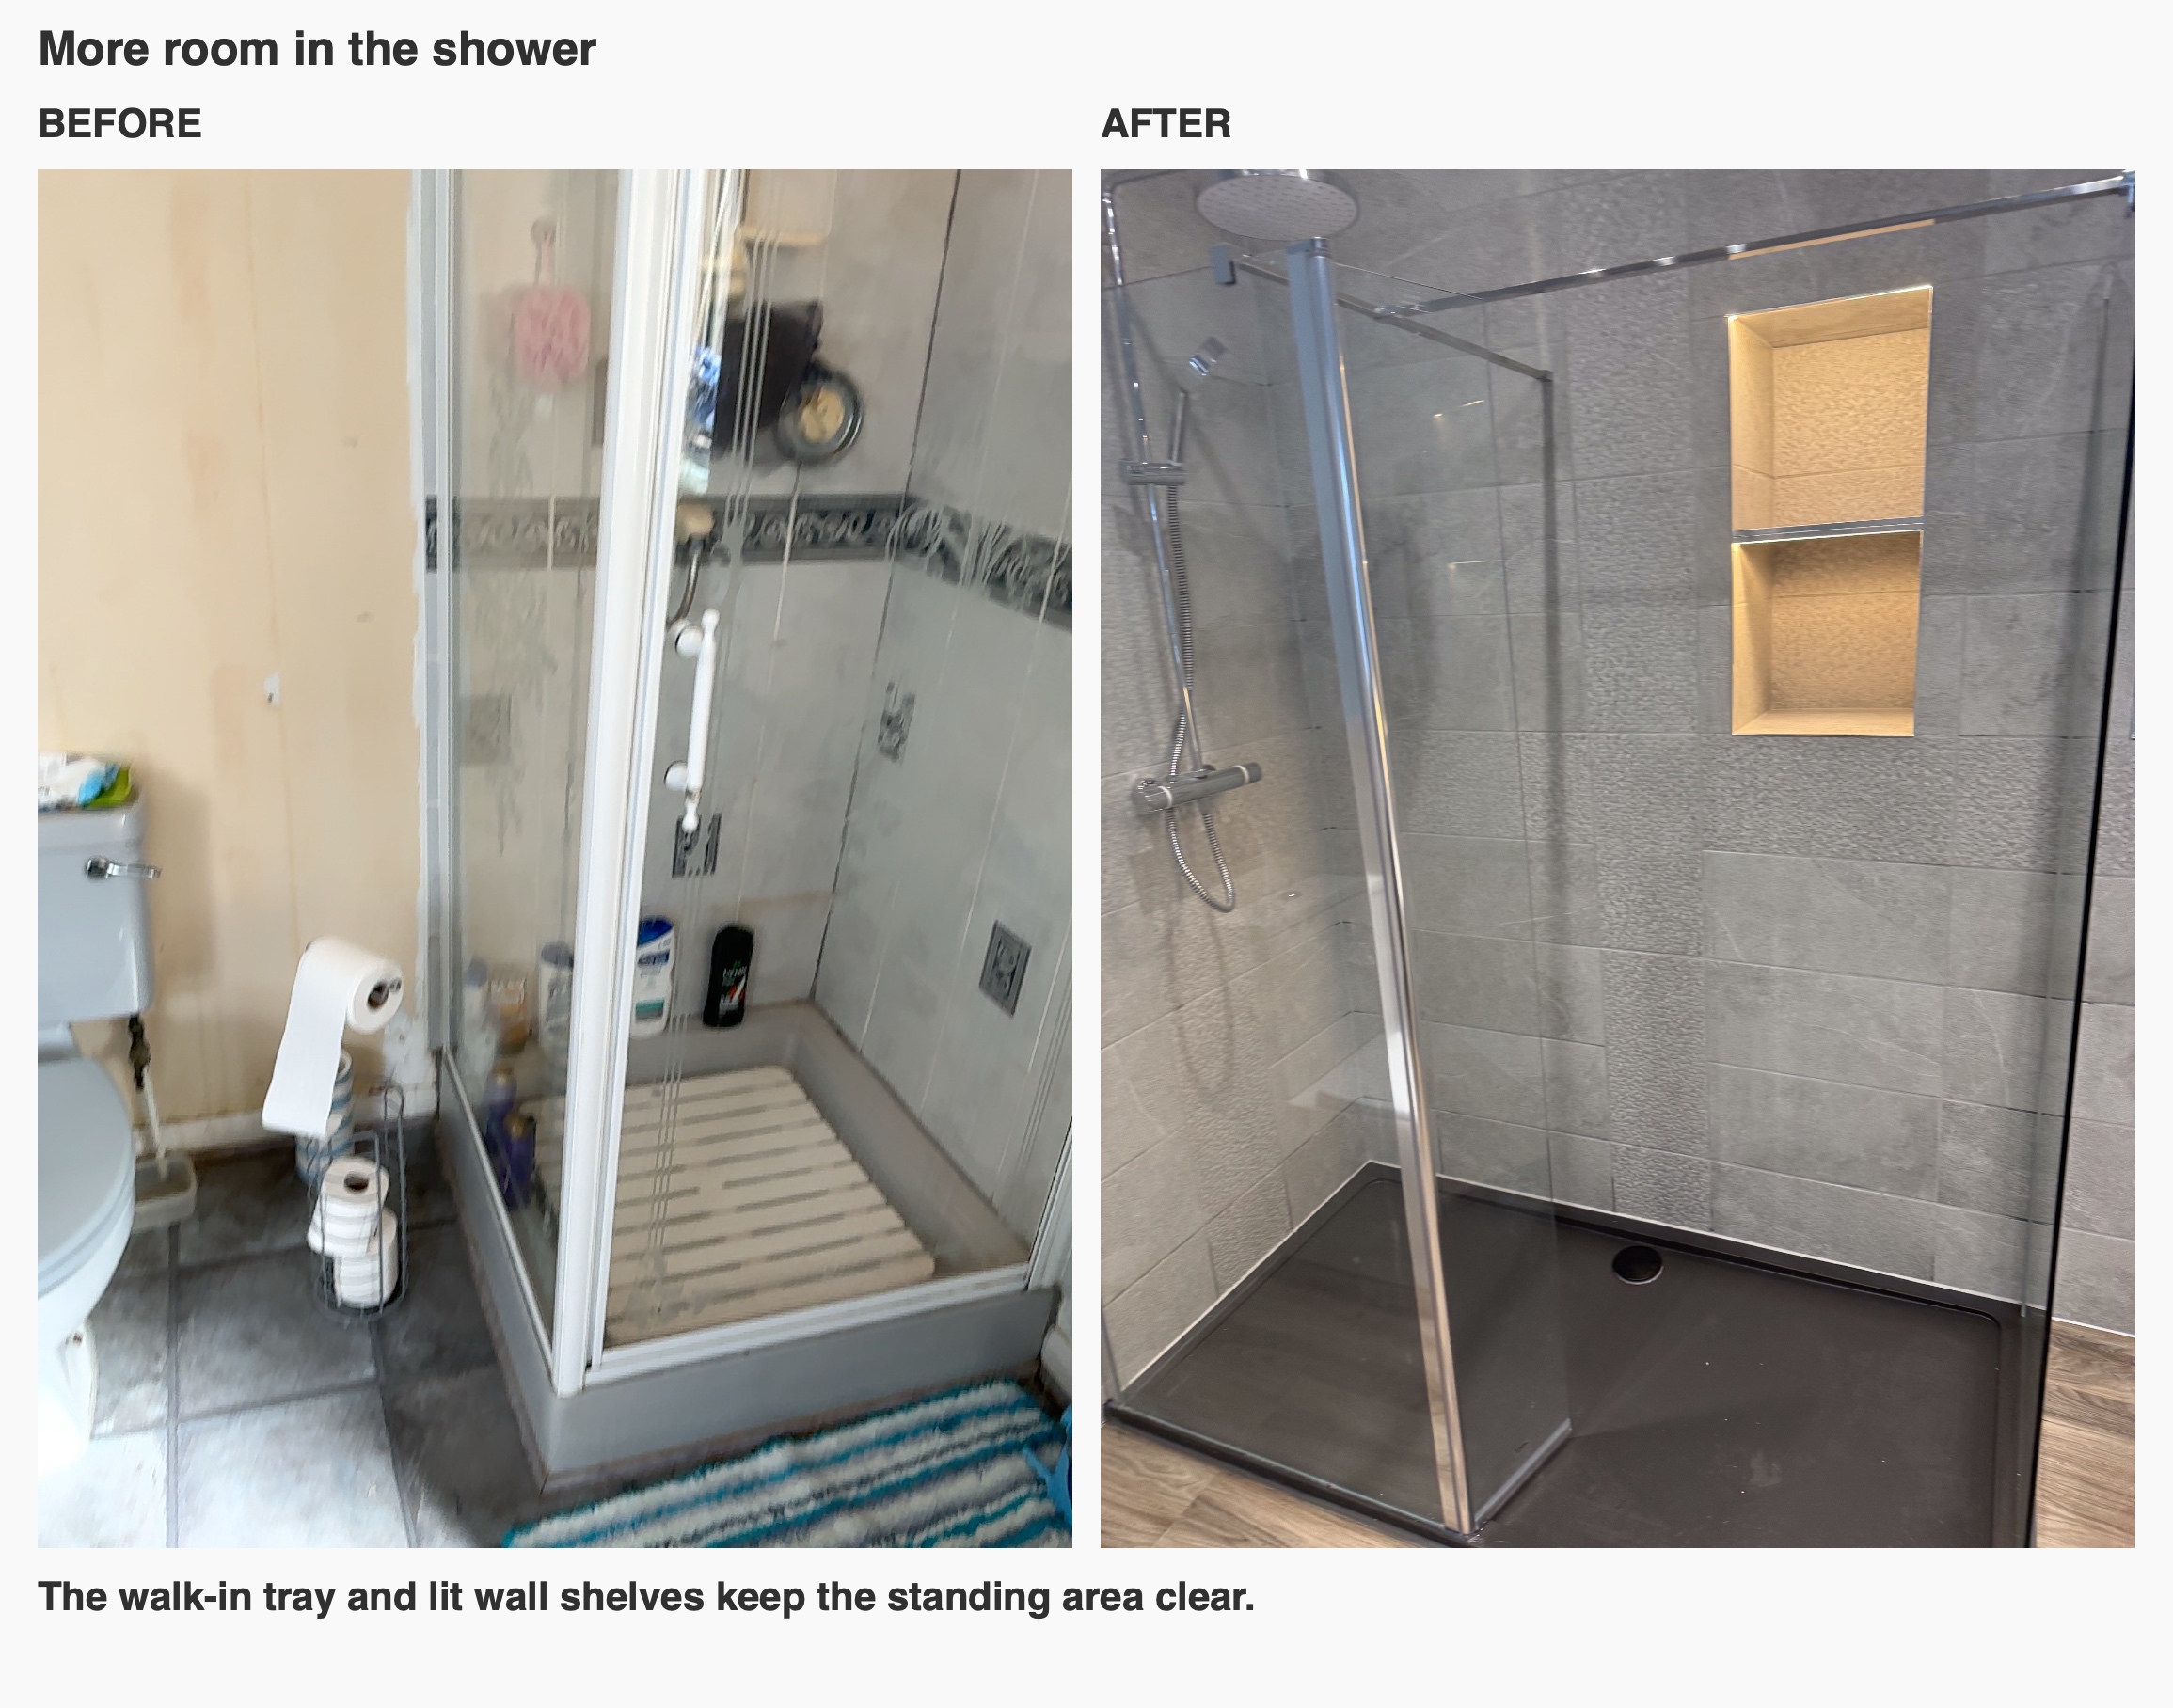
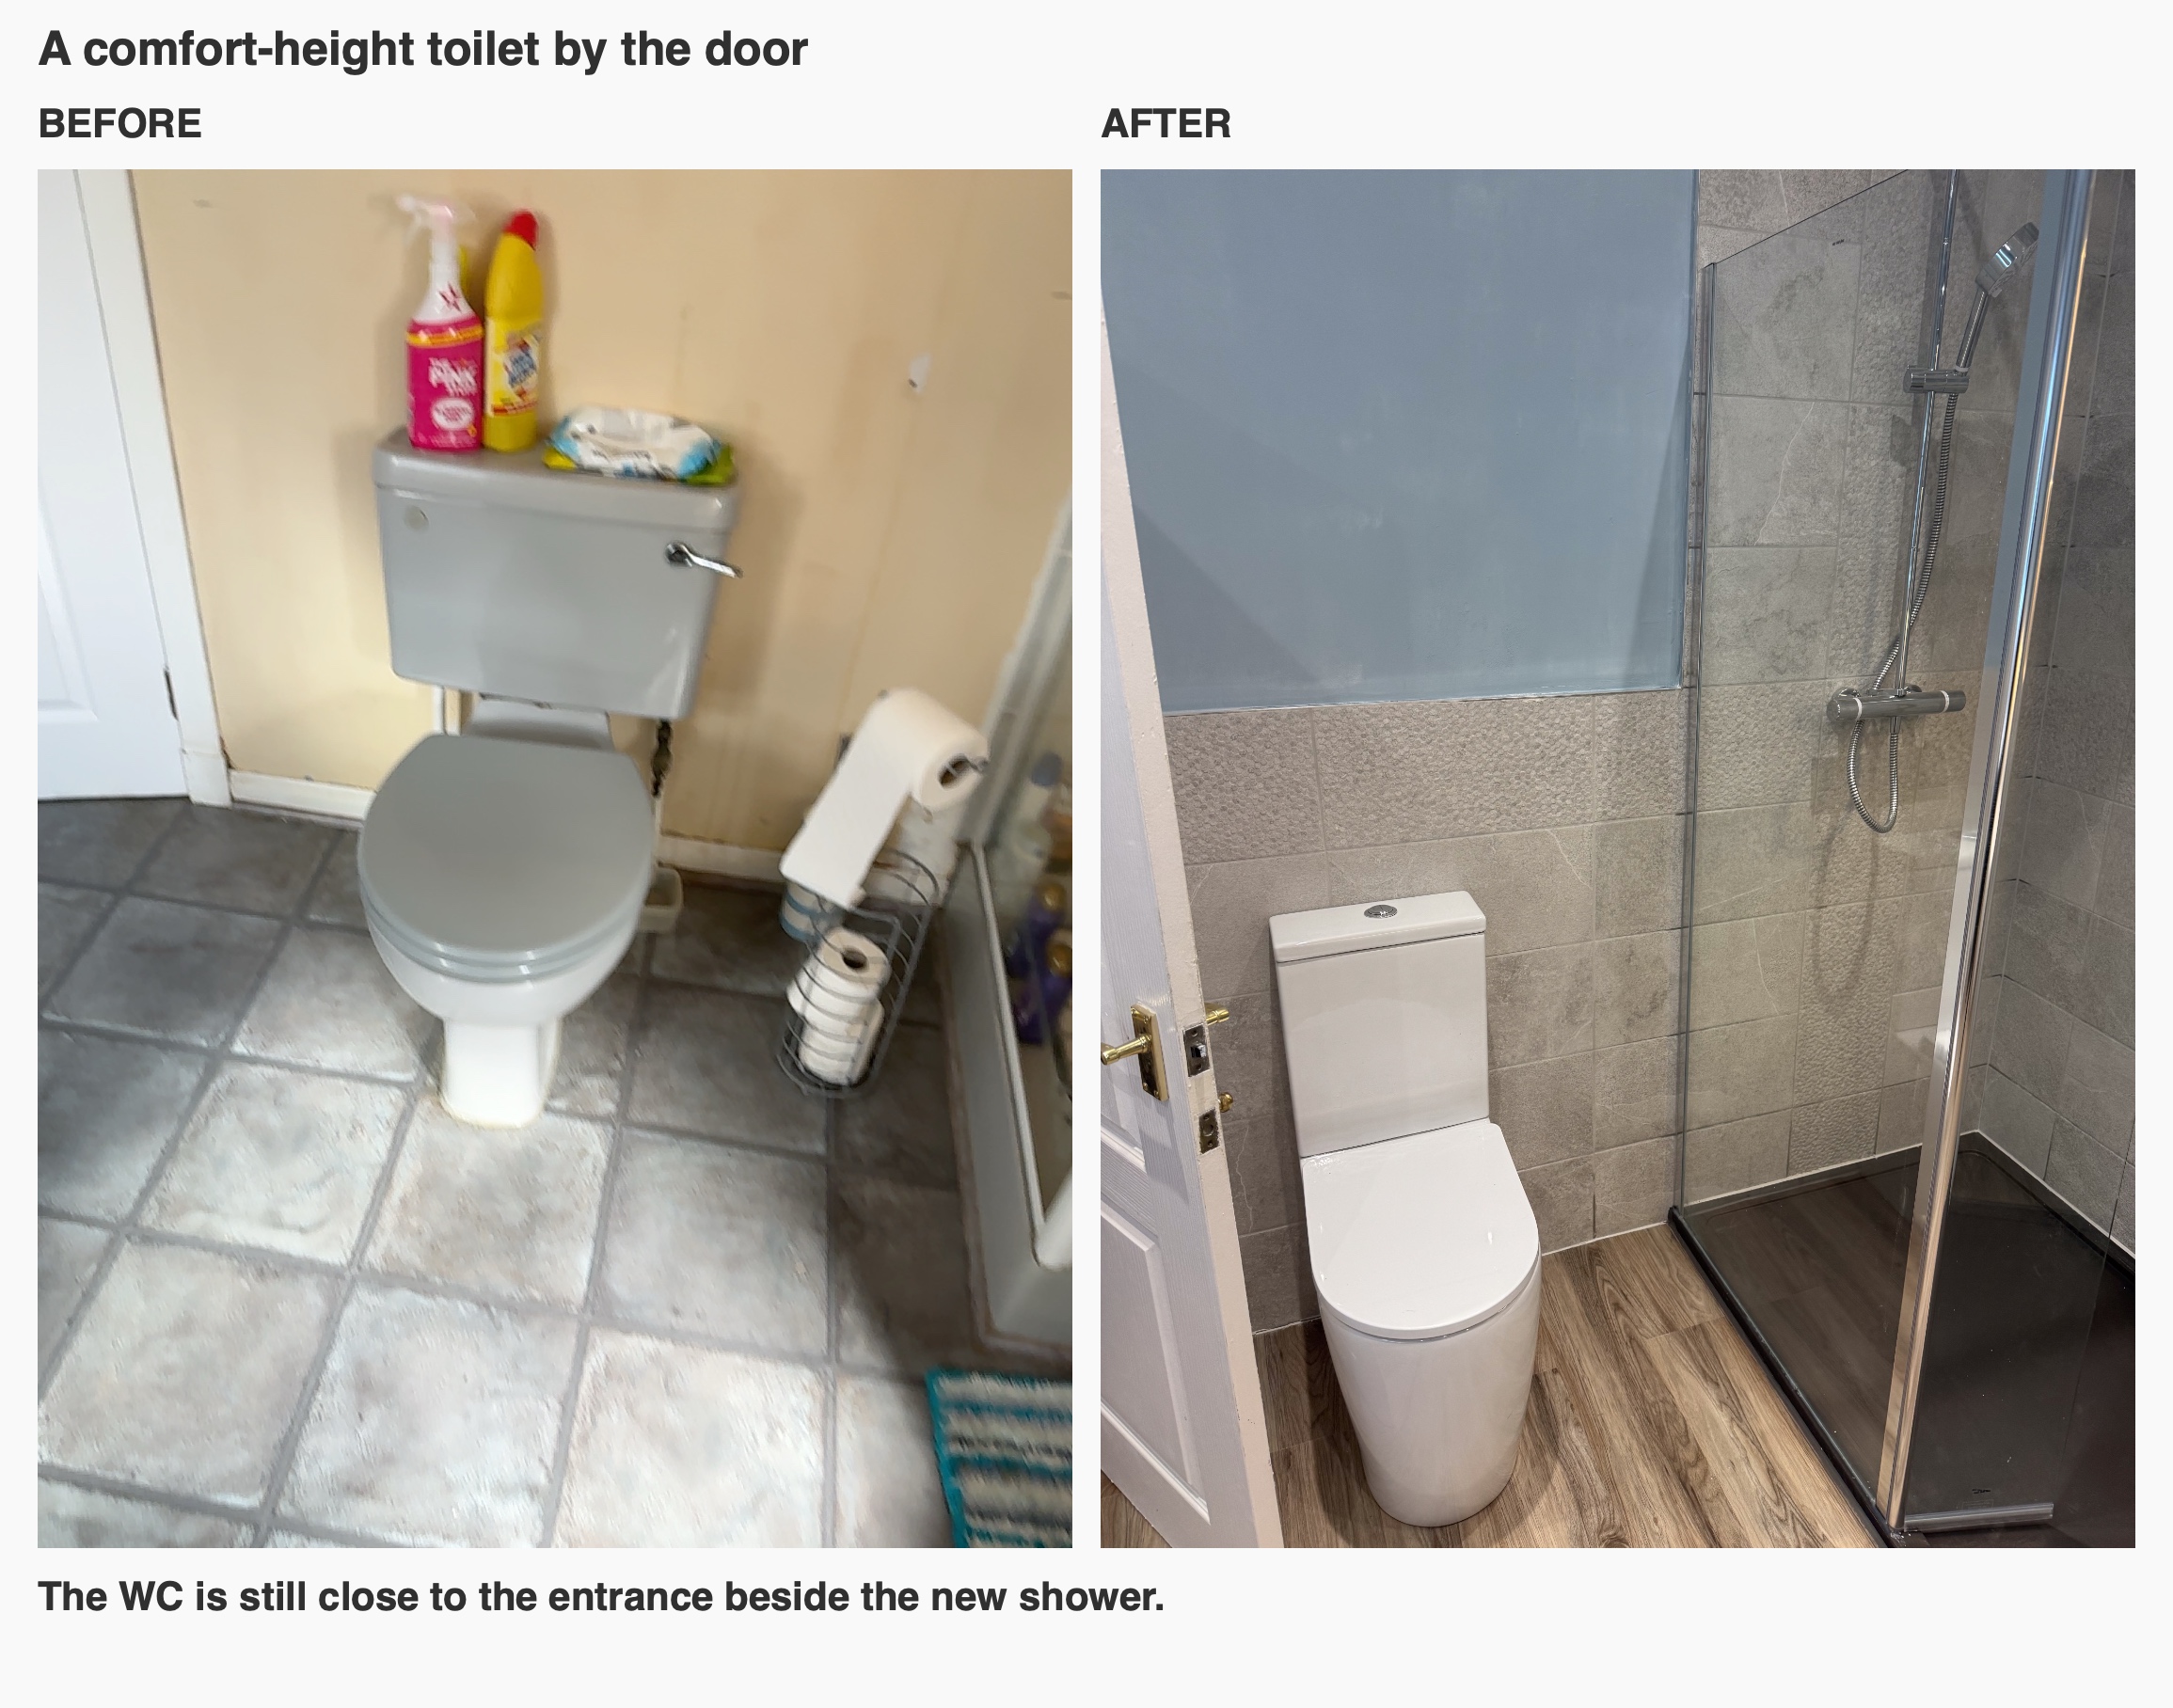
The larger walk-in shower has a glass screen and a dark stone-effect tray. We settled on two levels in the lit recess after reviewing the design with the customers. We check how high someone would need to reach for a bottle before we build the wall. Keeping the shelves within easy reach also keeps bottles out of the standing area. The comfort-height toilet sits beside the shower, close to the door.
A clearer place to get ready
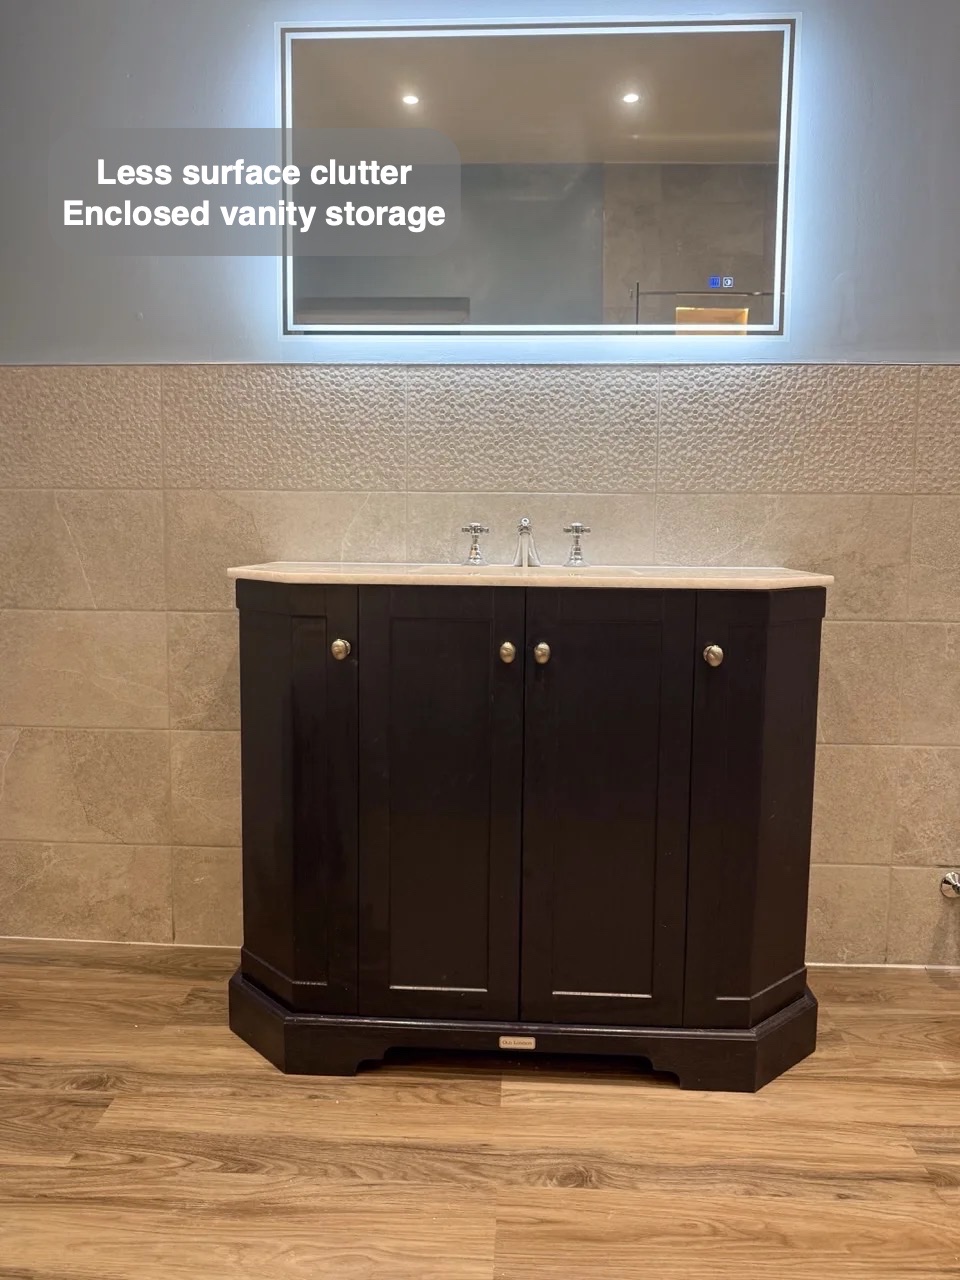
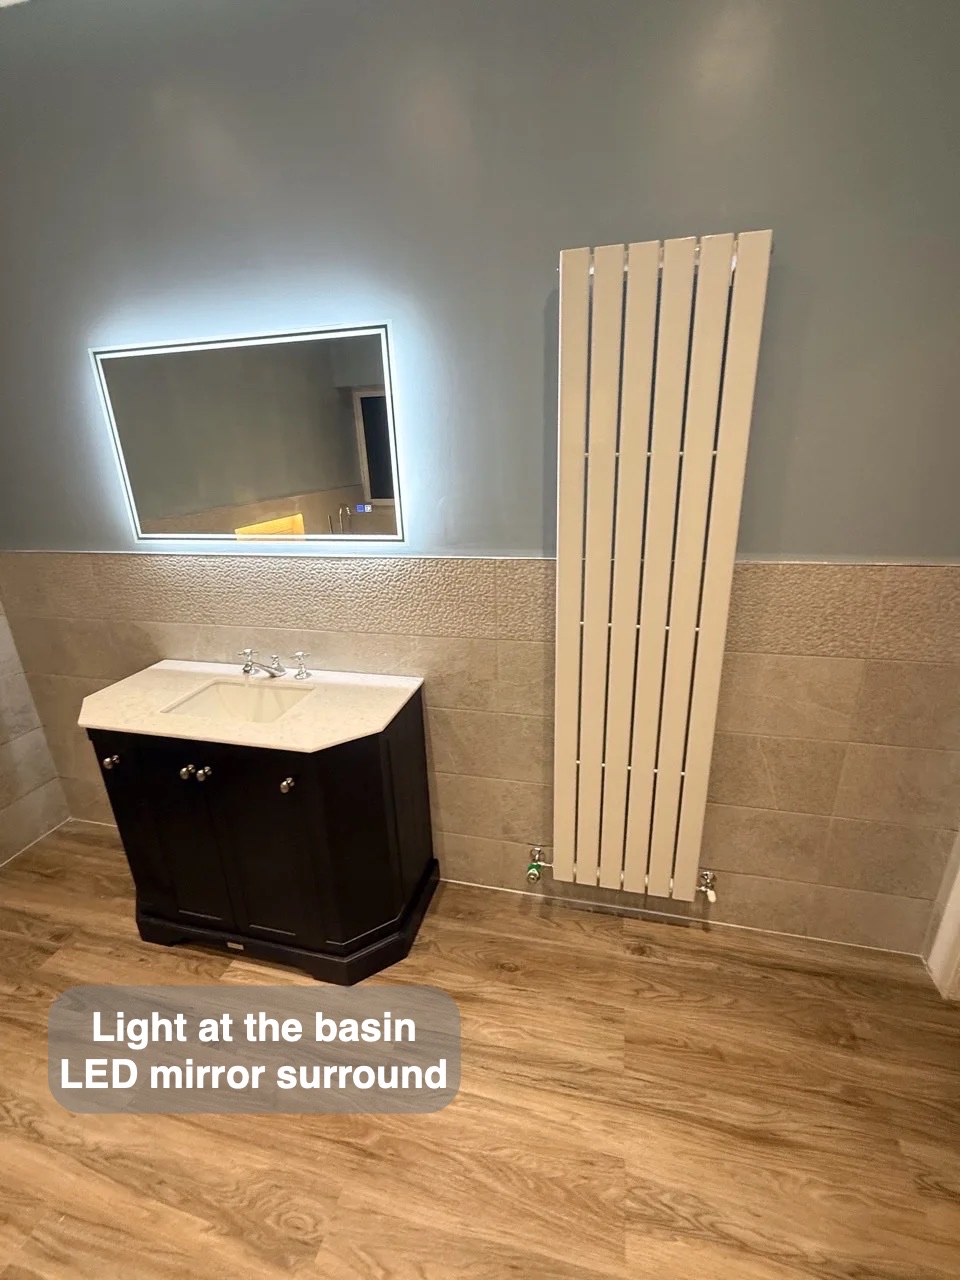
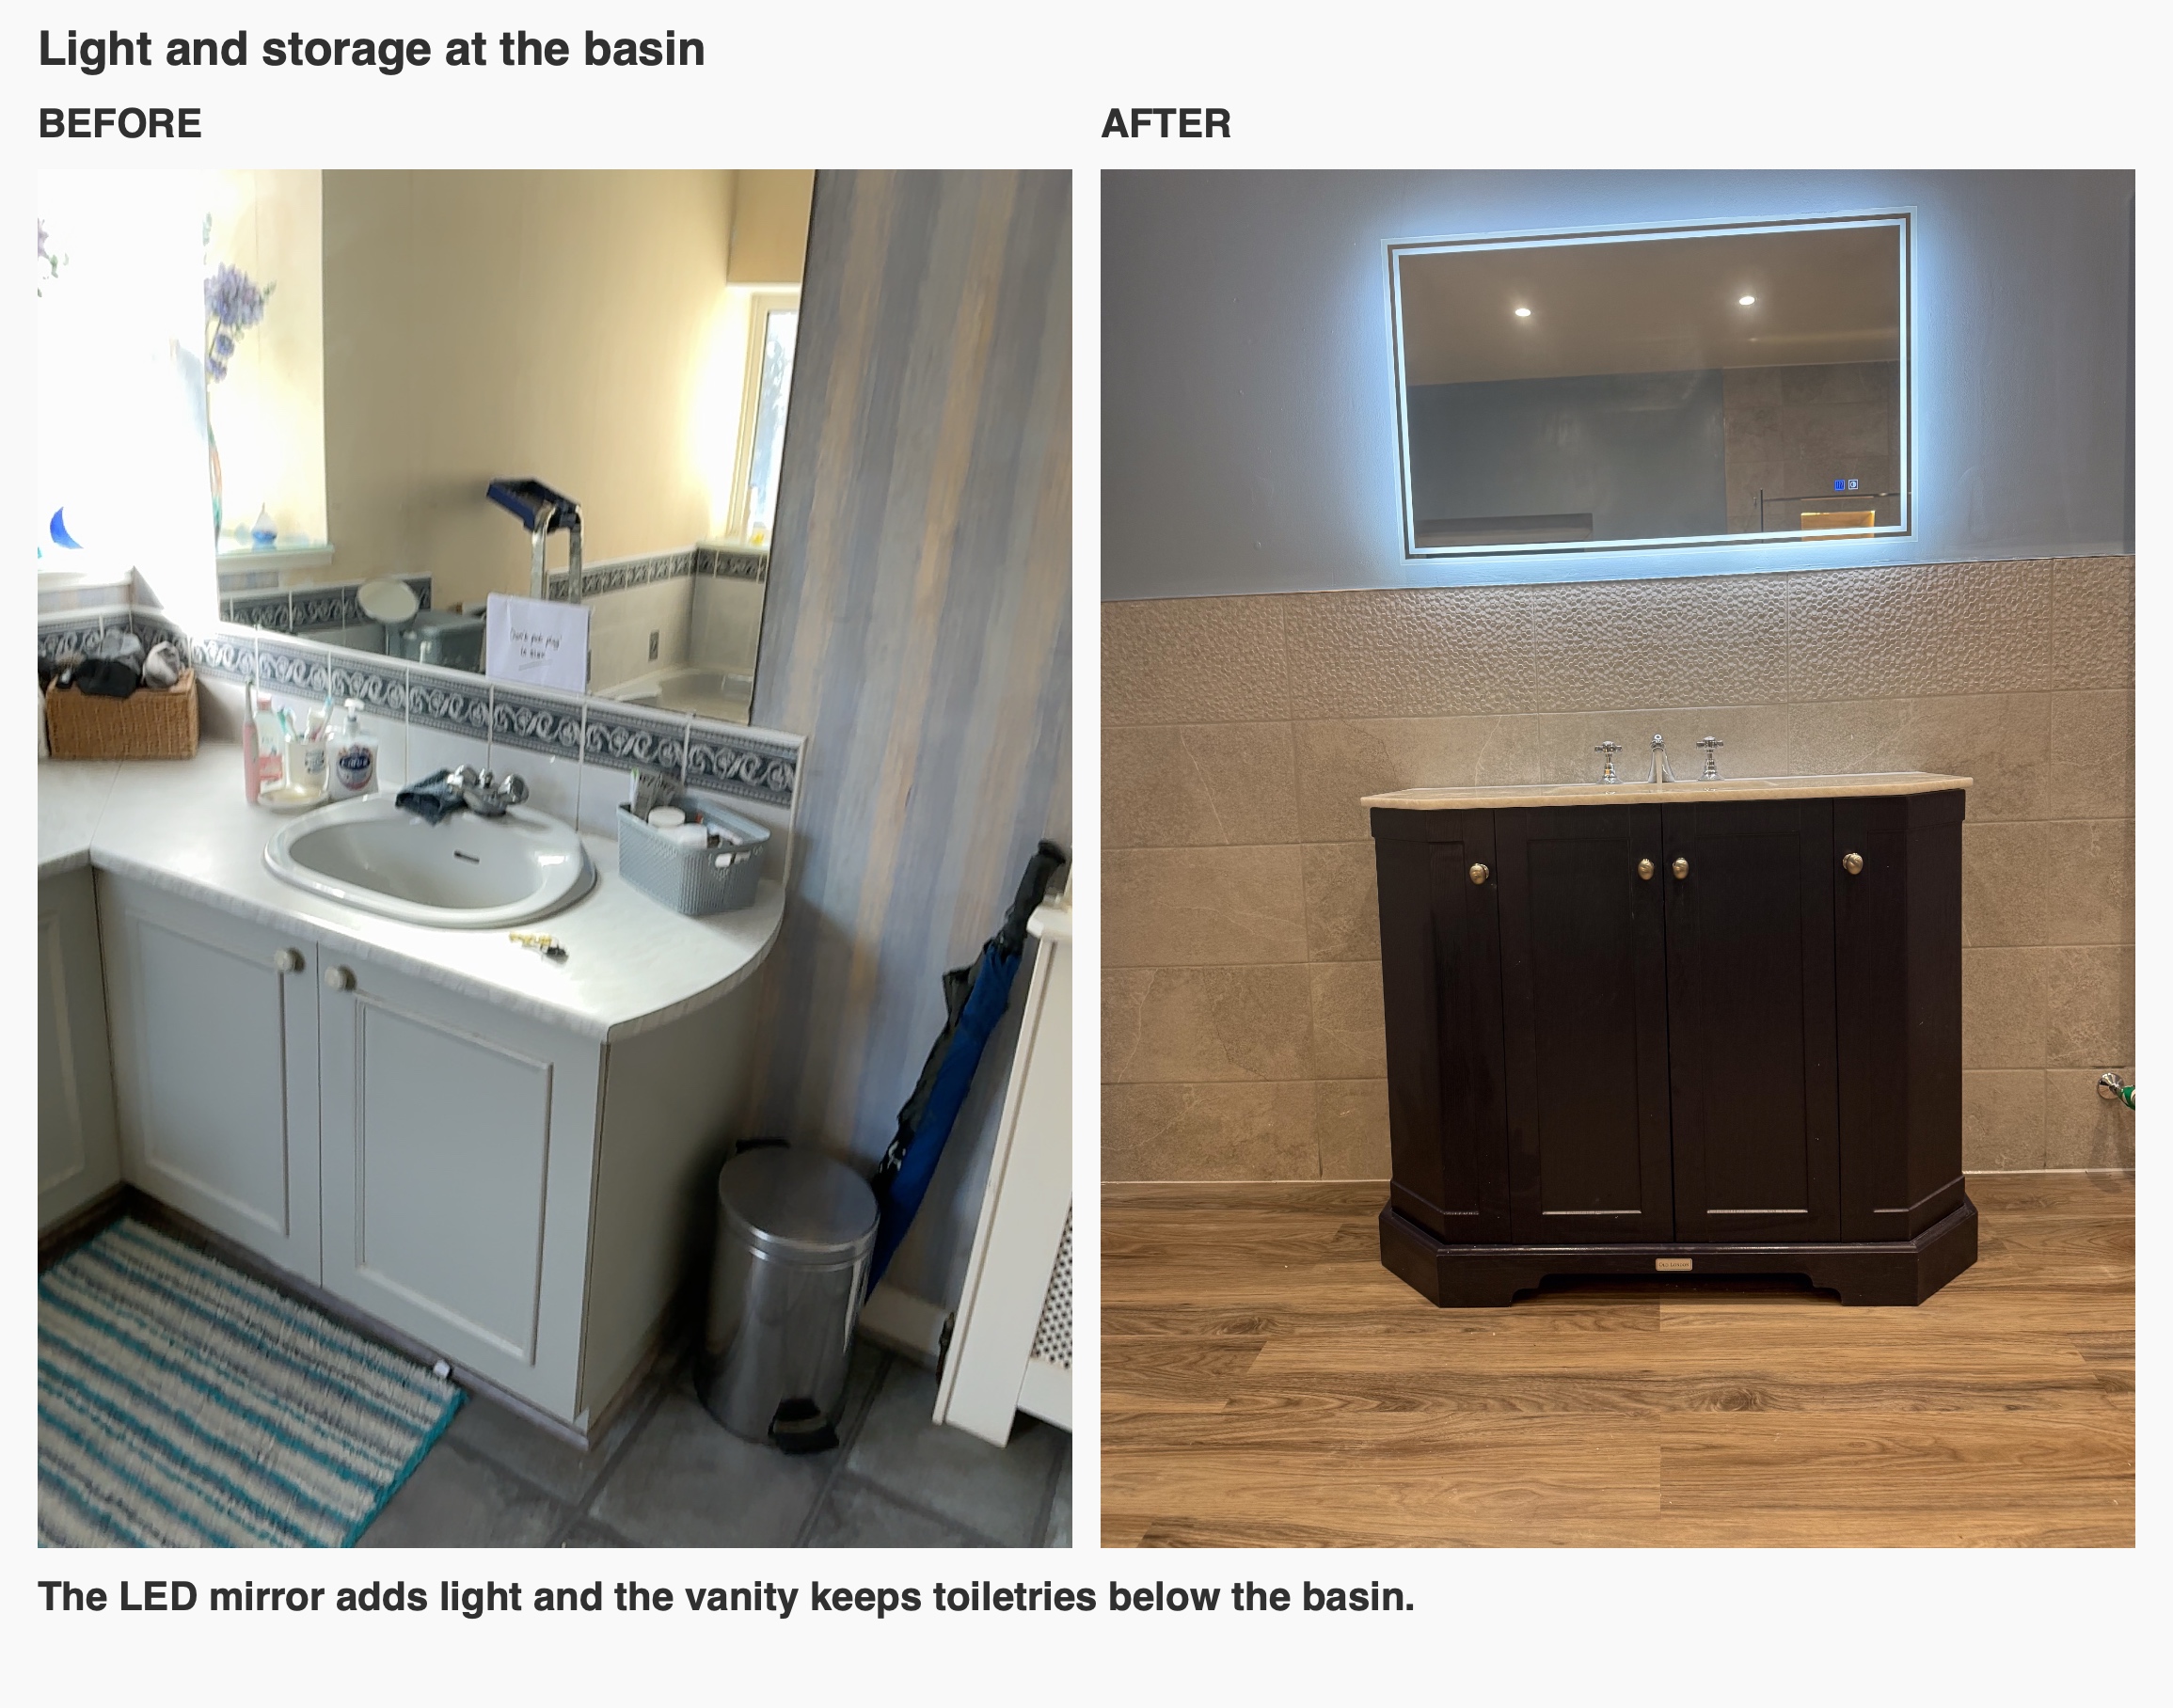
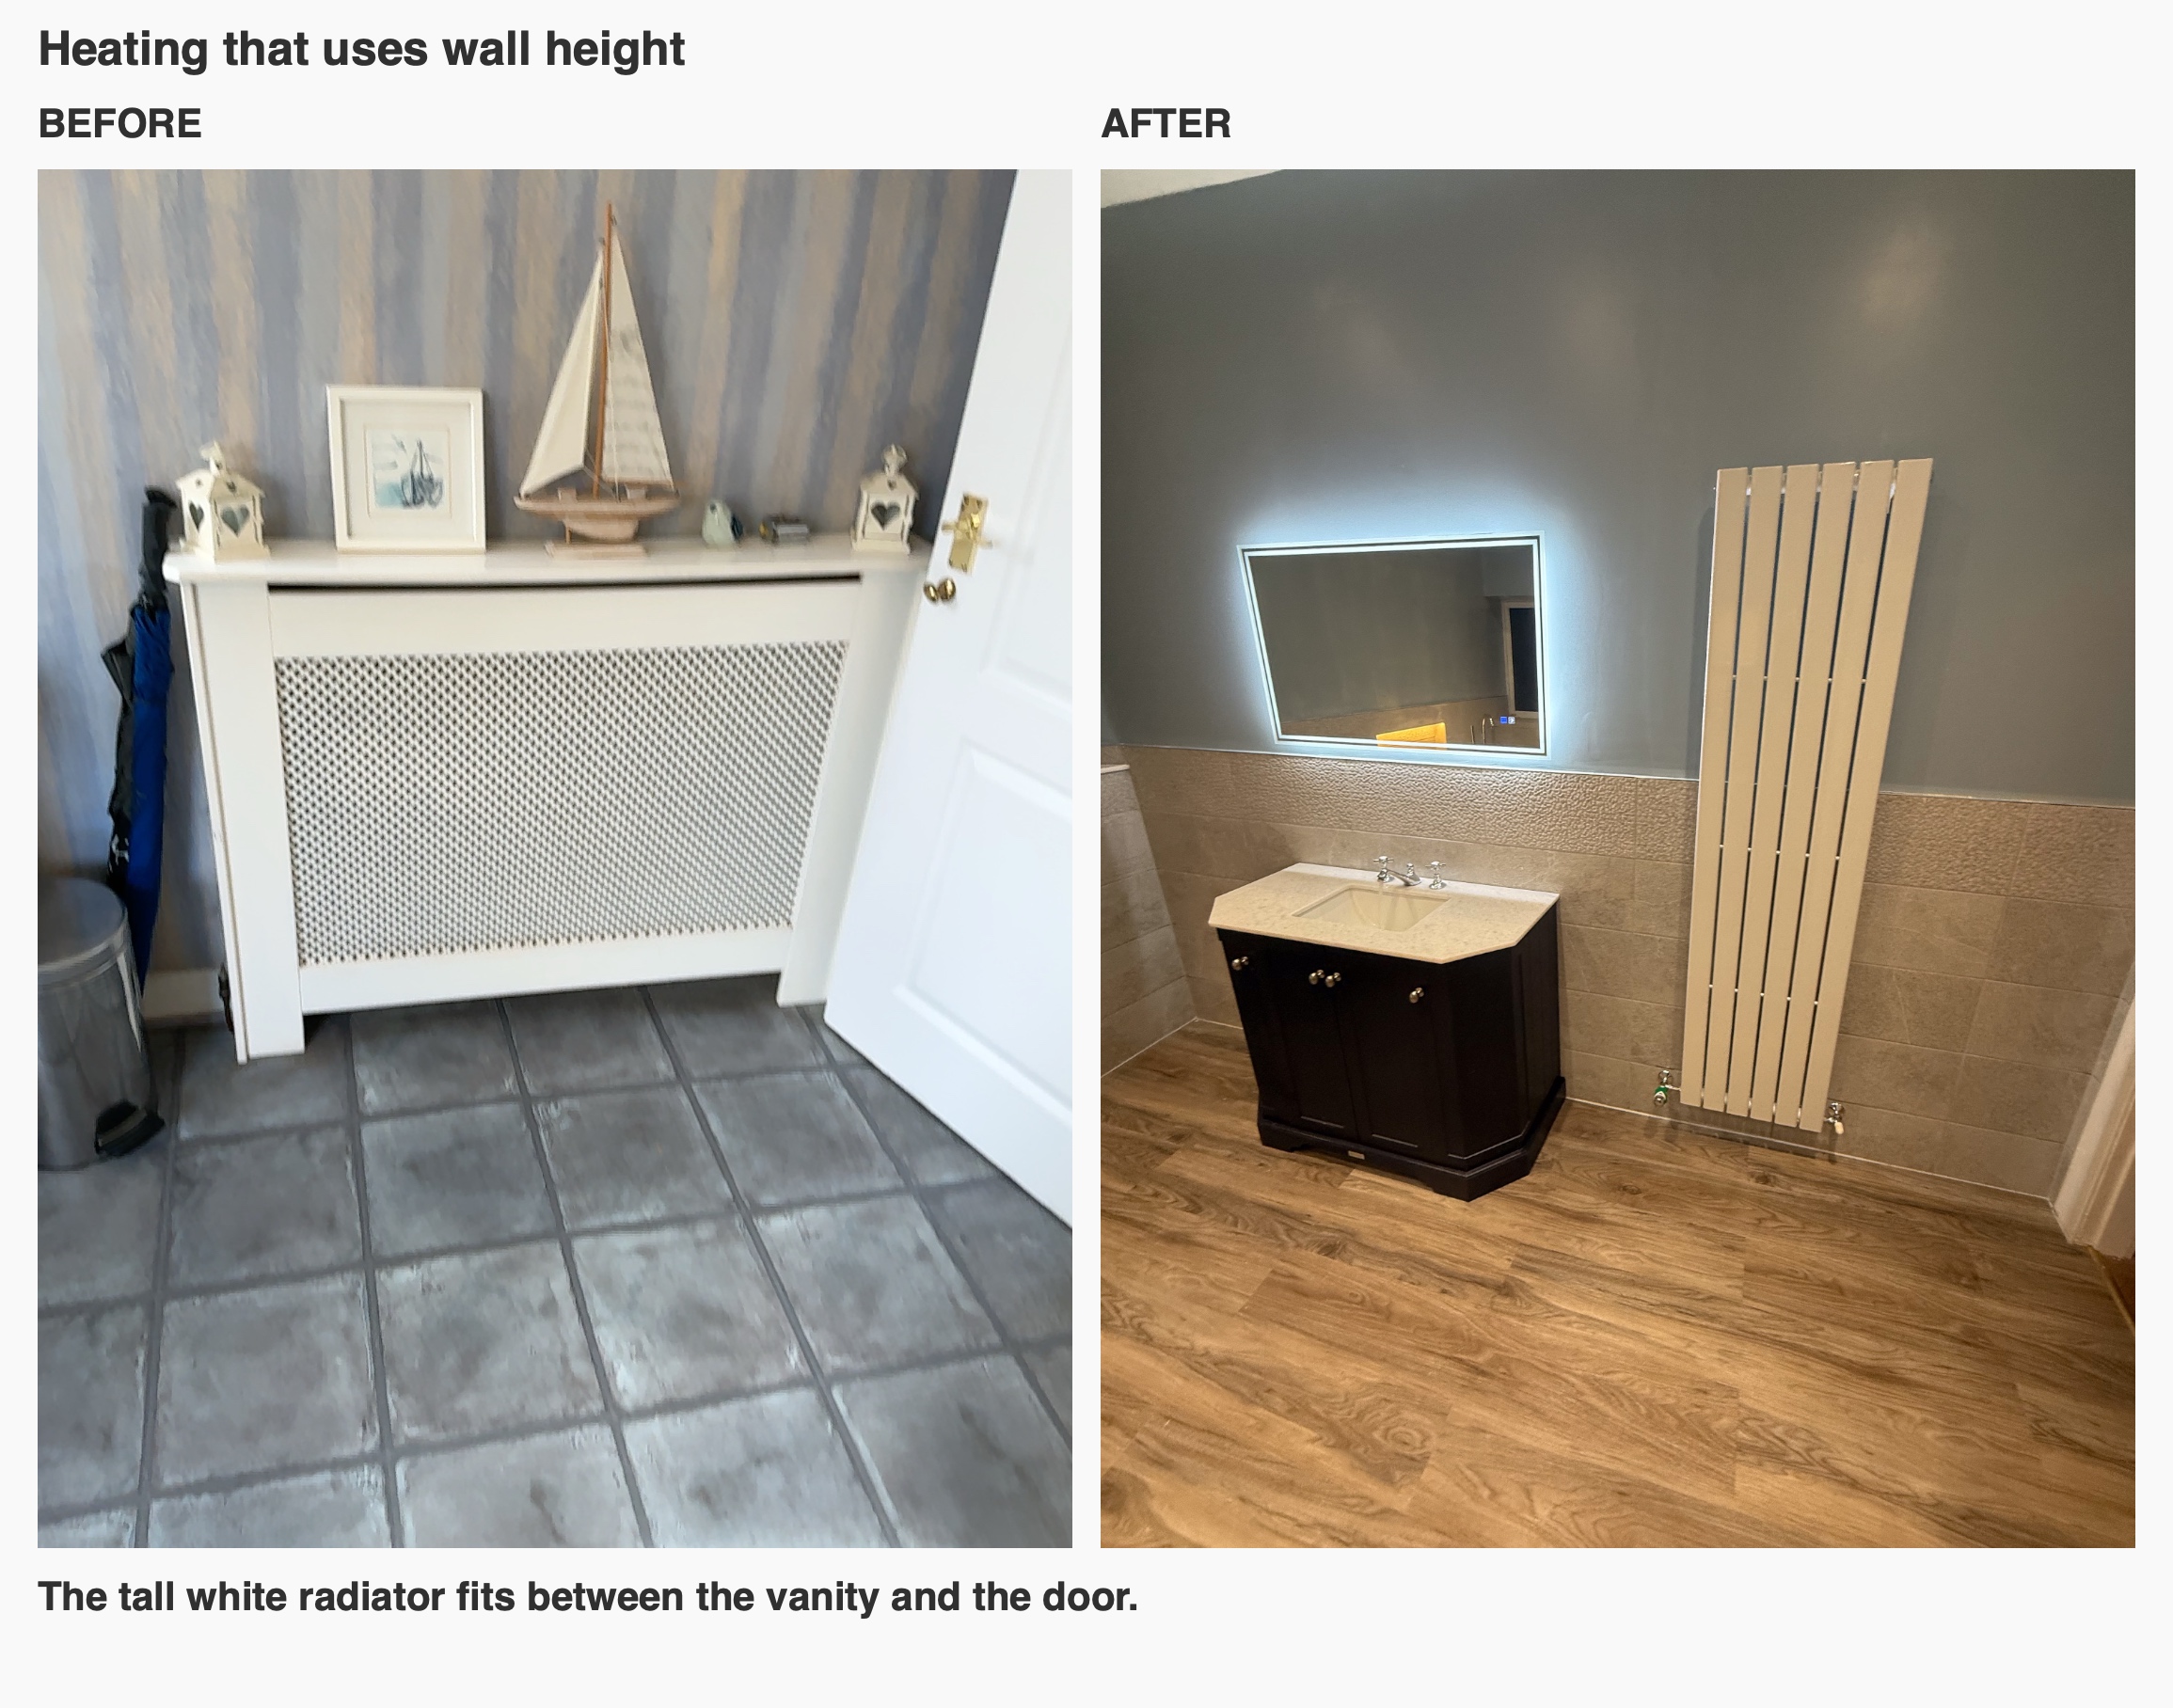
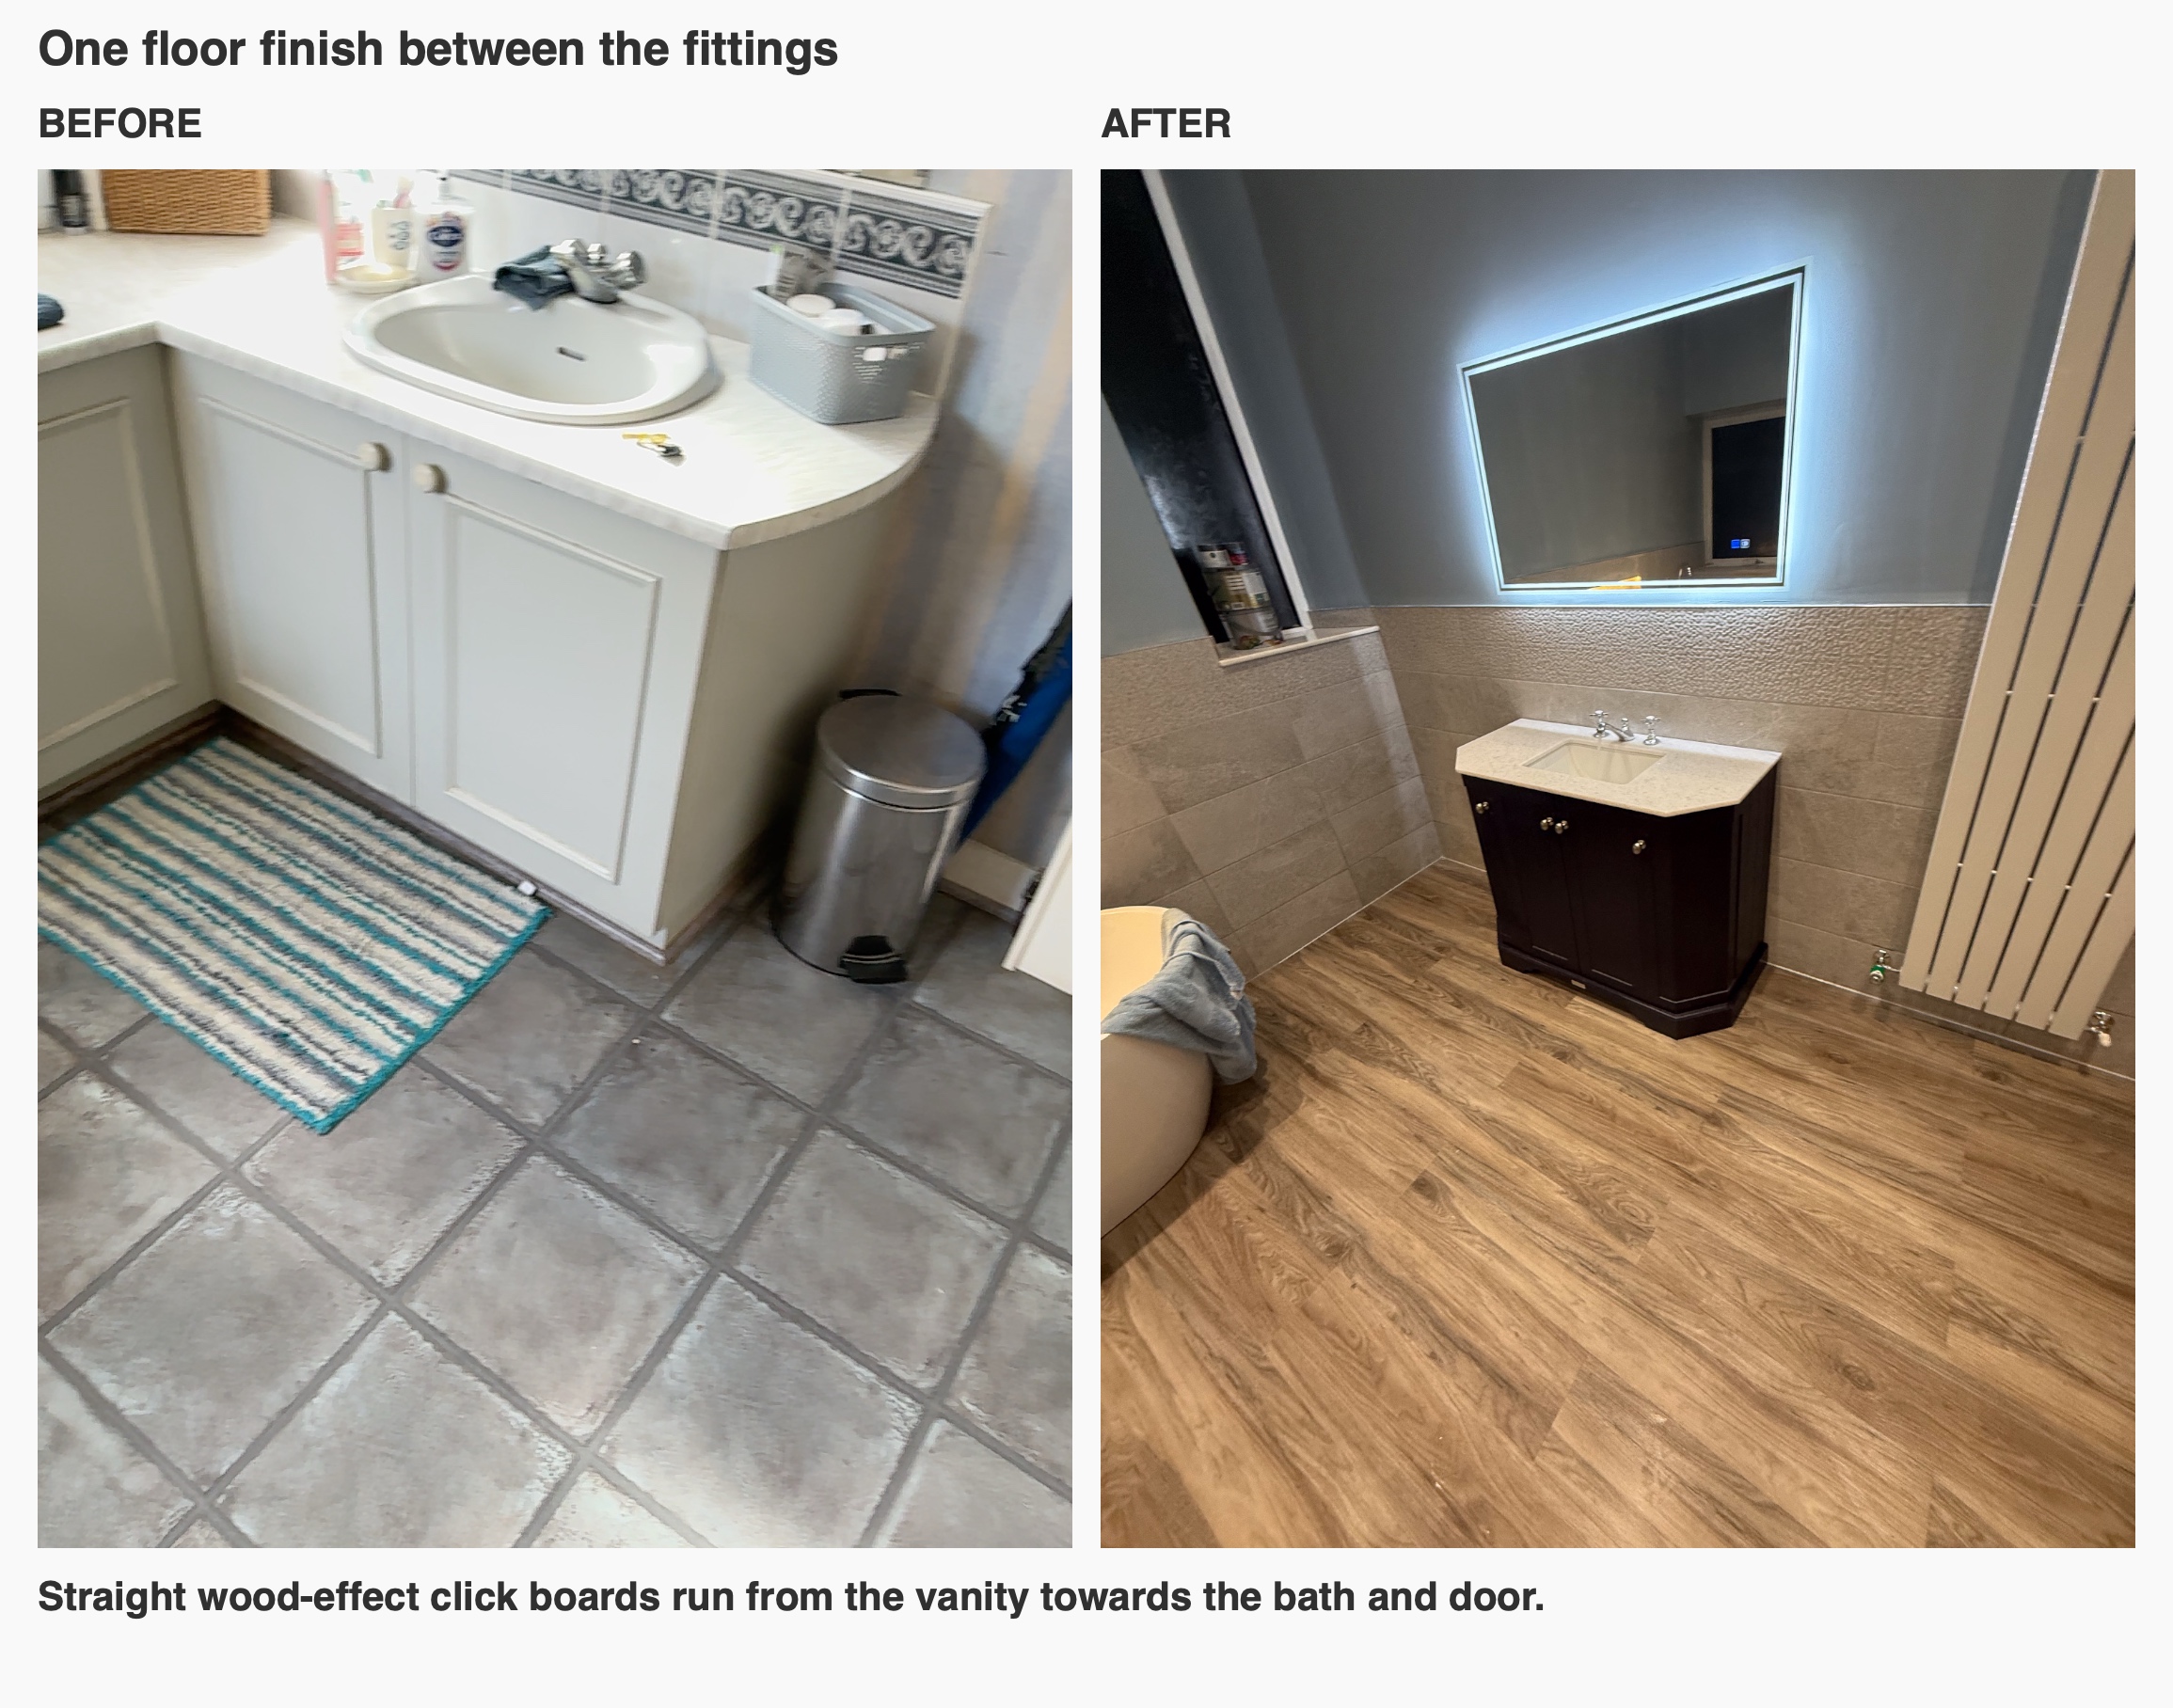
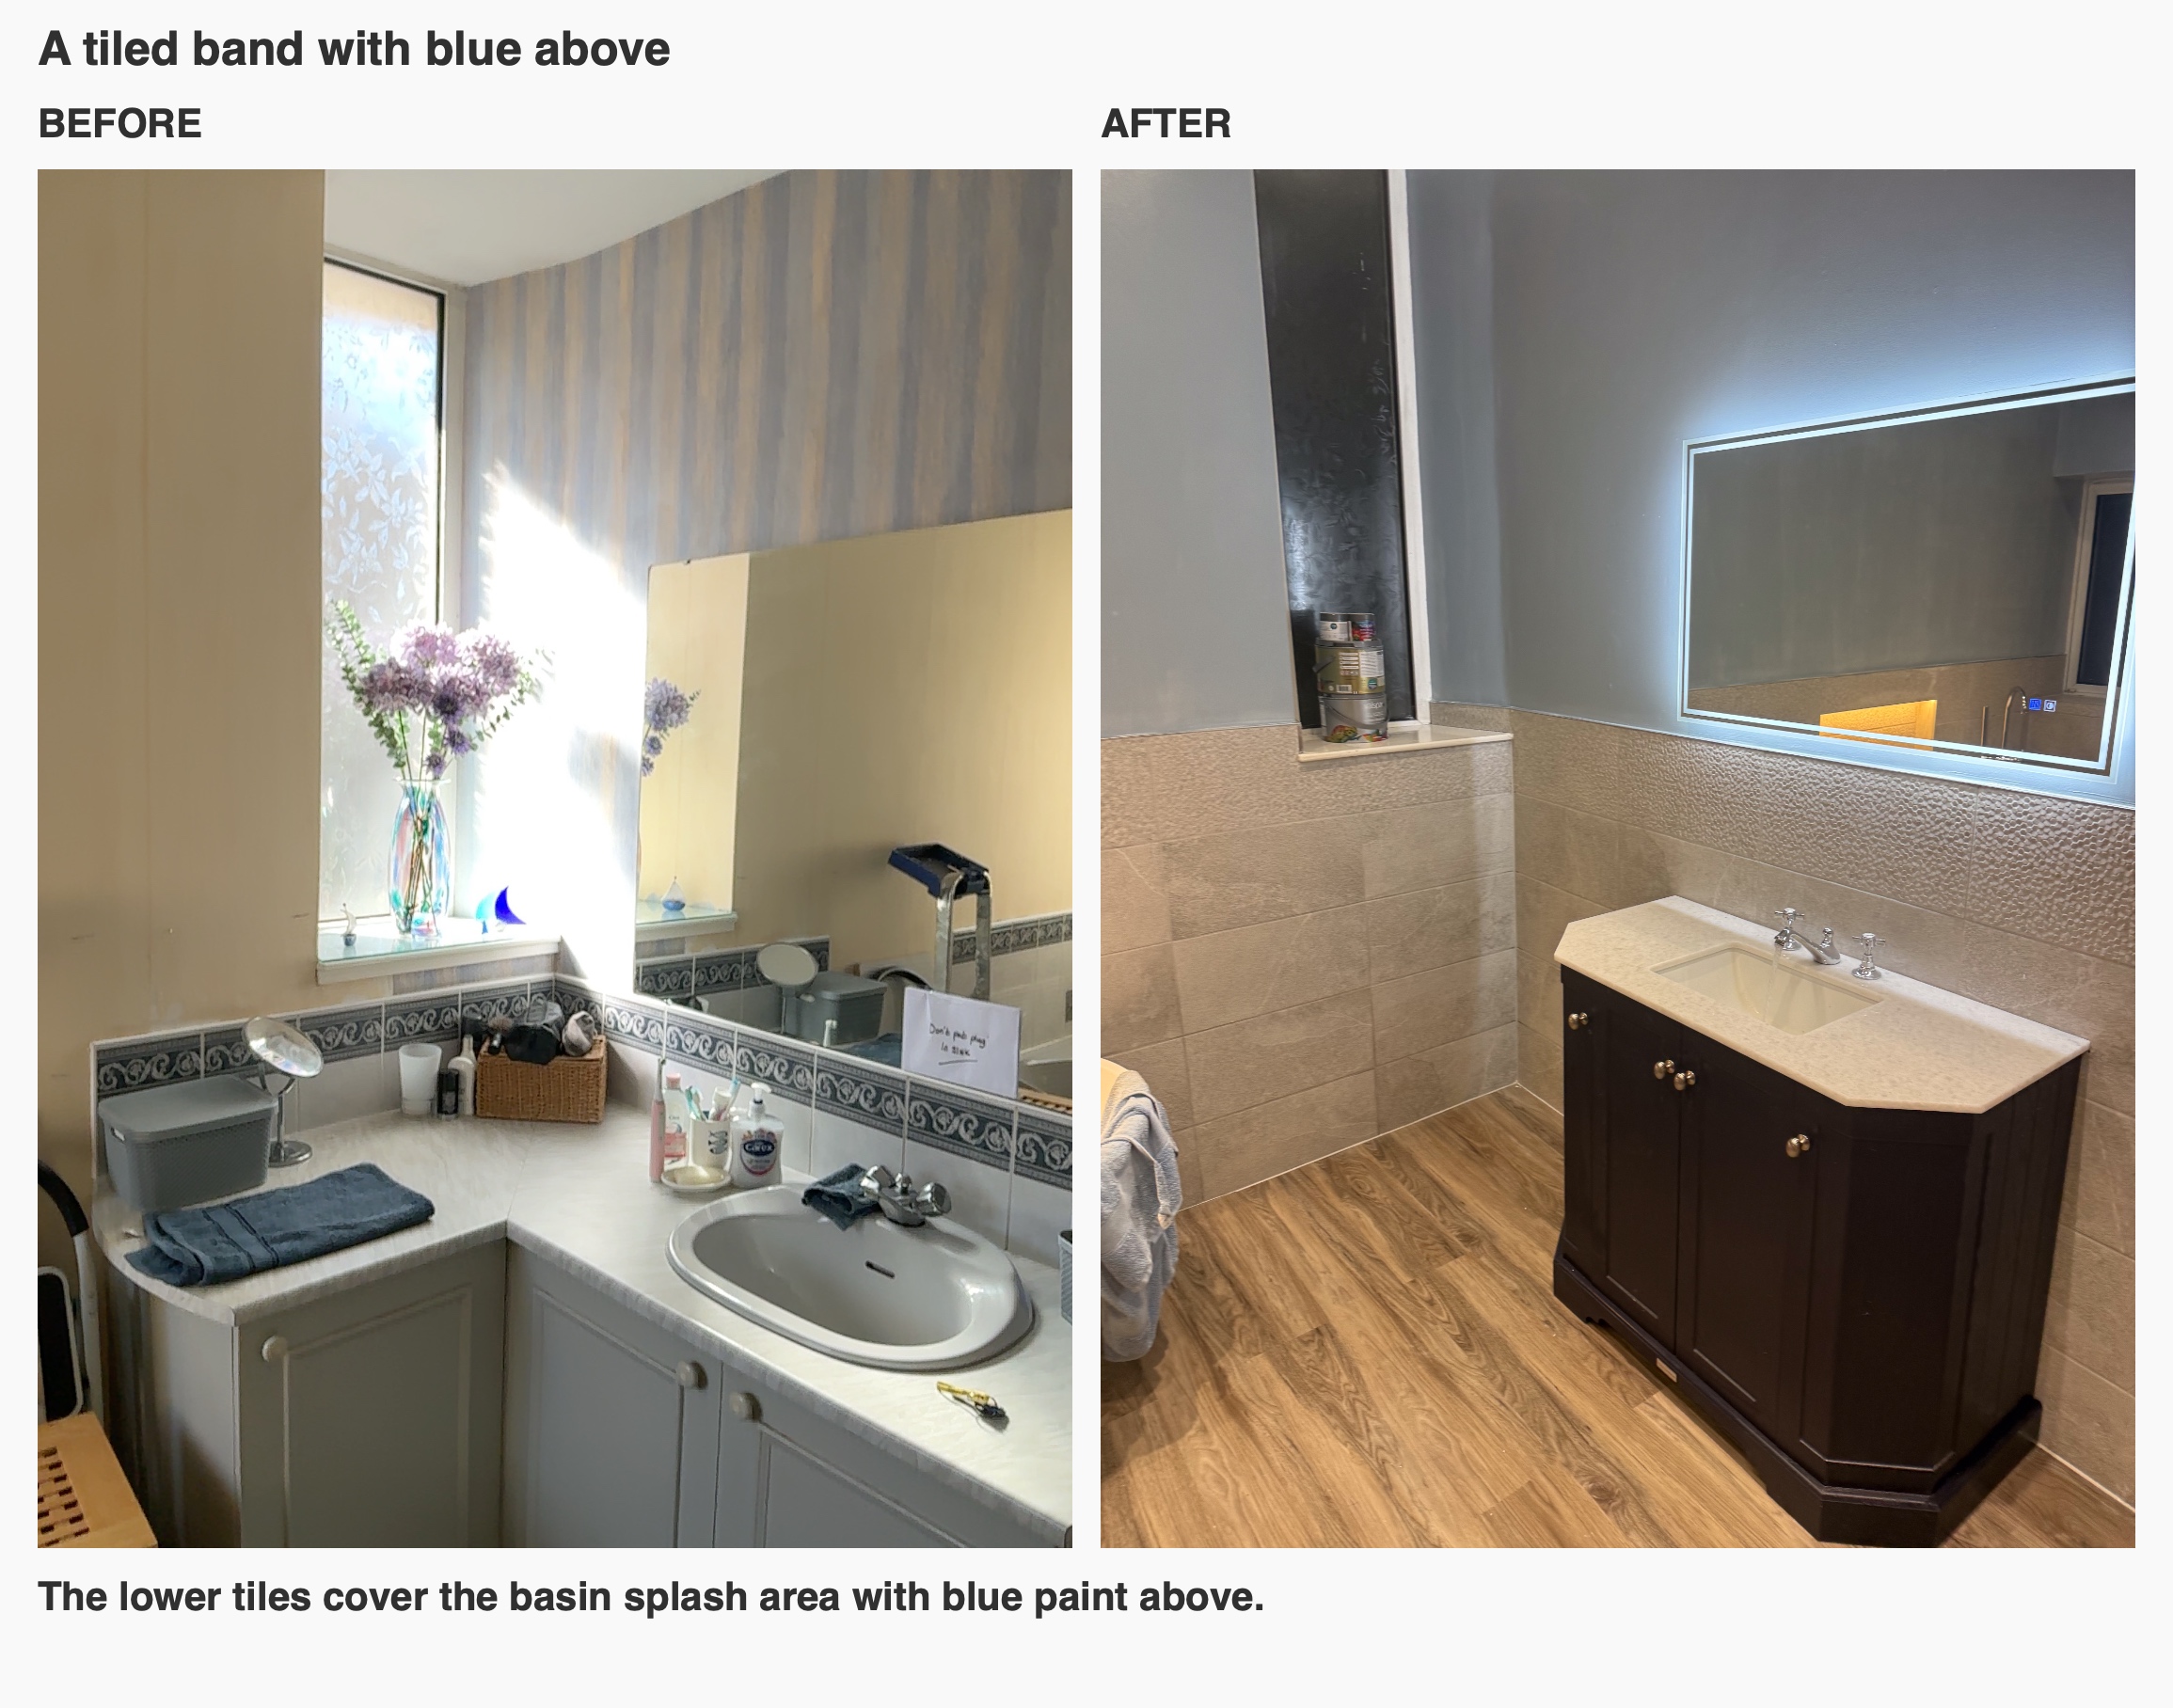
We paired a freestanding vanity with an LED mirror. The cupboard keeps spare toiletries below the basin and the mirror adds light where people shave or get ready. The tall radiator fits next to the vanity, making use of wall height and leaving the middle of the room open.
Finishes that suit each part of the room
We brought the tiles higher inside the shower, where the walls get wet, and kept a lower tile line around the bath and basin. That gives the splash areas a wipeable finish and leaves room for the soft blue paint above. We originally planned a herringbone floor. When we checked how the chosen boards locked together, we found that fitting them on the angle would leave small pieces at the edges without a secure joint. We agreed to use broader straight boards in the same colour. The wood-effect vinyl click floor now runs continuously between the fittings.
How the layout changed
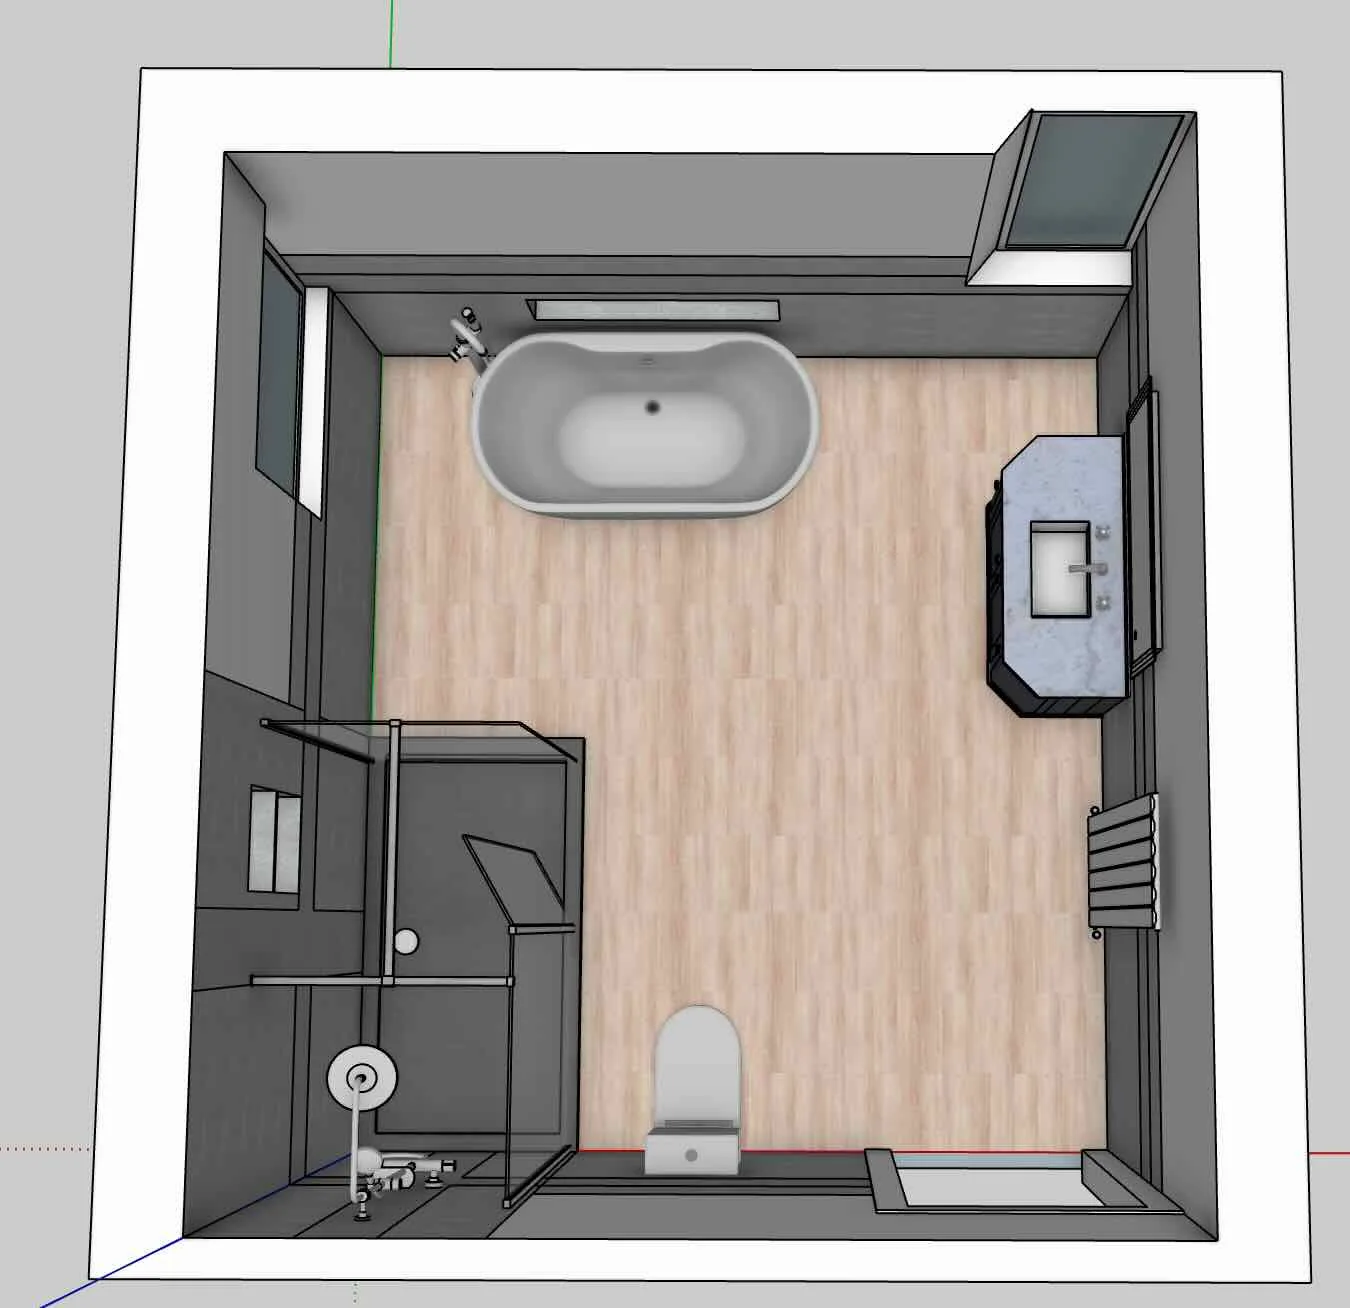
If you’re planning a bathroom in Aberdeen, start by thinking about which fittings you use most and what you want to keep close by. We can help you work out how a bath, shower and everyday storage would fit in your room. You can book a quotation visit to talk through the layout with us.
Project videos
More projects you might like
An Open Shower and Bold Colour in Aberdeen
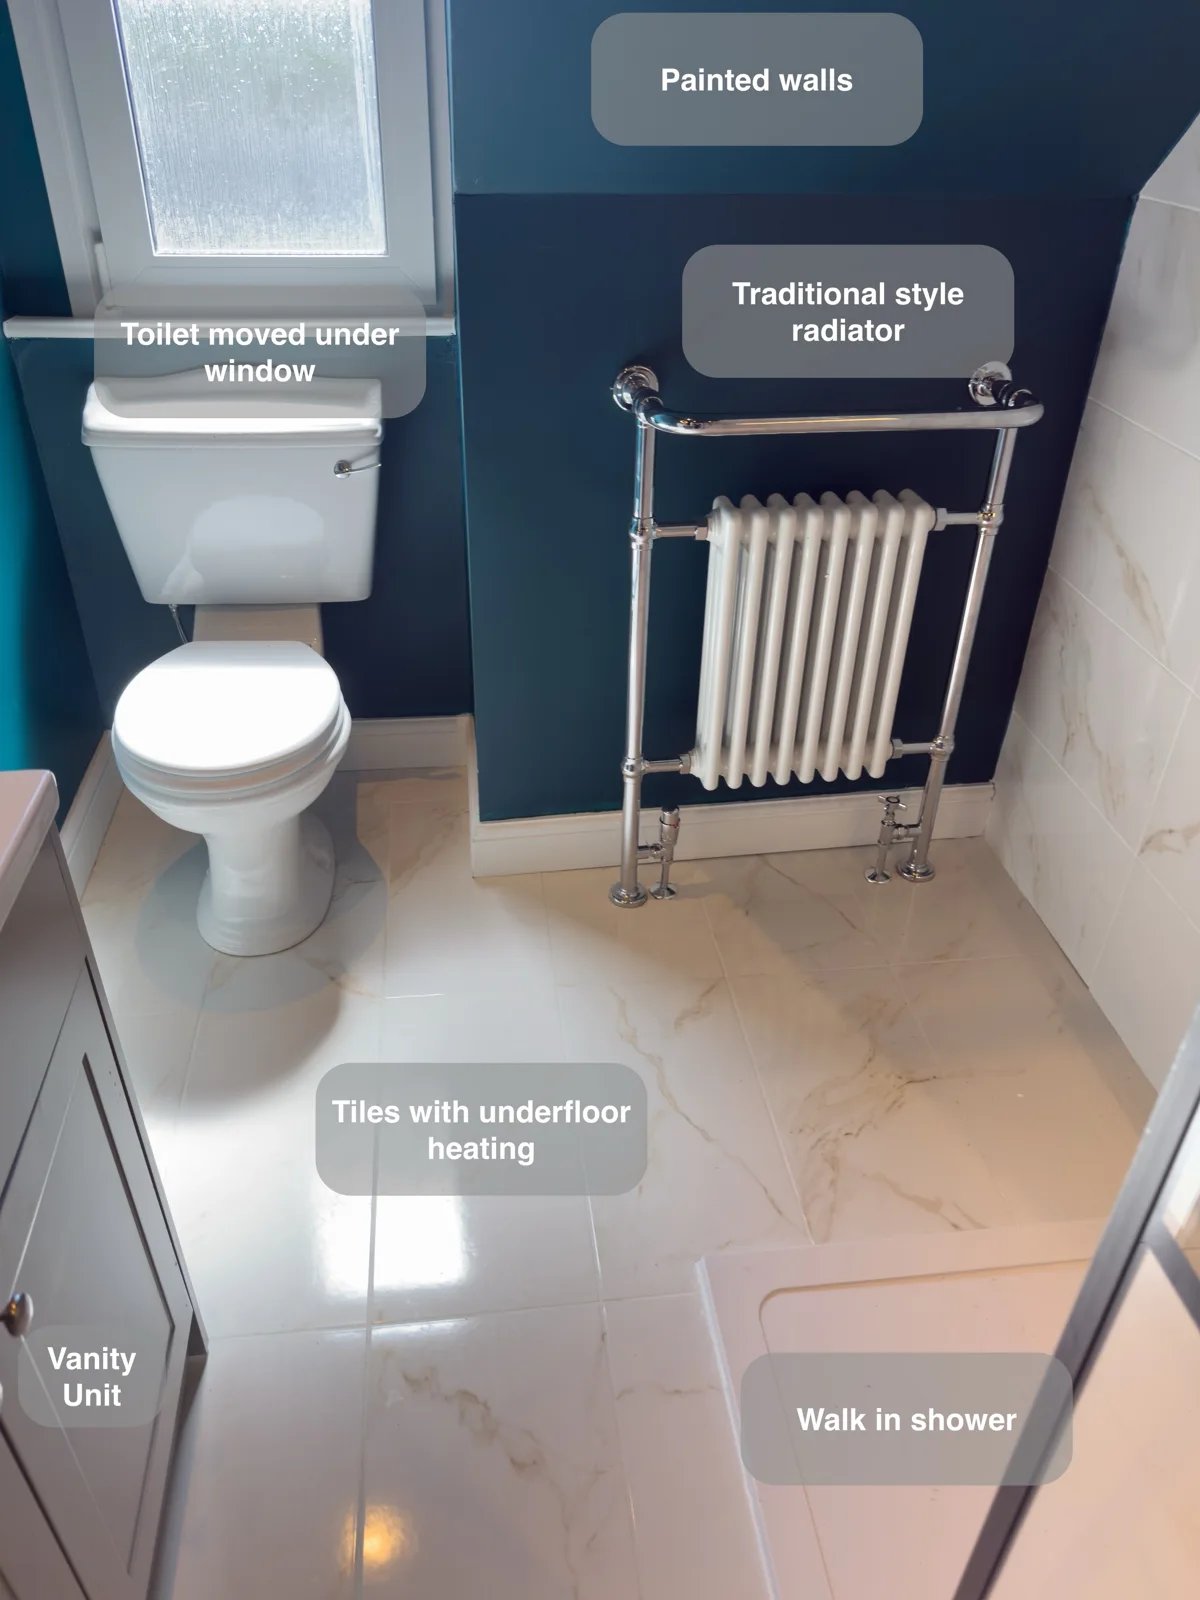
A large illuminated shower recess keeps bottles within reach, providing useful storage inside the walk-in shower without projecting shelves.
More Shower Space and a Clearer Layout in Balmedie
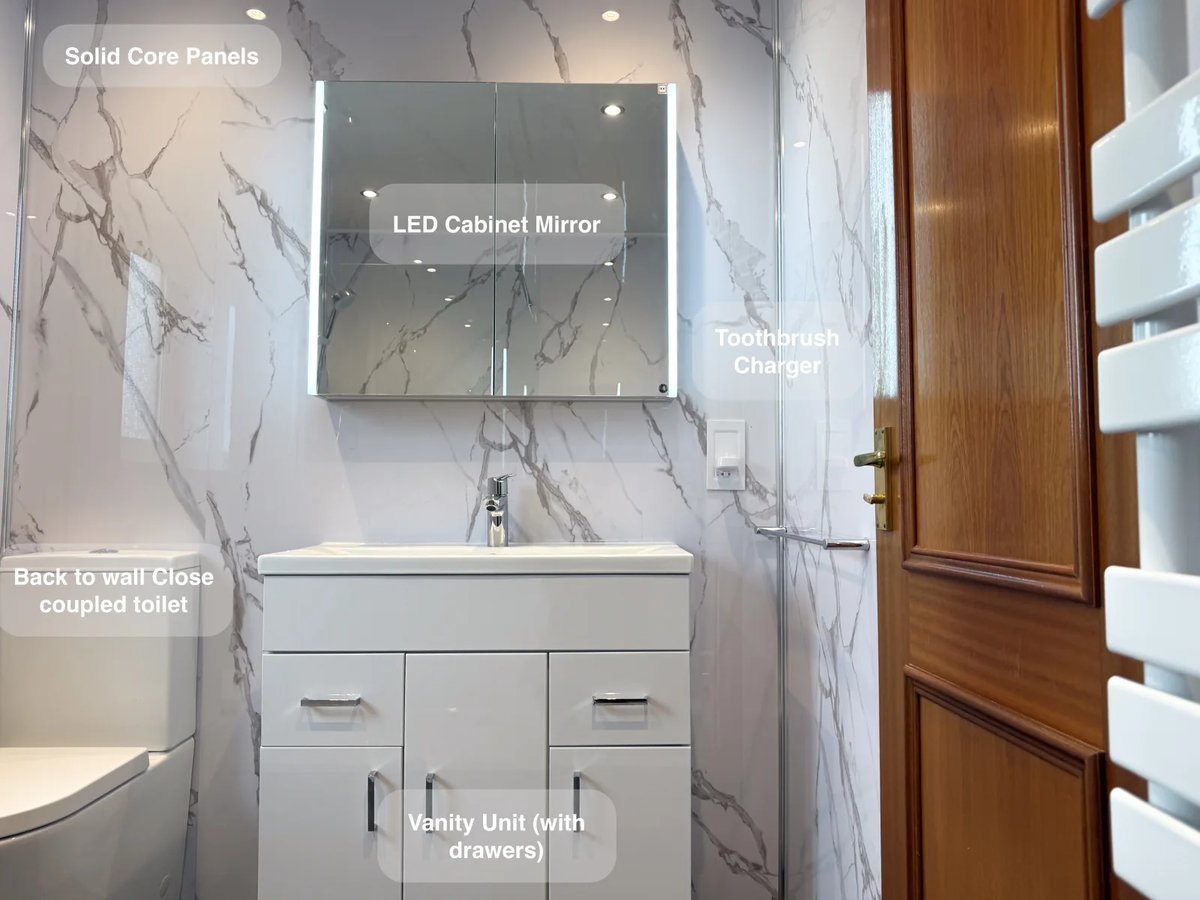
Recessed storage built into the false wall keeps shower essentials nearby, without adding shelves that project into the walk-in shower.
A Drumoak shower room with storage built around the space
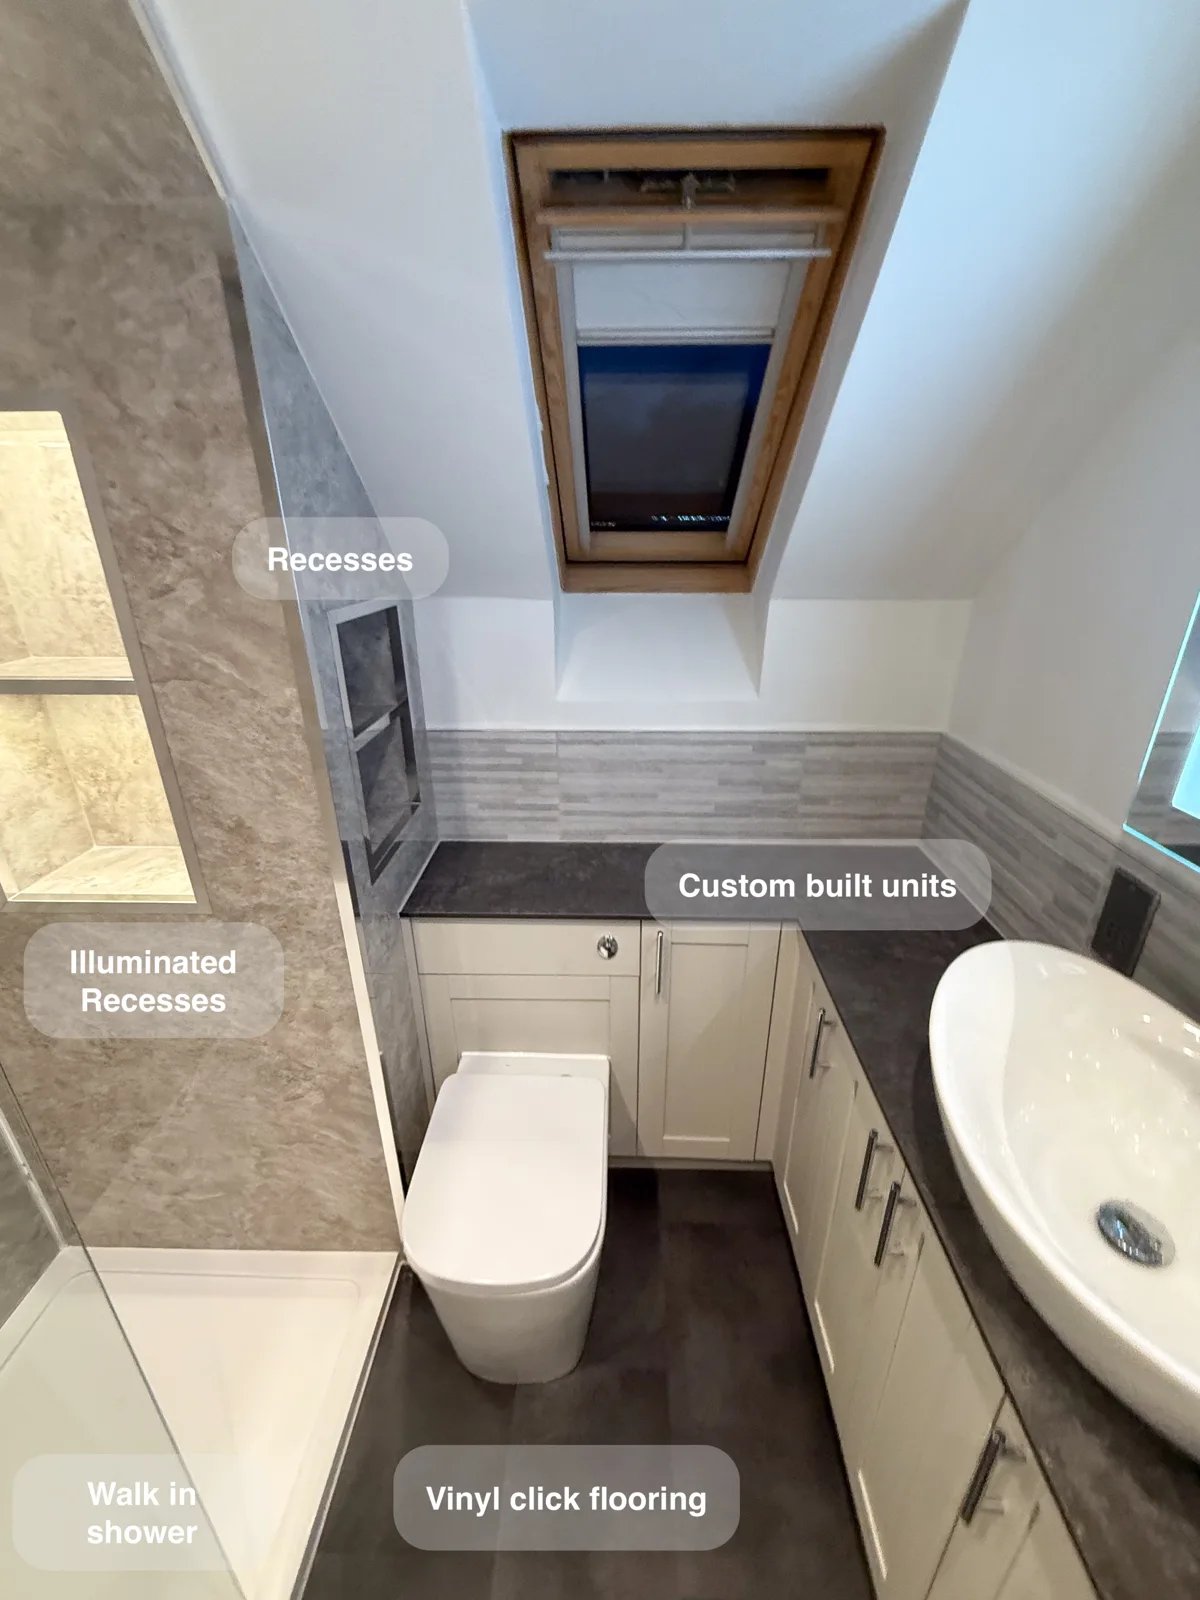
Keep shower essentials within reach with illuminated recesses at the end of the walk-in shower and niches along the angled wall.
A Long Shower and Recessed Storage in Oldmeldrum
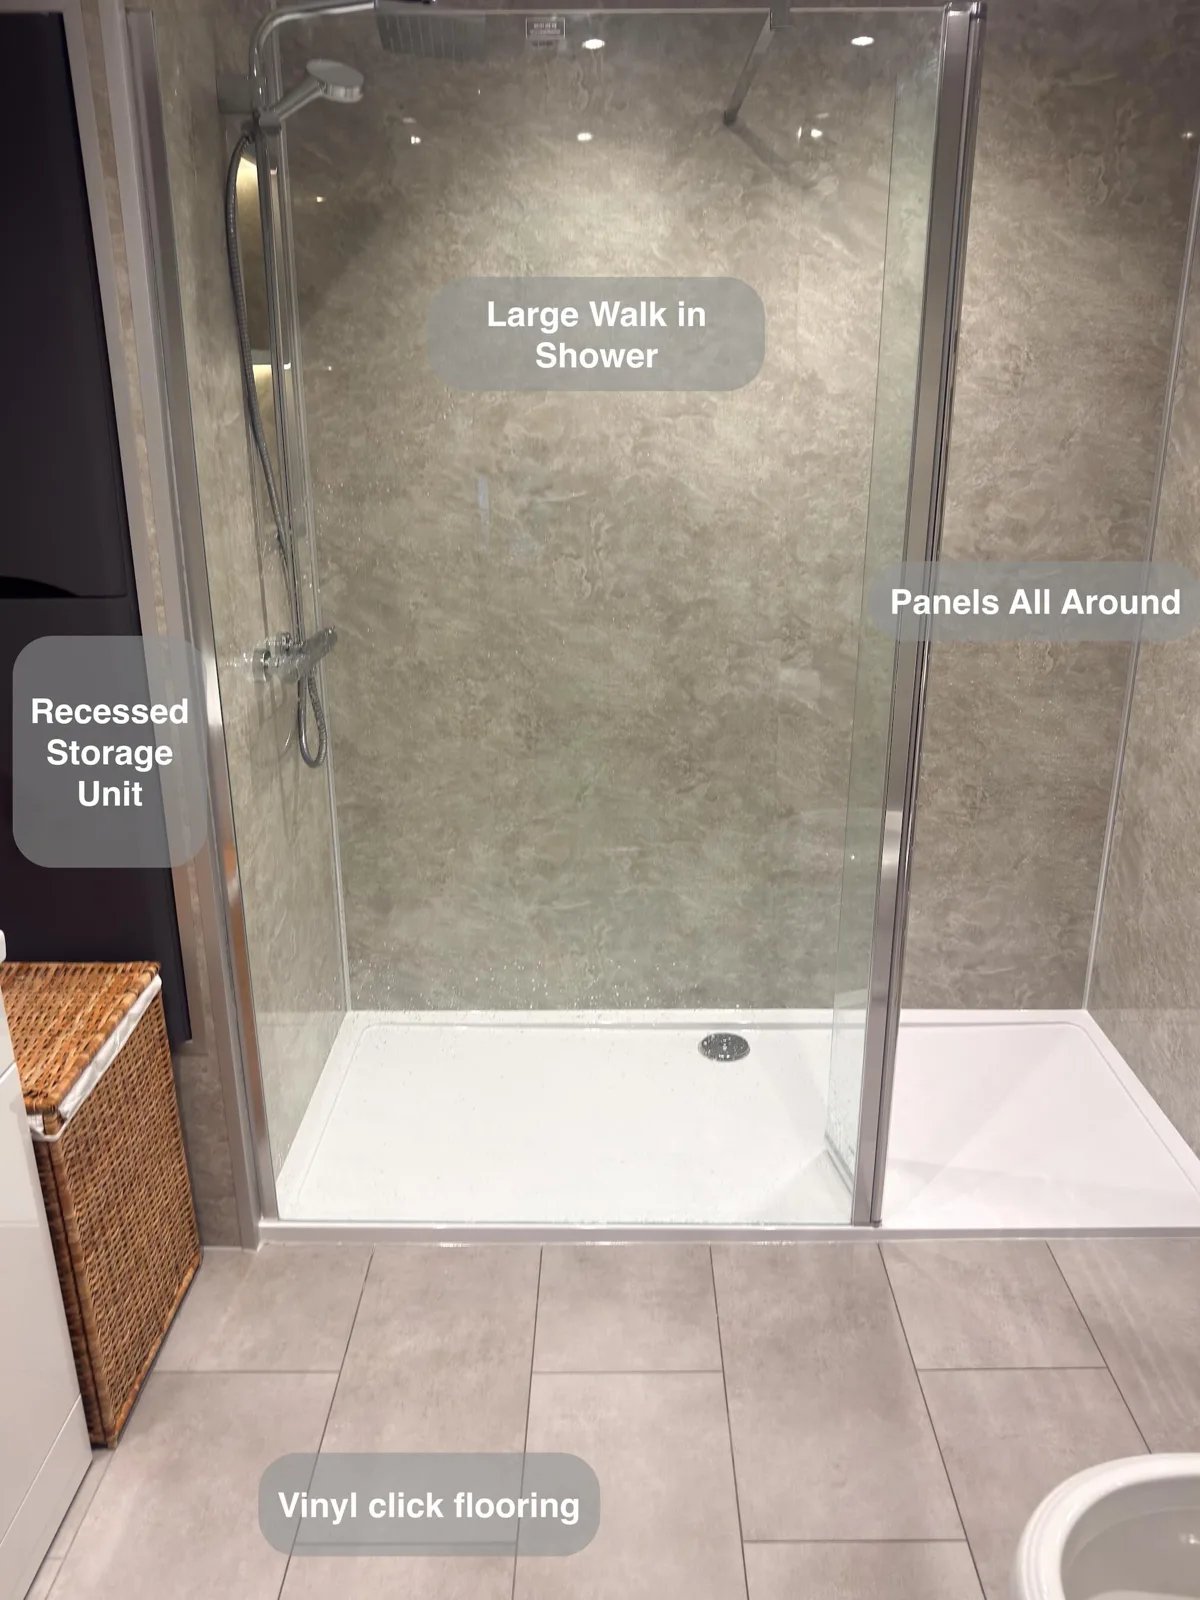
A recessed wall-hung storage unit makes use of the false wall, providing additional cupboard space beside the generous walk-in shower.