We added a freestanding bath to this Bridge of Don bathroom while keeping a separate shower. The two needed to work within the same room, alongside a toilet, a basin with usable storage and a clear way through from the door. We found room for both by moving the fittings and using part of an adjoining cupboard.
How the layout changed
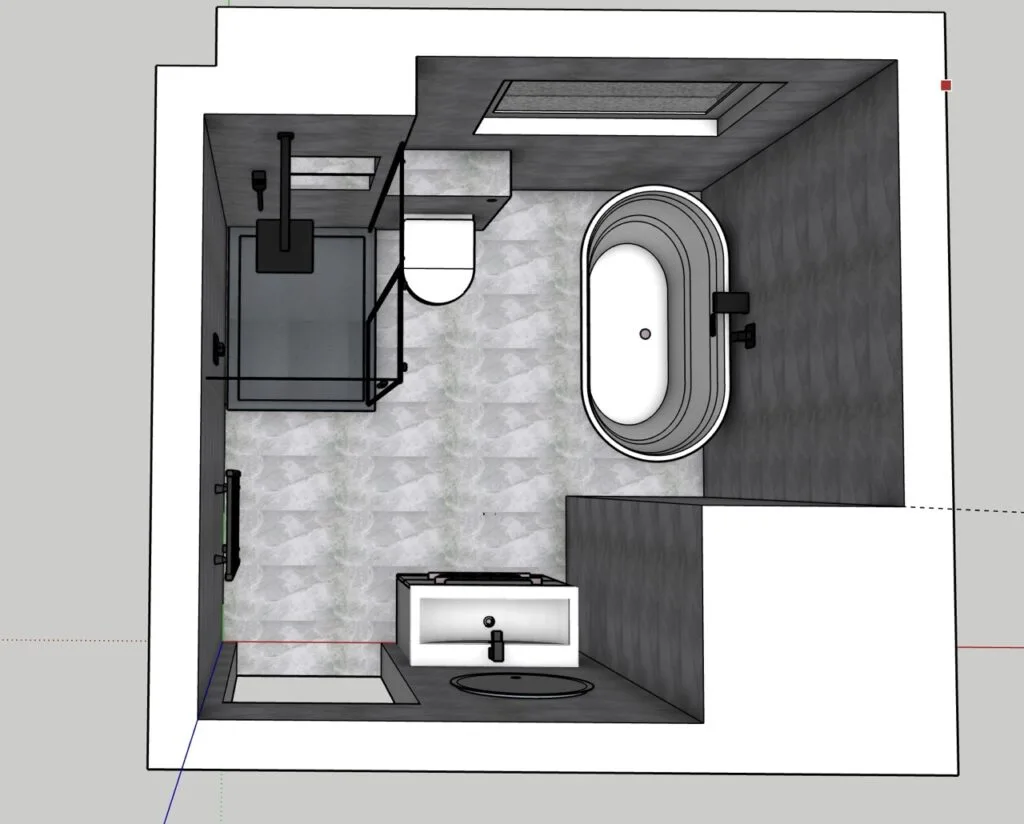
The cupboard housed the boiler, so we could only use the section nearest the bathroom door. We went back to measure the cupboard and worked through two layouts. Moving the shower into the area beside the old toilet position and putting the basin on the door wall gave the bath its own place at the window end. The boiler remained in the adjoining cupboard.
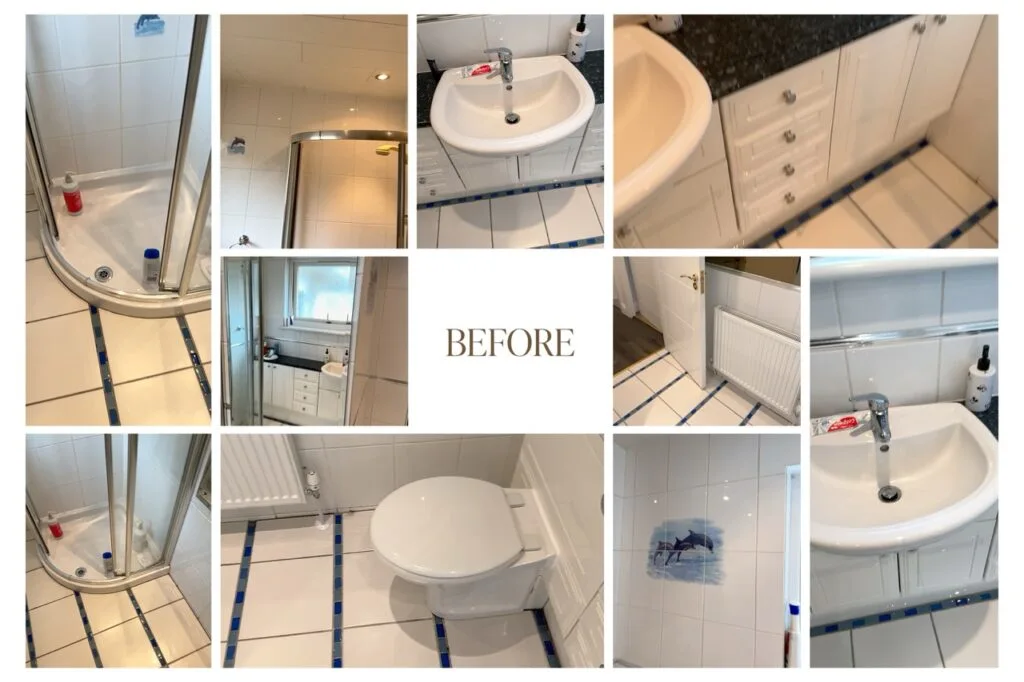
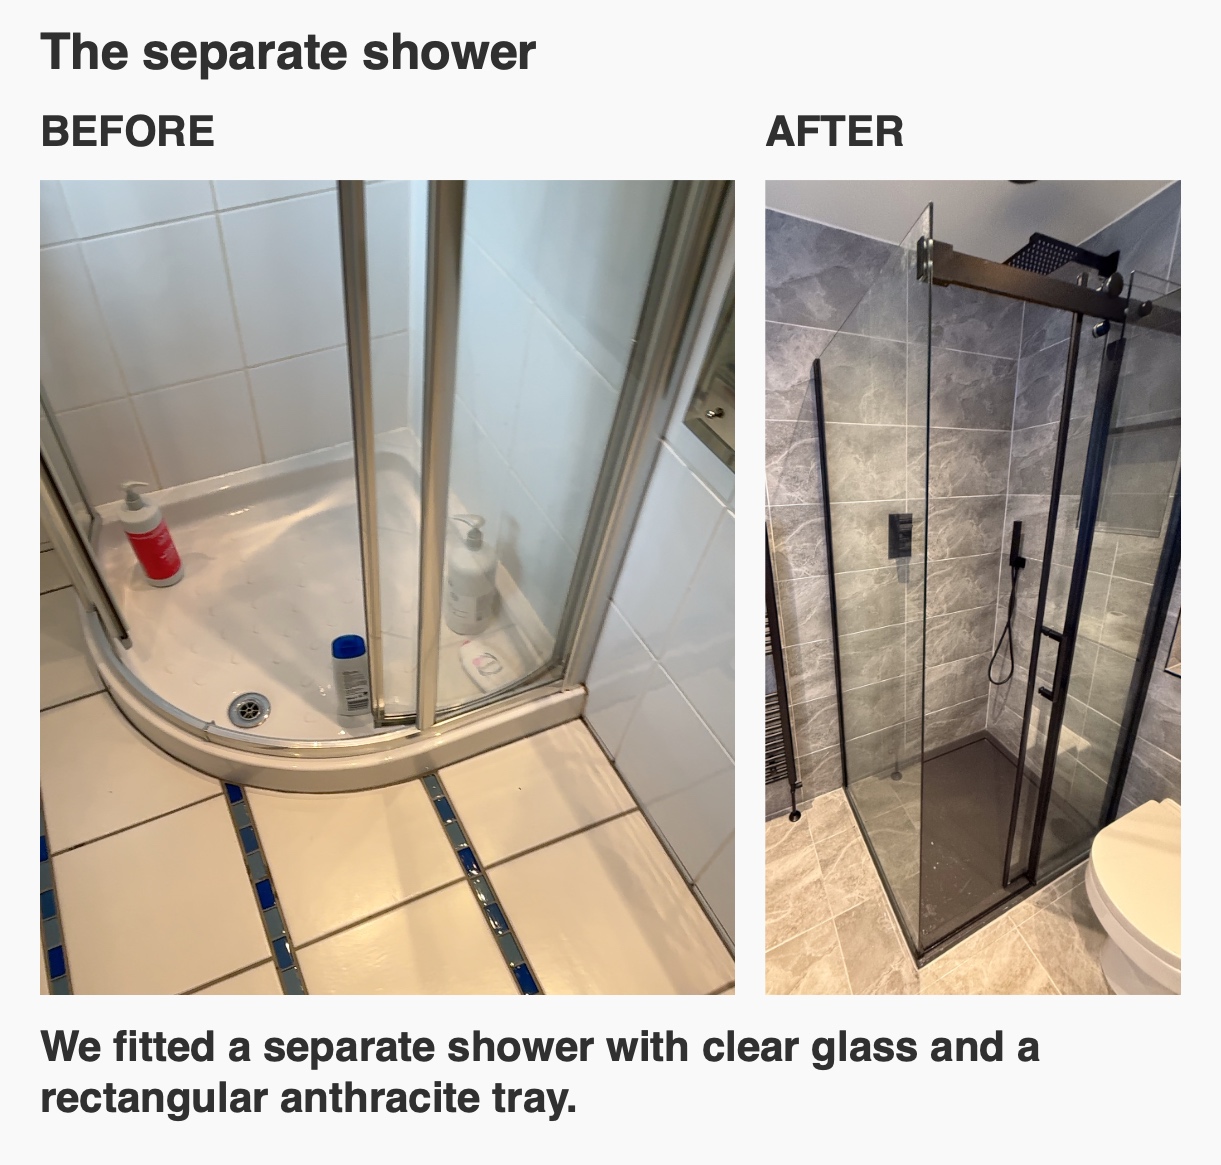
The original room photographs show how the curved shower enclosure and basin run used the space. The design view shows how we arranged the new fittings around the main floor area. On a project like this, it helps to measure the space you can actually reclaim before choosing a bath or shower. An adjoining cupboard can look like spare floor area on a plan, even when part of it still has a job to do.
Choose a bath or a shower
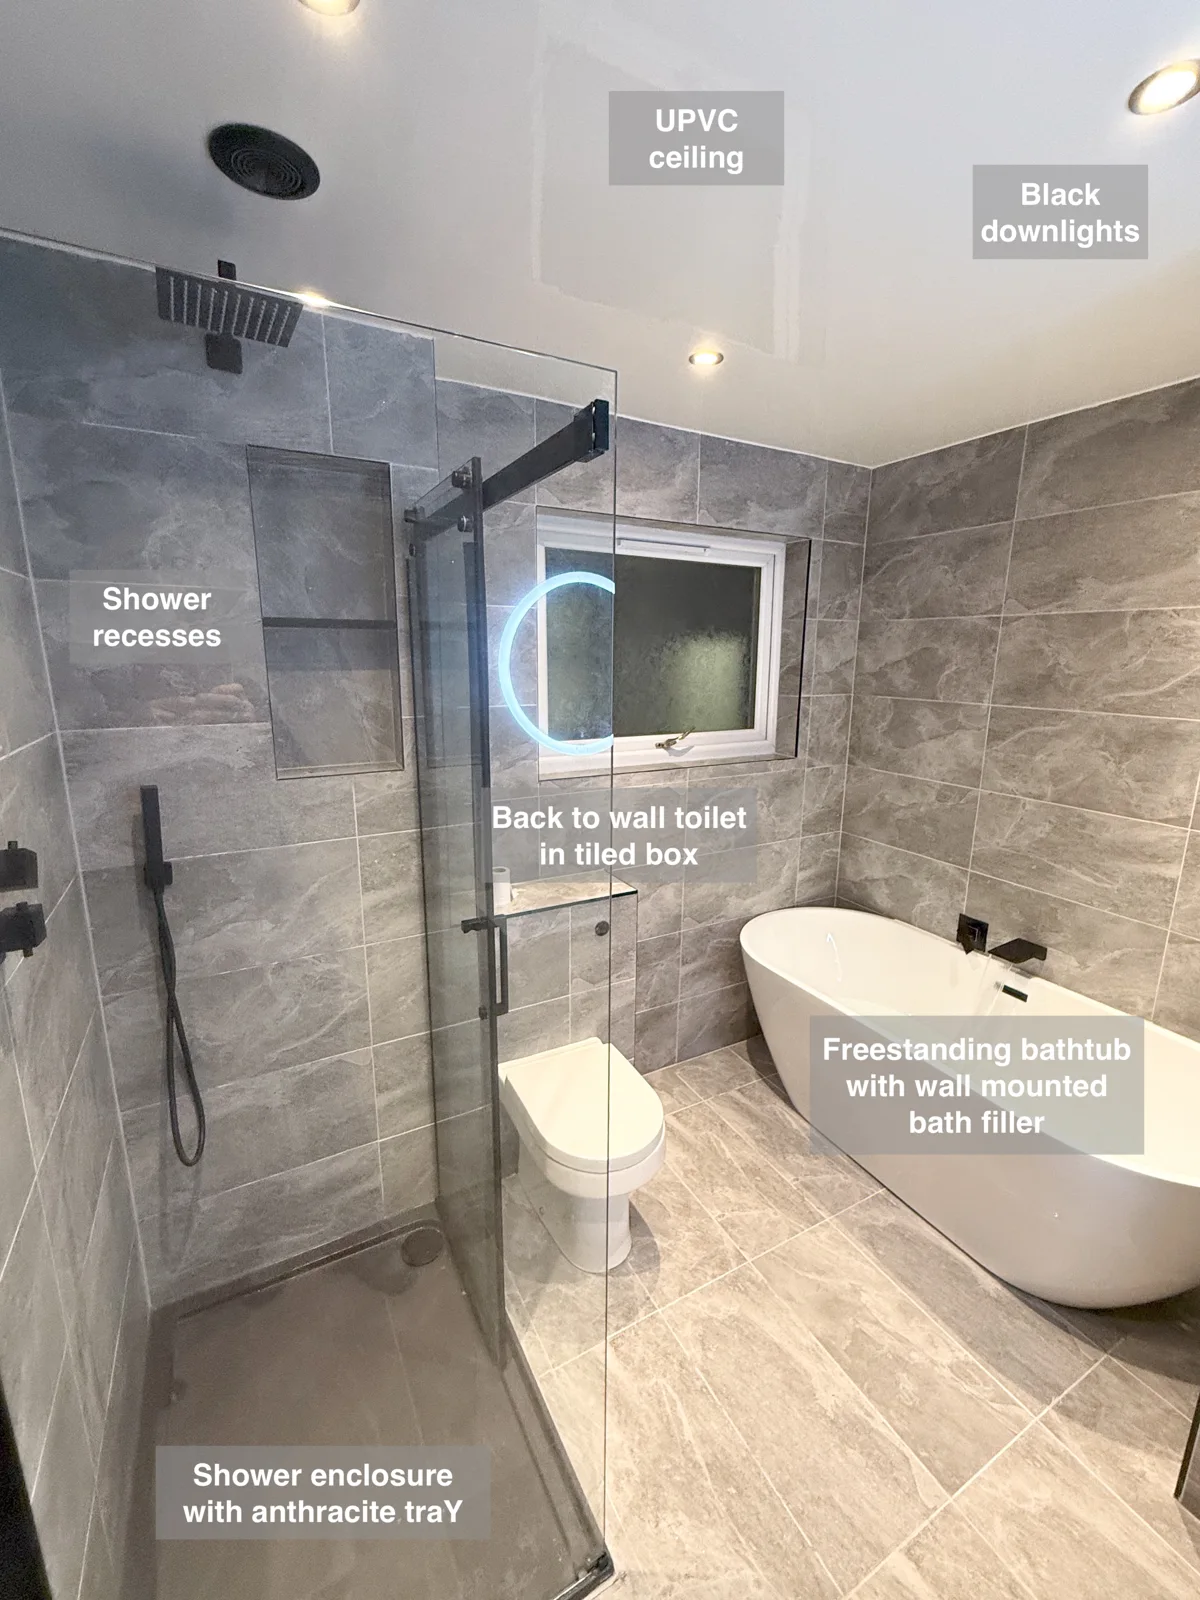
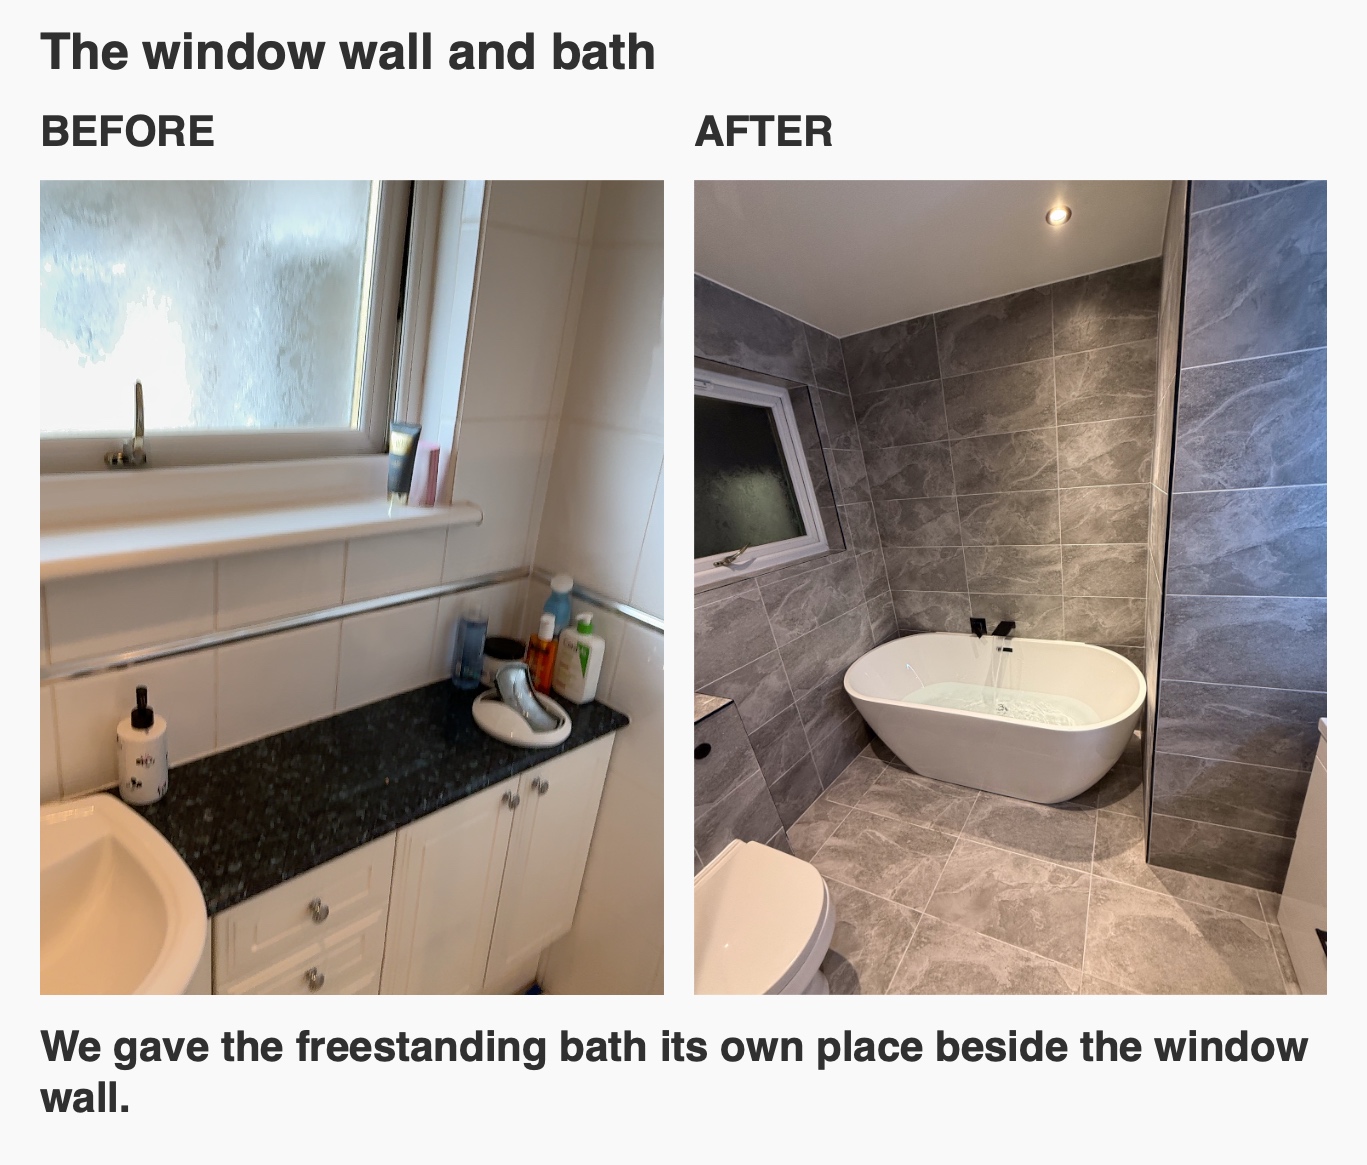
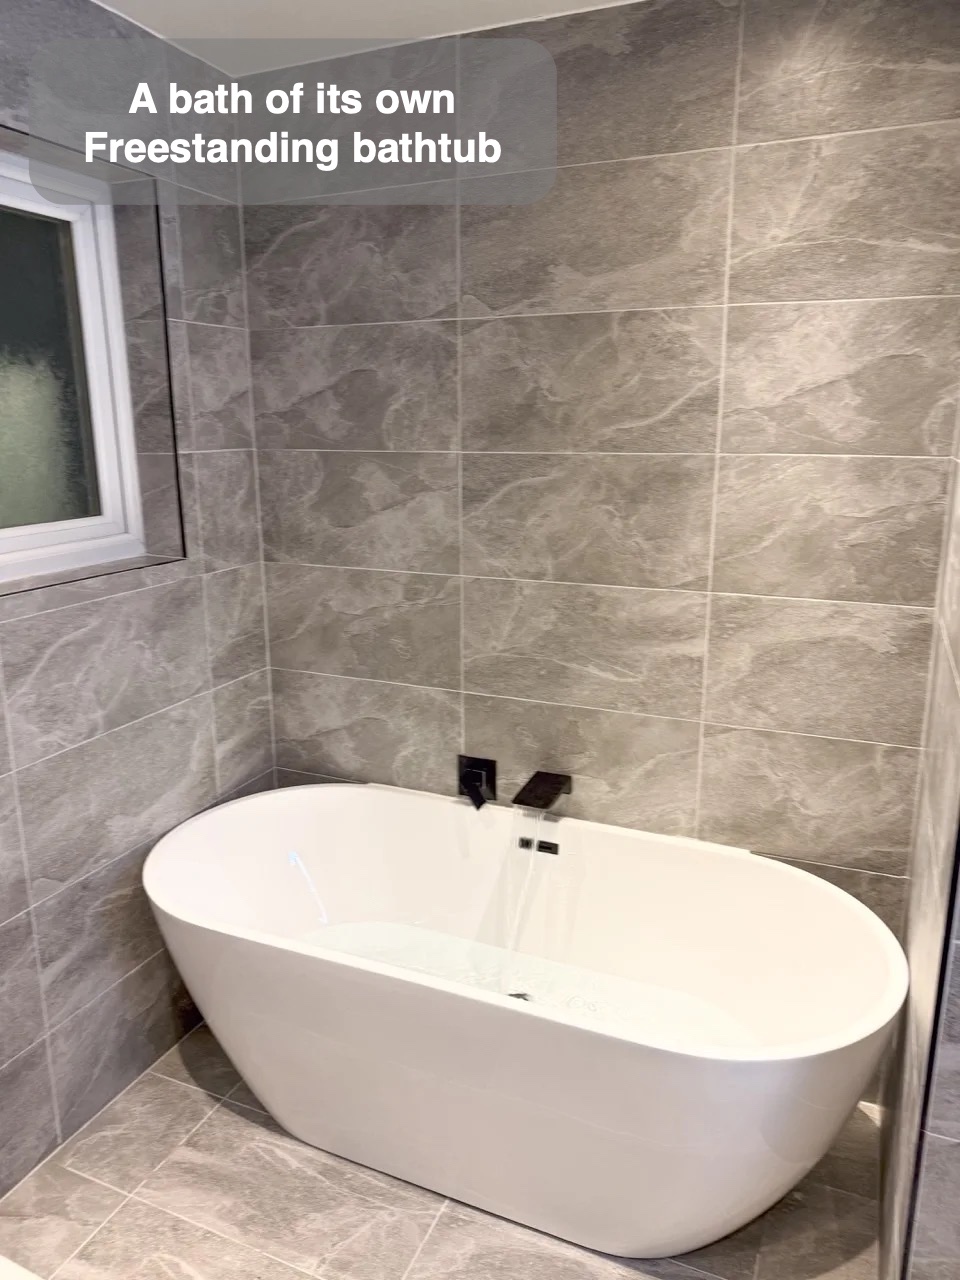
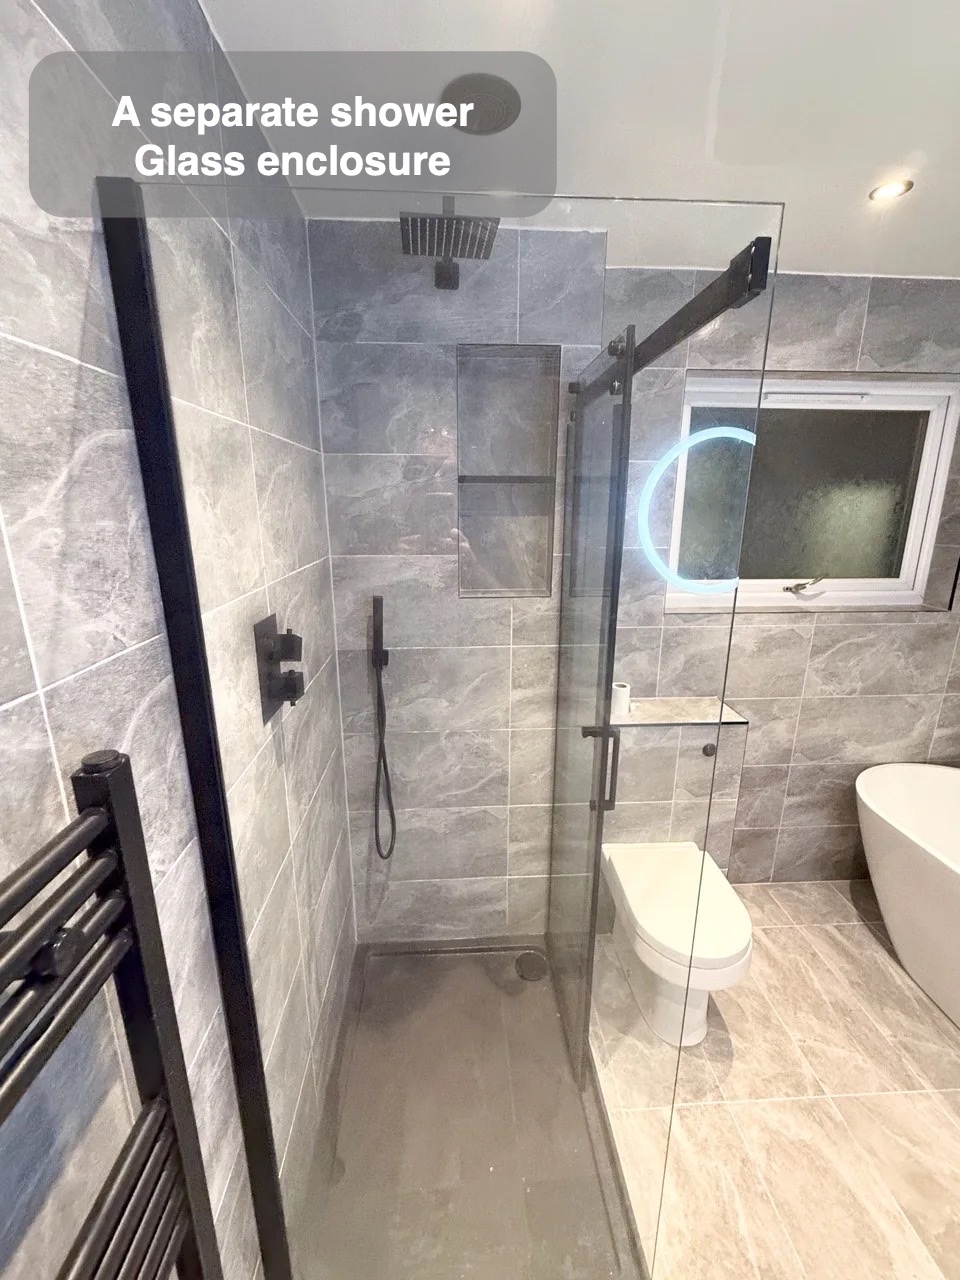
We fitted the freestanding bath beside the window, with a black wall-mounted filler that leaves the rim free of taps. The separate shower has a rectangular anthracite tray and clear glass. The glass keeps the window and tiled wall visible across the room, so the shower has a defined place without blocking the view from the entrance.
If you want both fittings in a compact bathroom, we look at how you will approach each one as well as whether it fits on paper. A tray that fits the wall still needs a usable entrance, and the bath needs a practical place for the filler. Here, changing the layout let each fitting have its own place.
A better defined basin position
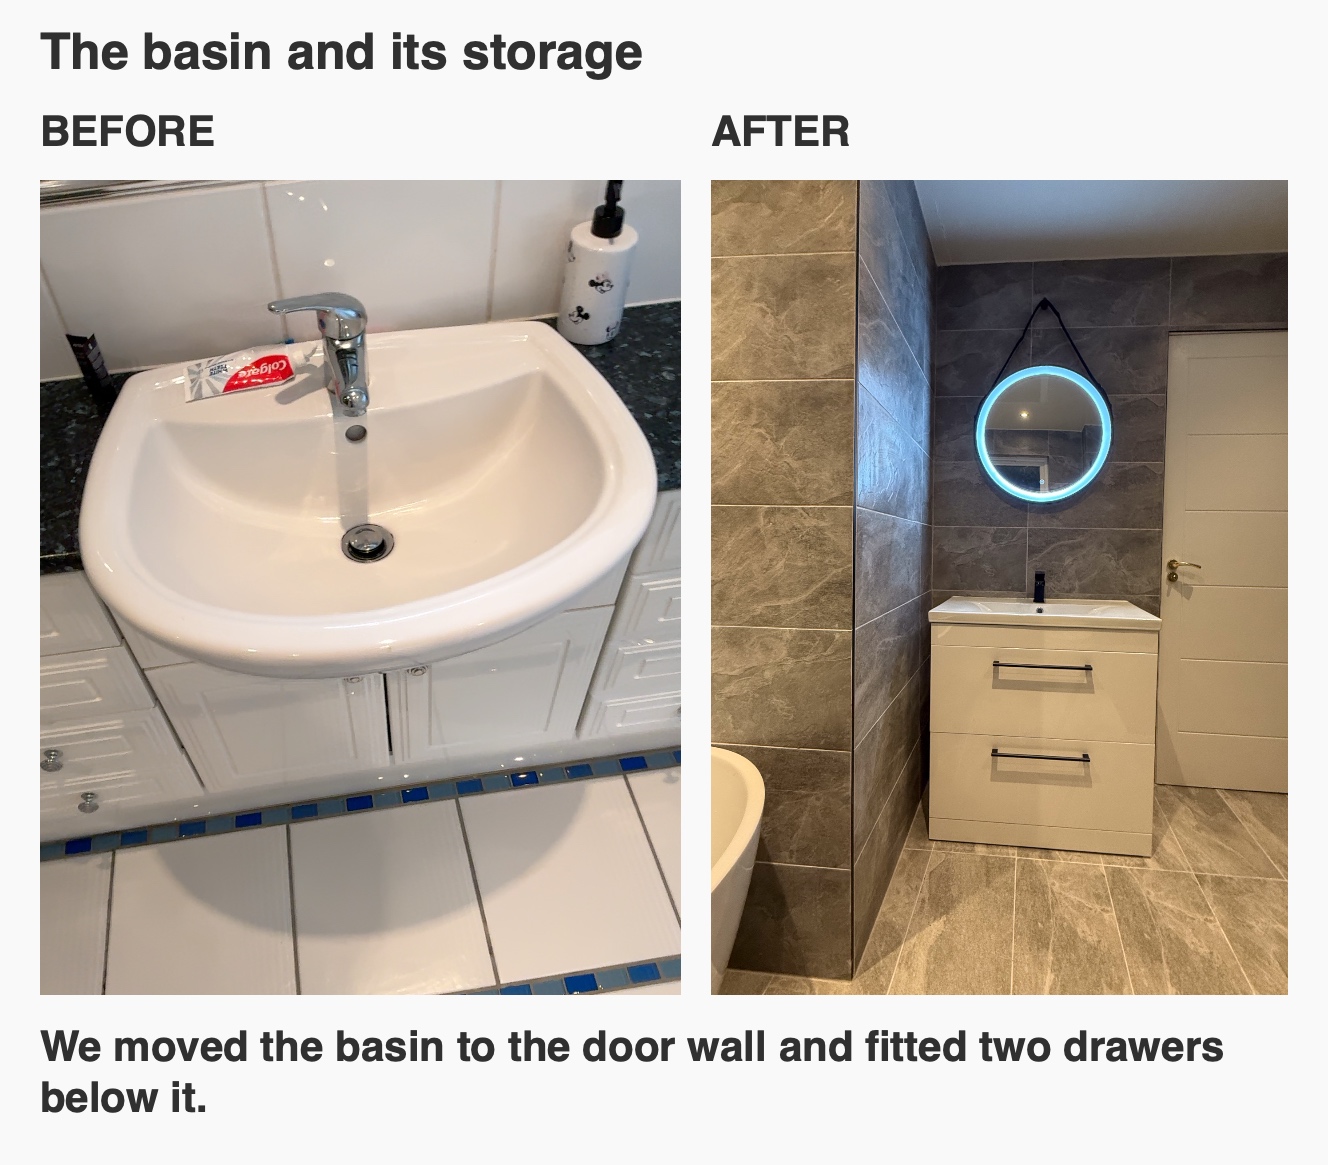
We moved the basin to the door wall and centred an illuminated round mirror above it. When we compared the layouts, we looked at where the toilet waste would run: passing it behind the vanity could take up drawer space. The final arrangement gave us room for an 800 mm vanity with two drawers, so everyday items can sit close to hand without filling the basin top.
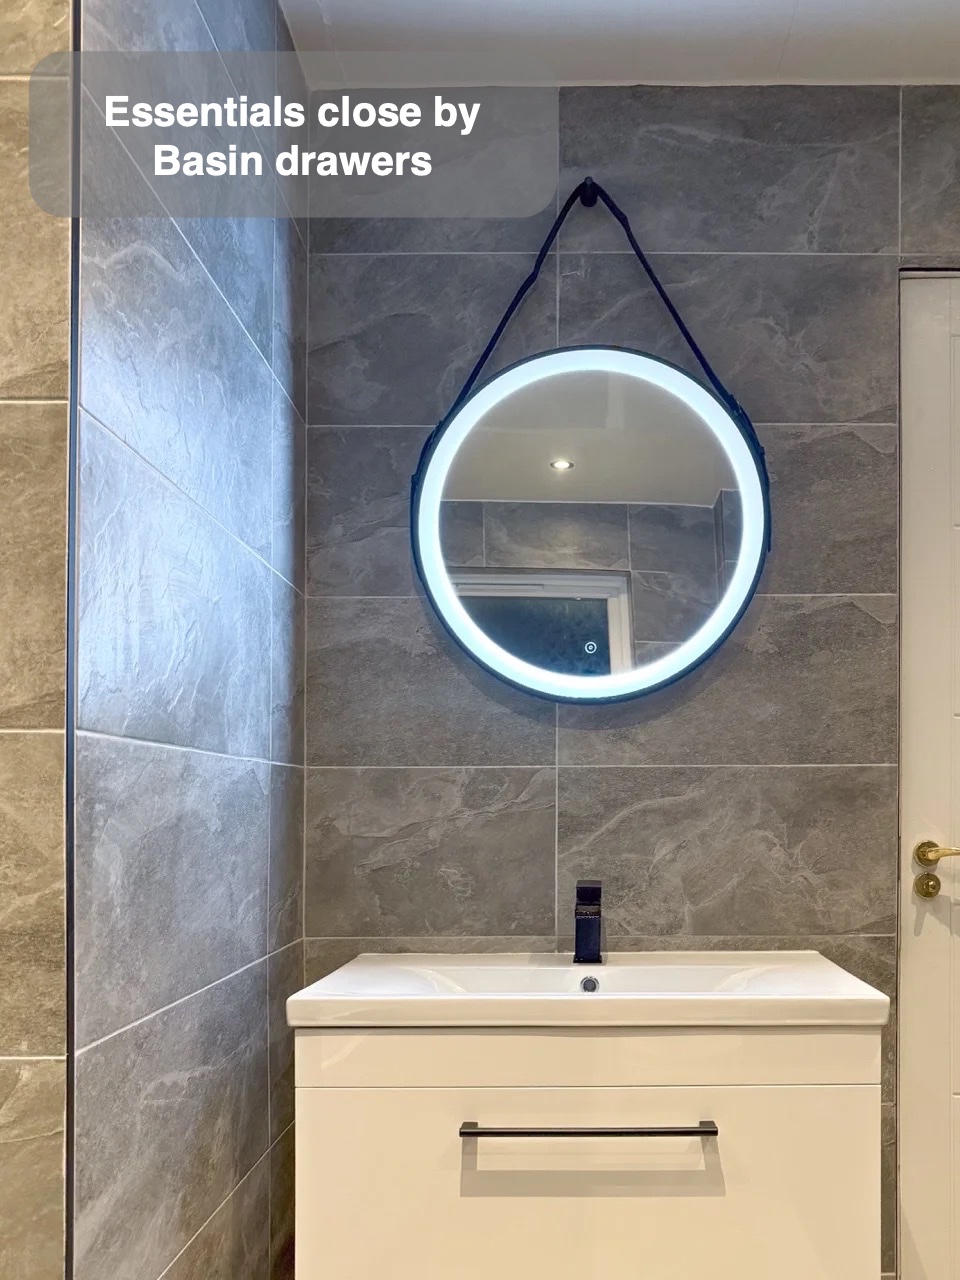
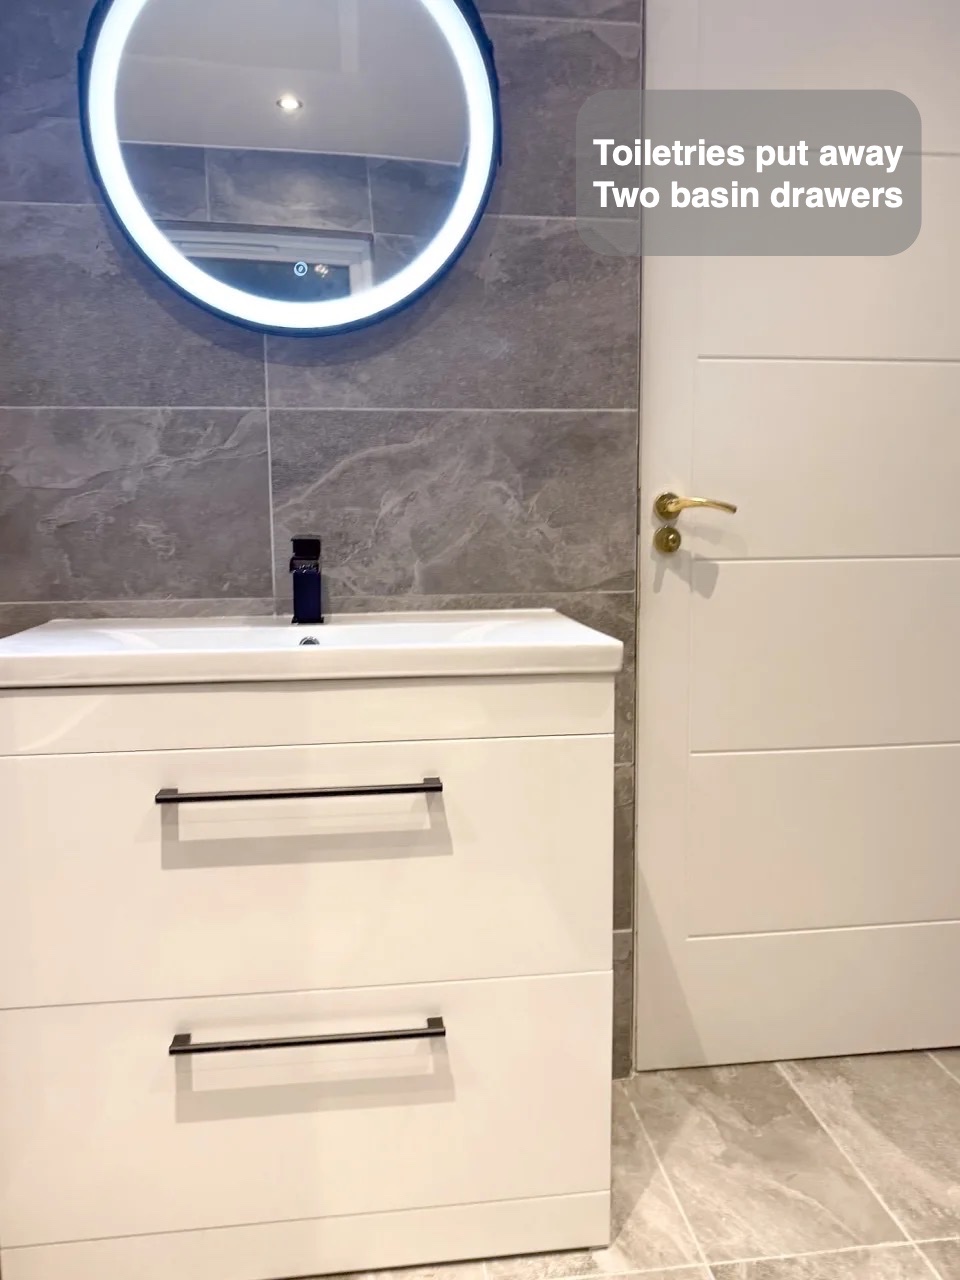
Bottles stored within the shower wall
We used the depth beside the existing soil pipe to create two recessed shelves. We planned these with the enclosure so bottles could stay within reach without sitting on the tray. If you're considering a niche, it helps to decide what it will hold before the walls are tiled: the available wall depth and the height of your bottles both matter.
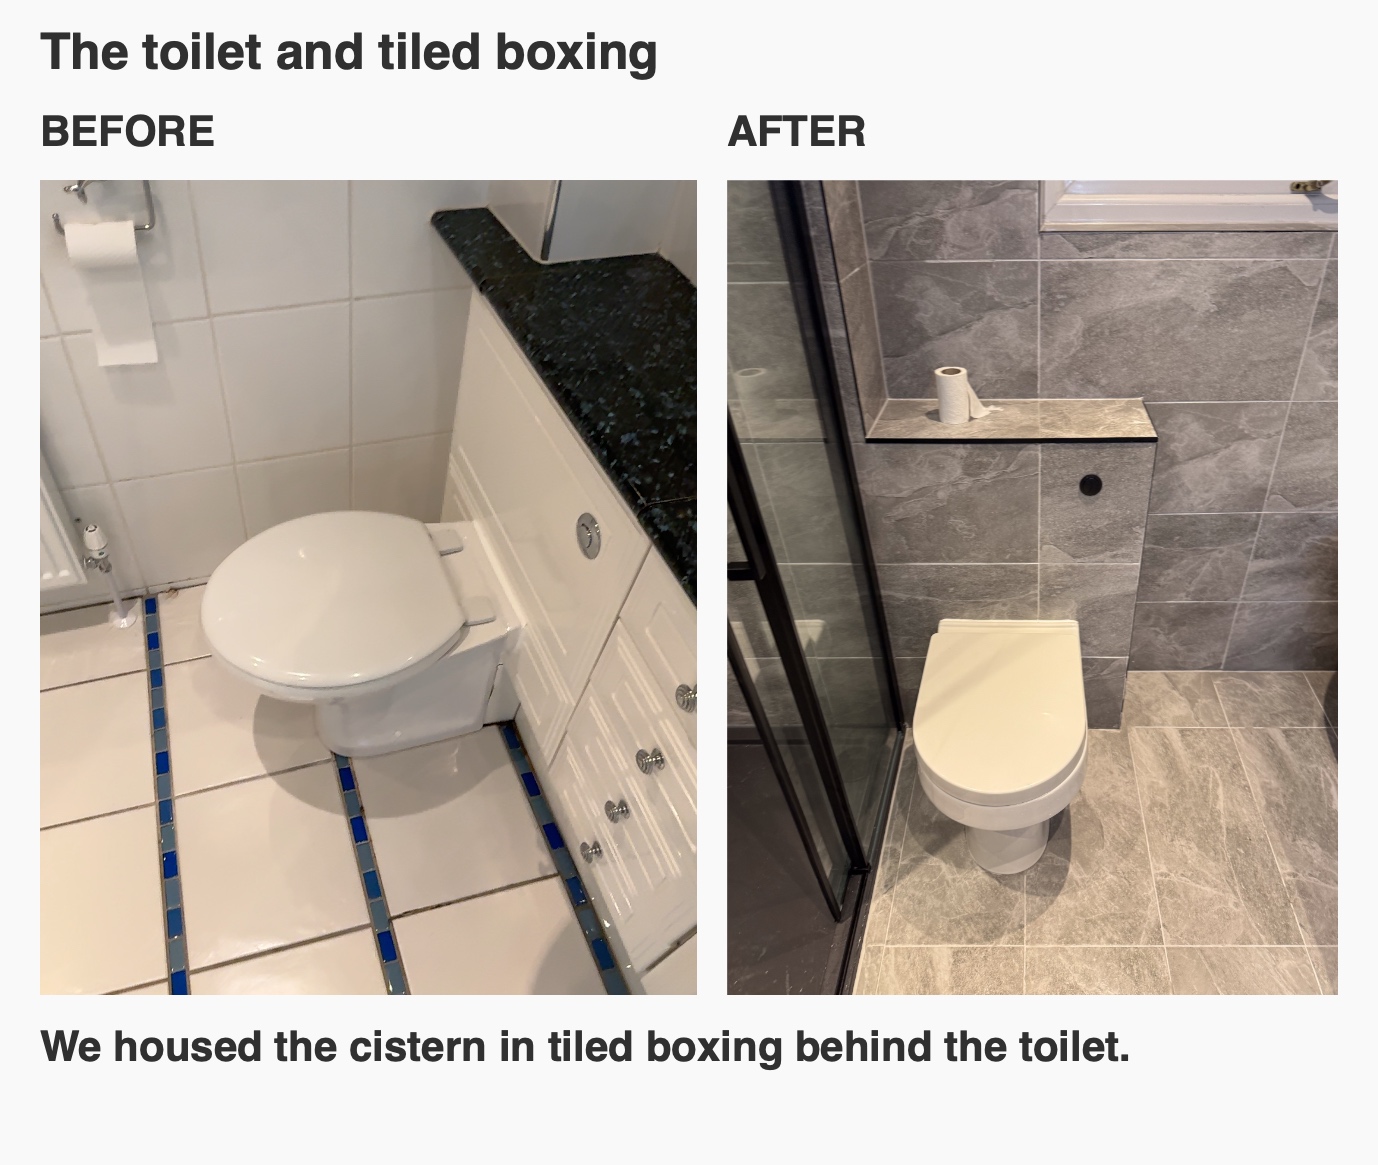
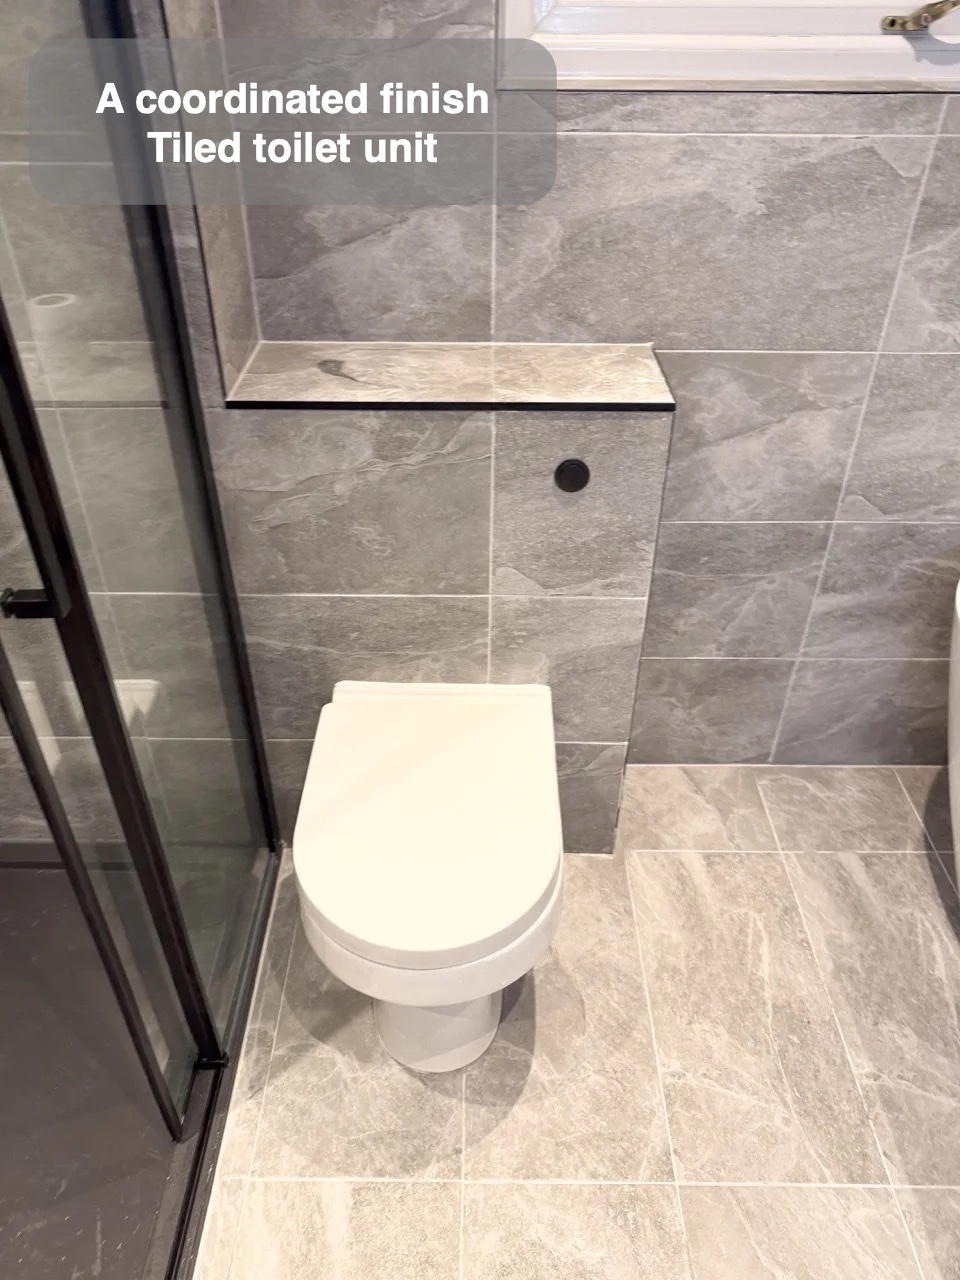
Beside the shower, we fitted a back-to-wall toilet and housed the cistern in tiled boxing. Carrying the wall tile over the boxing made that part of the room read as a continuation of the shower wall.
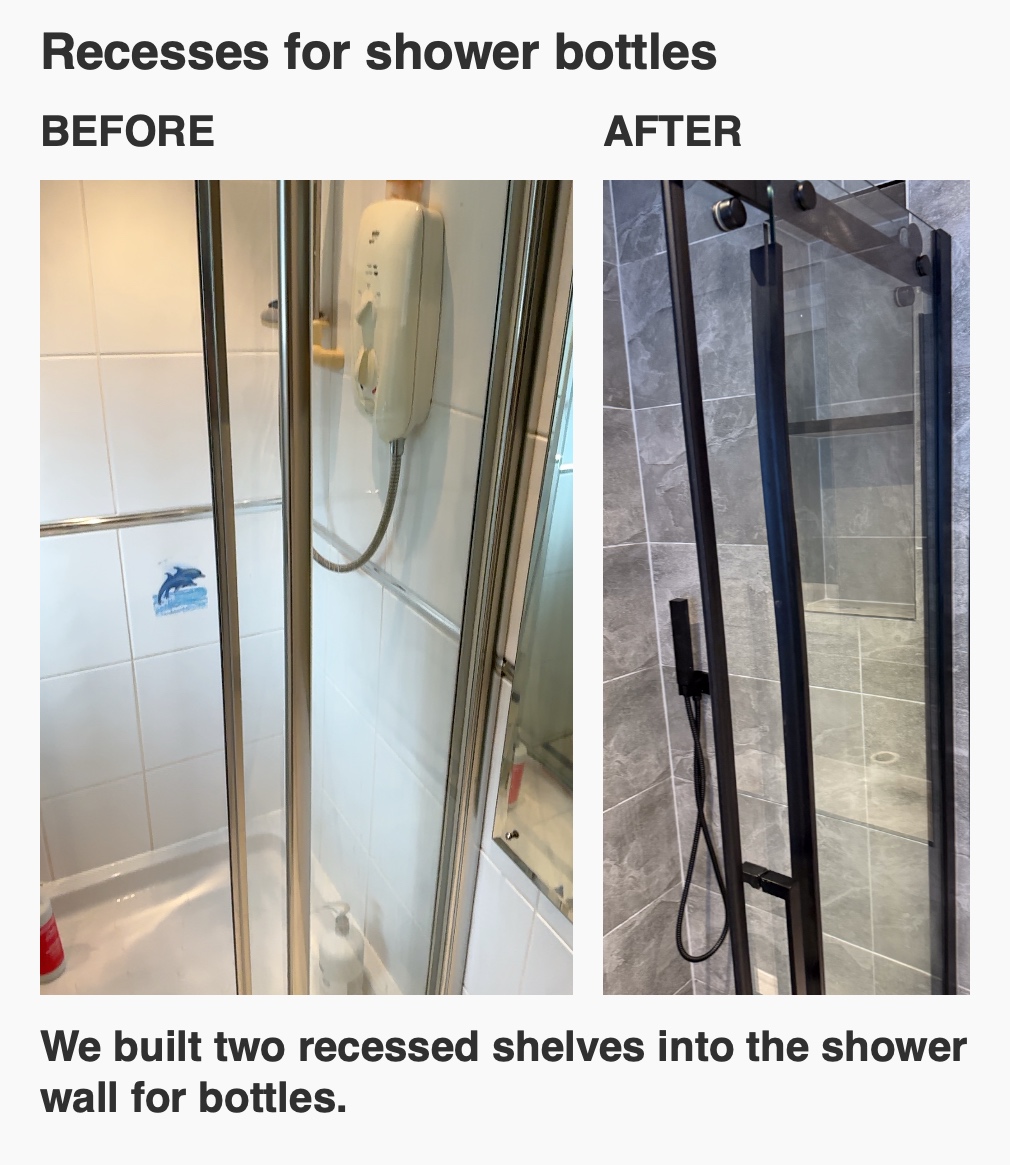
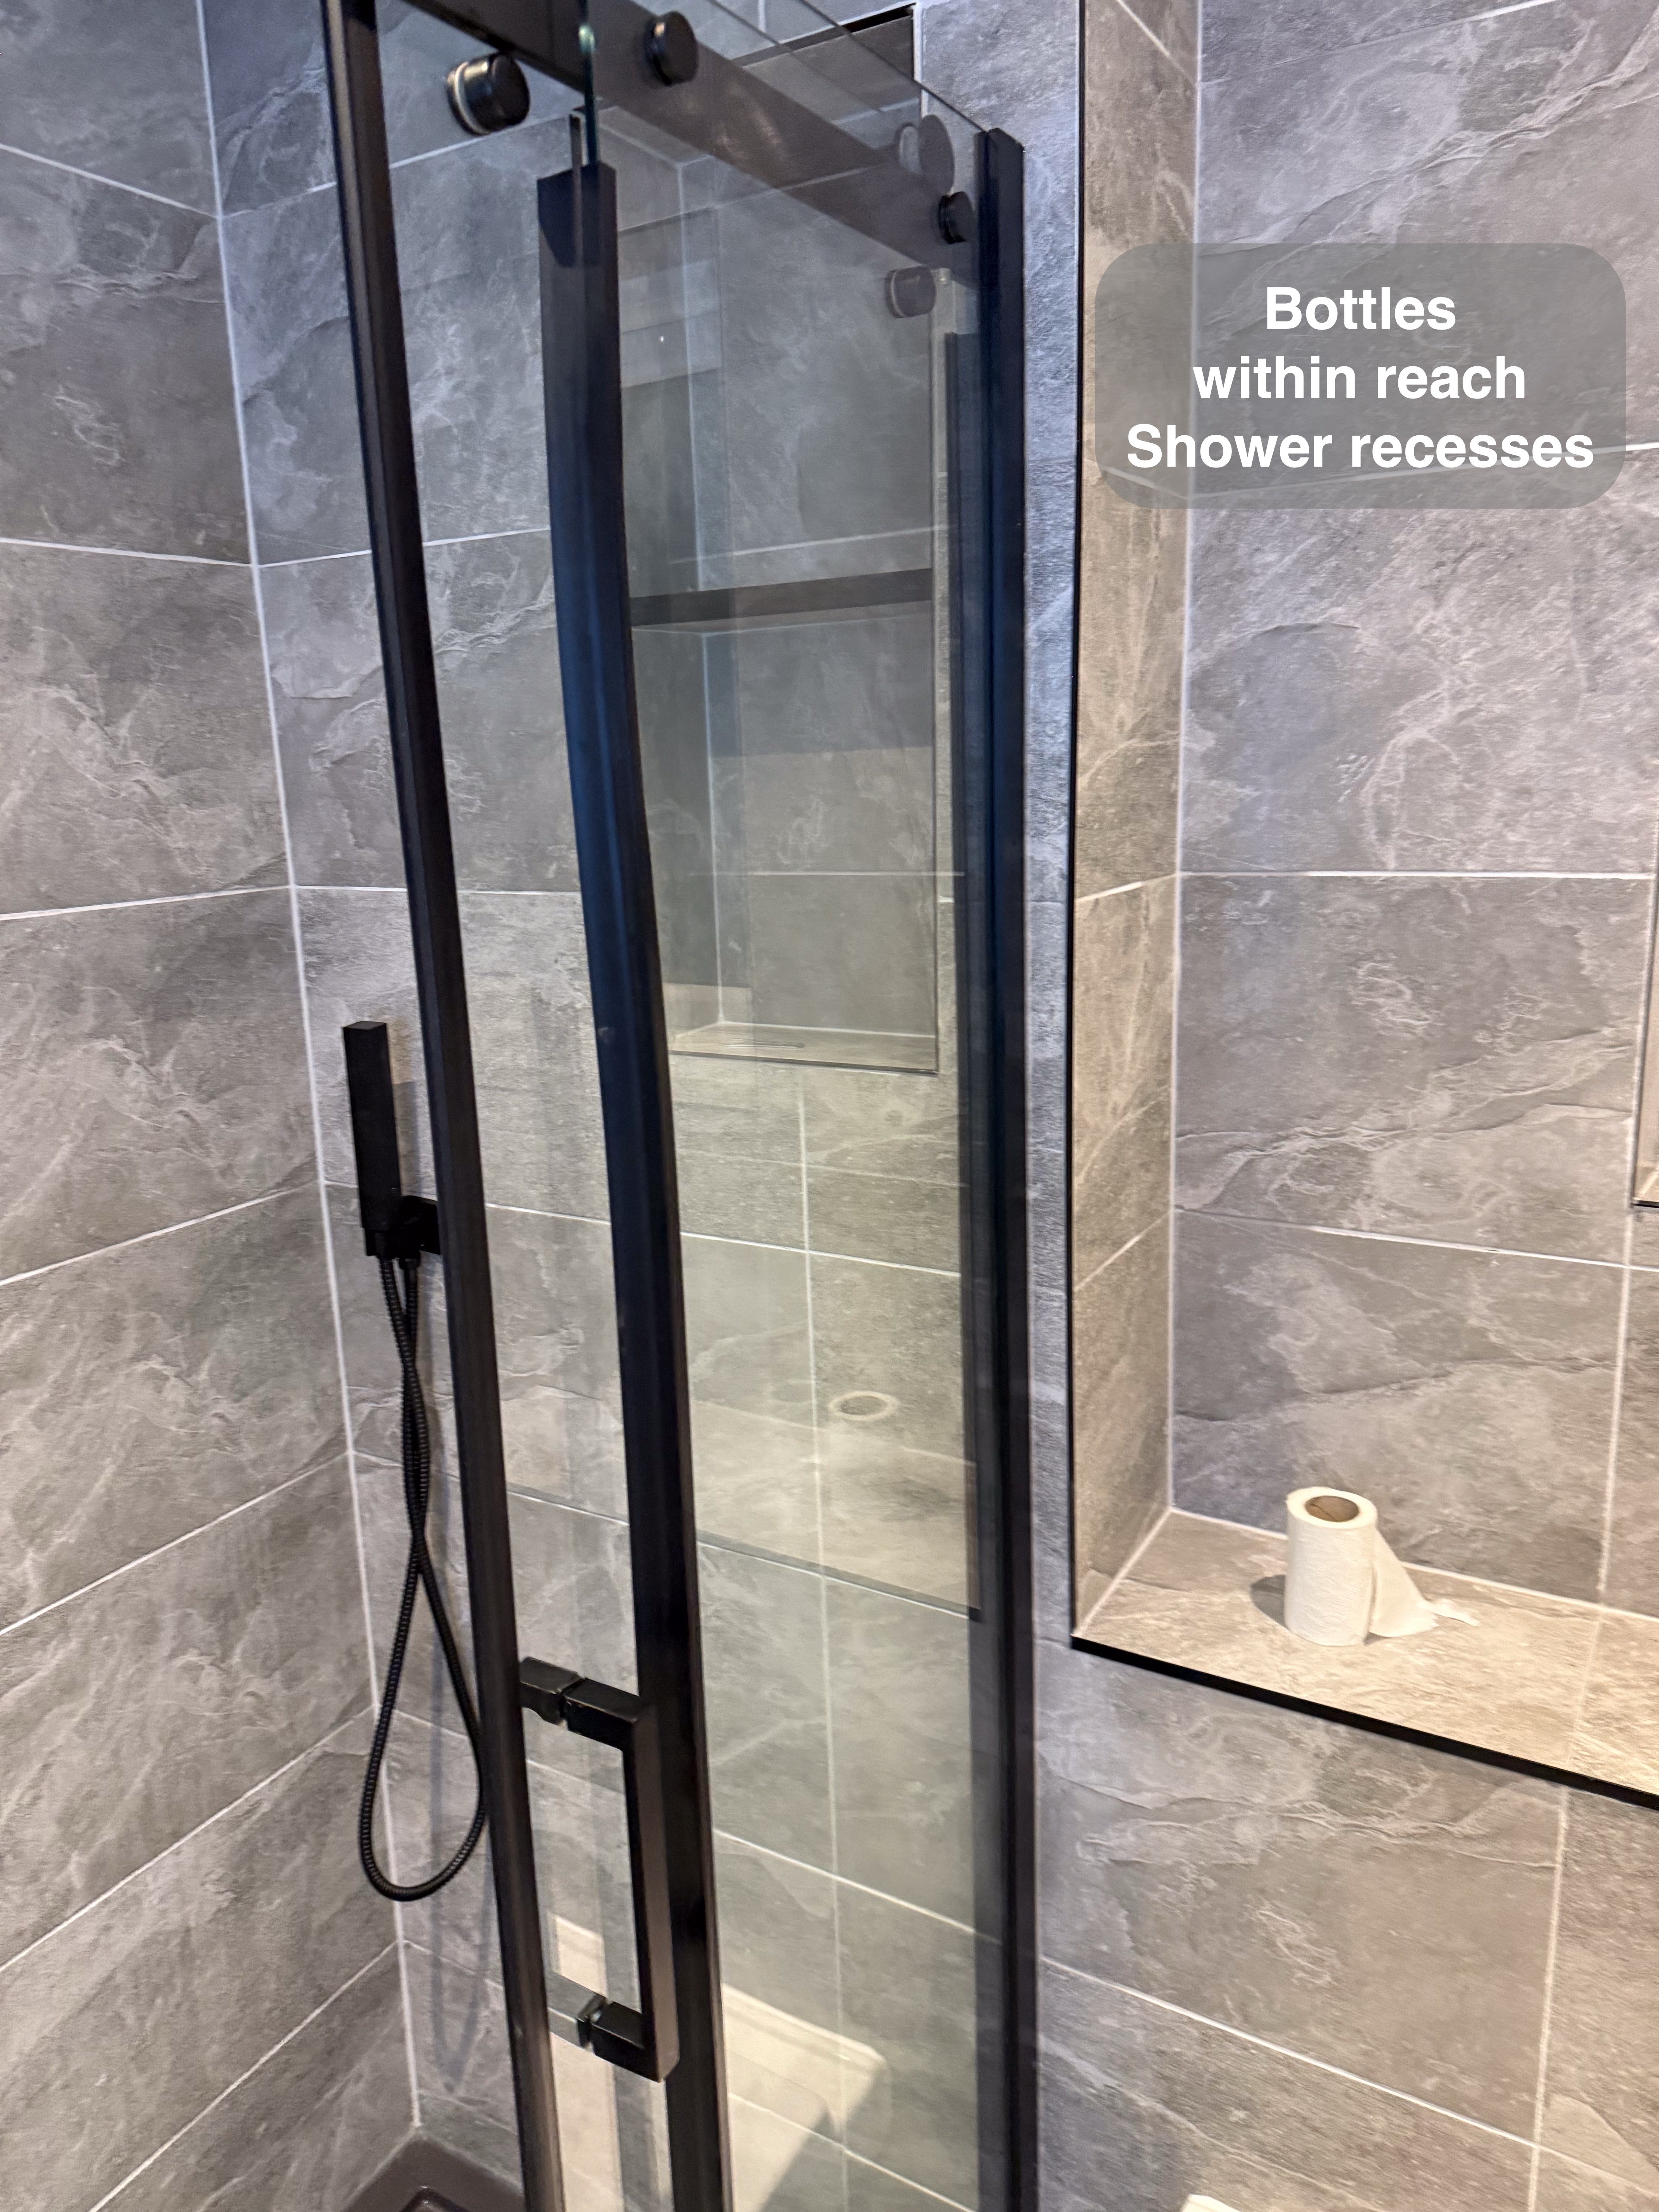
A consistent finish from wall to floor
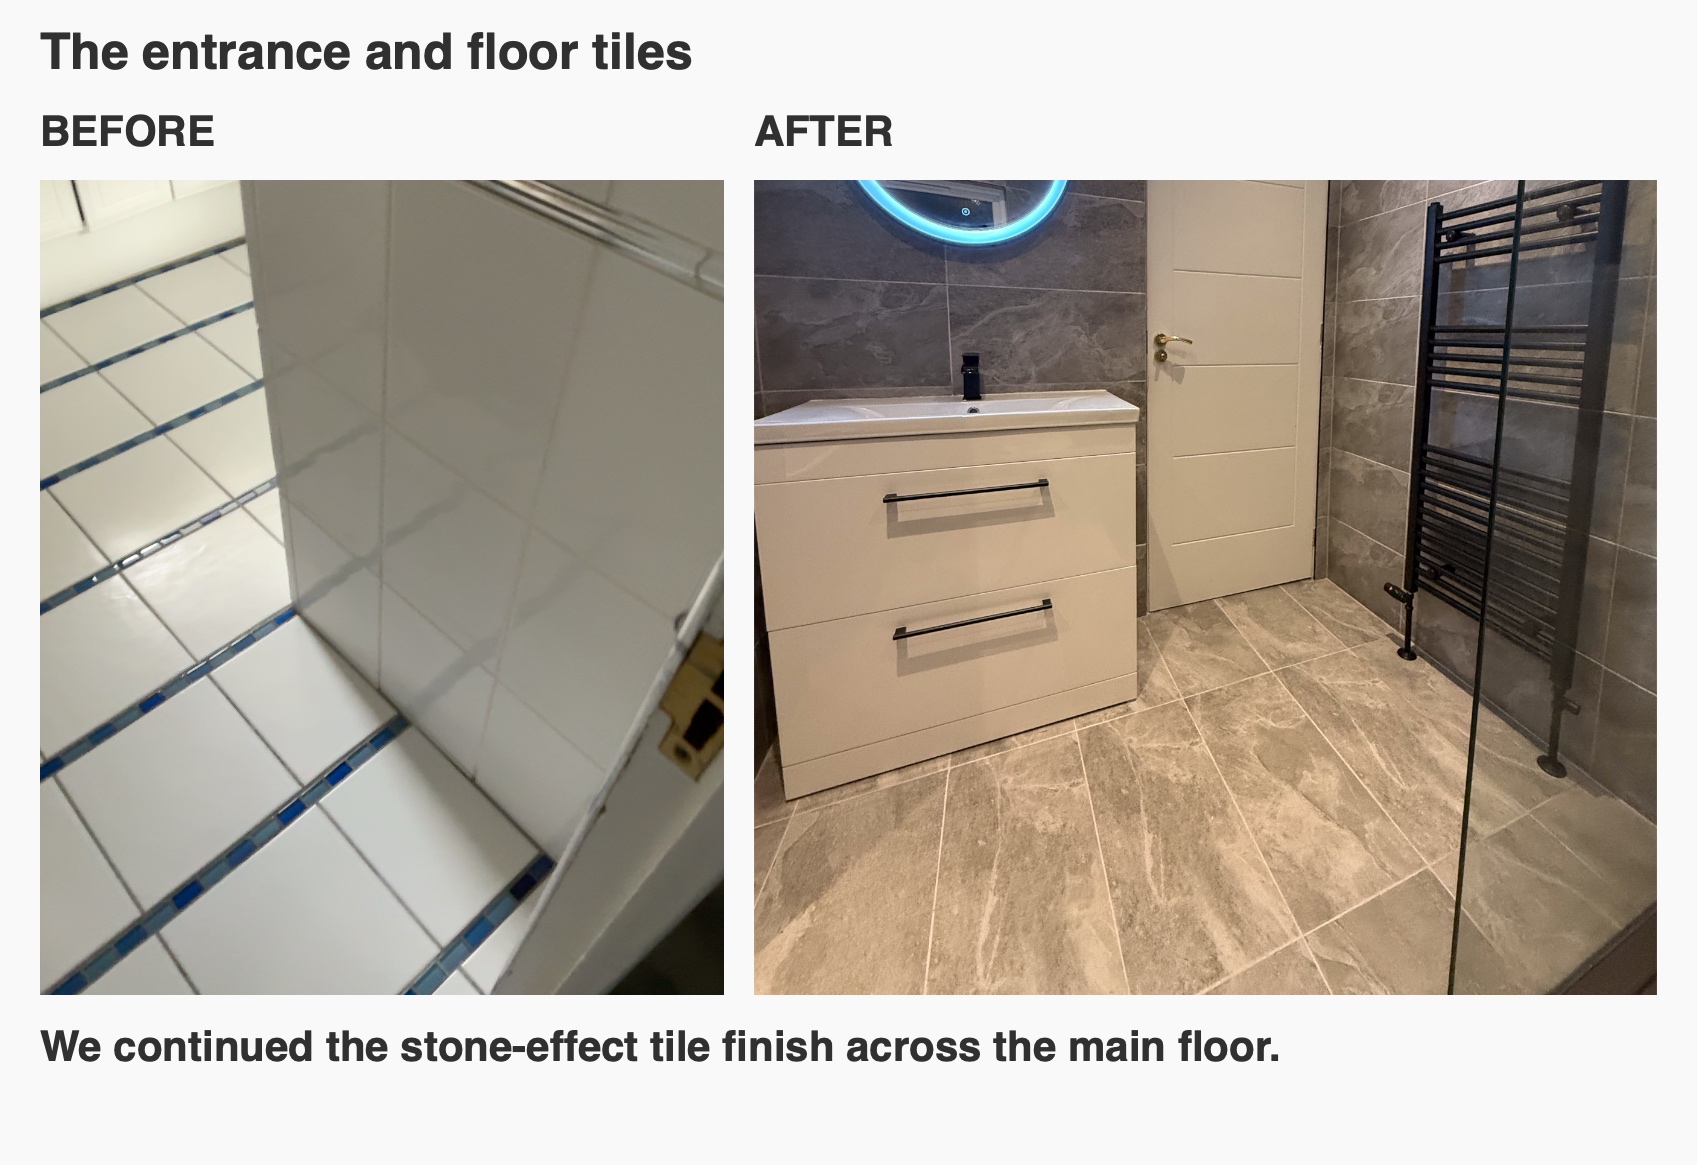
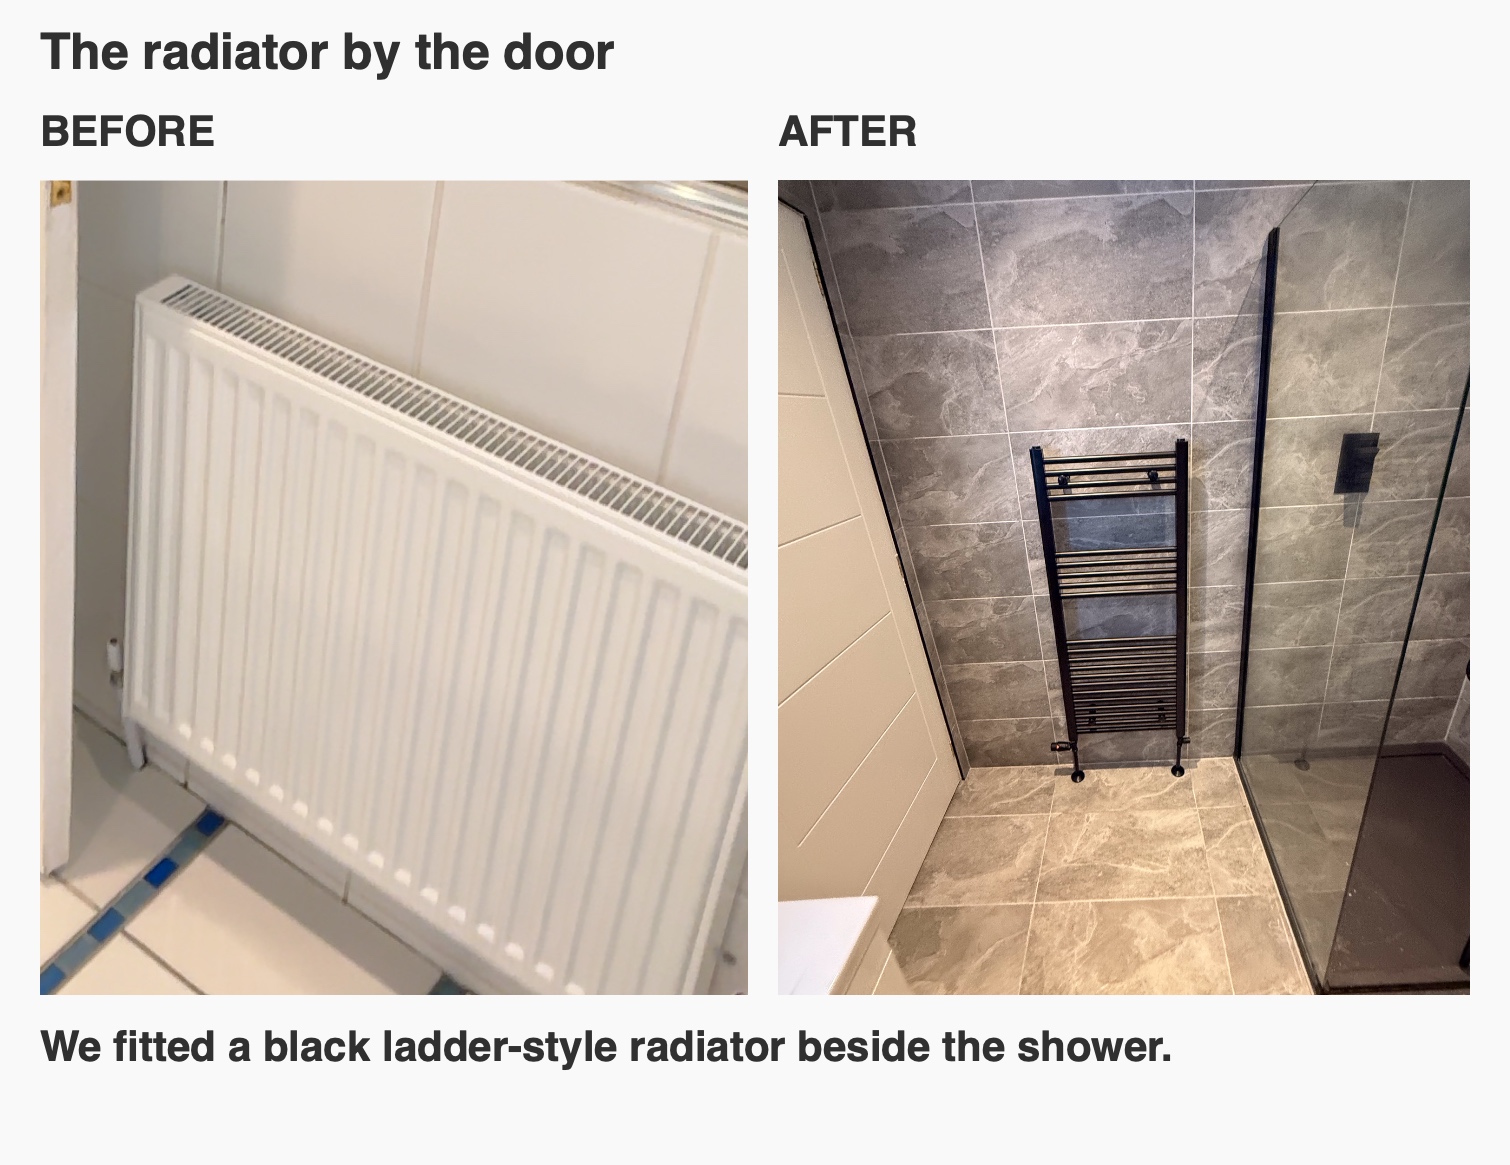
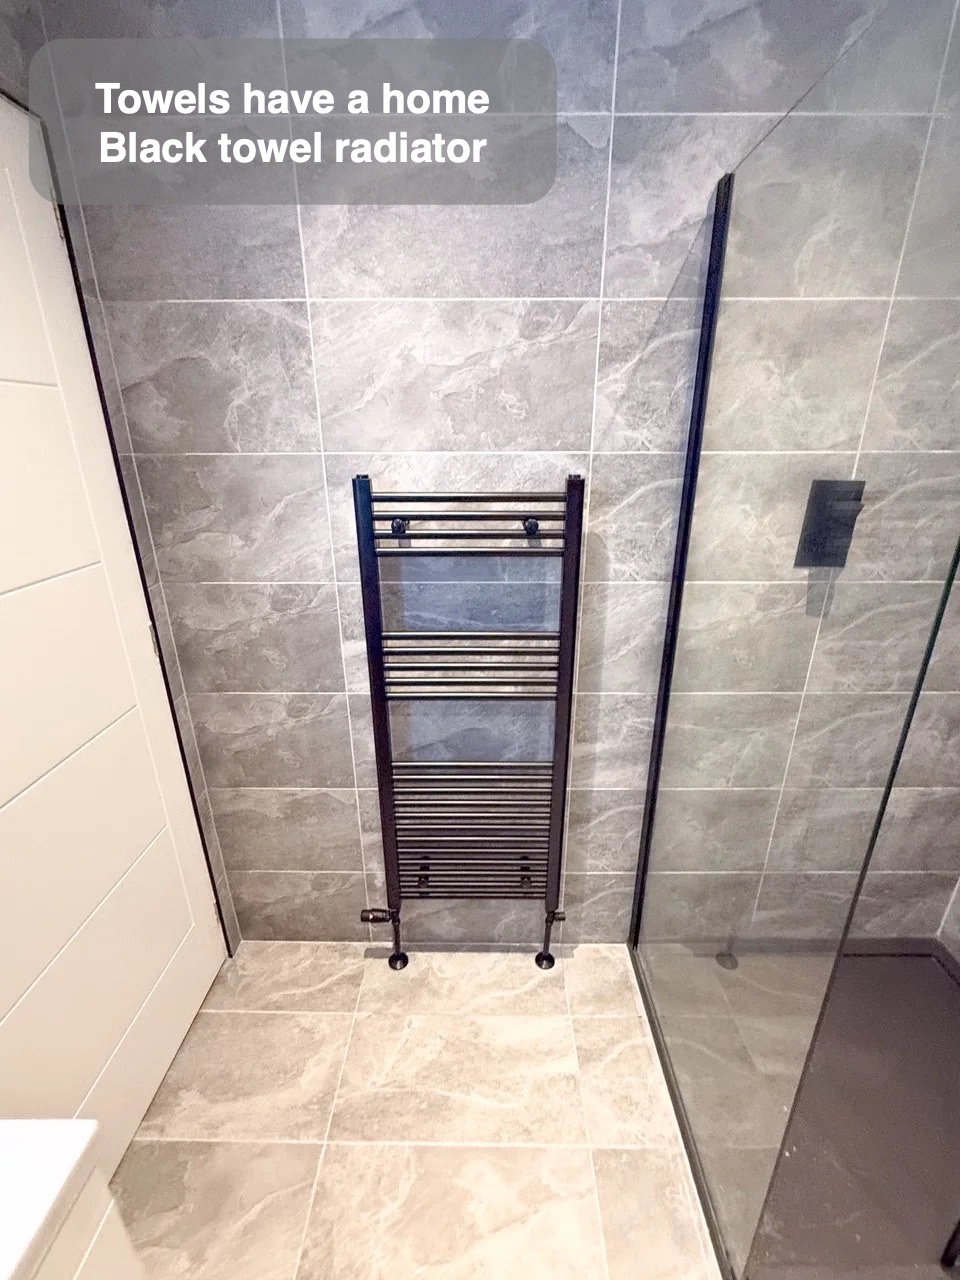
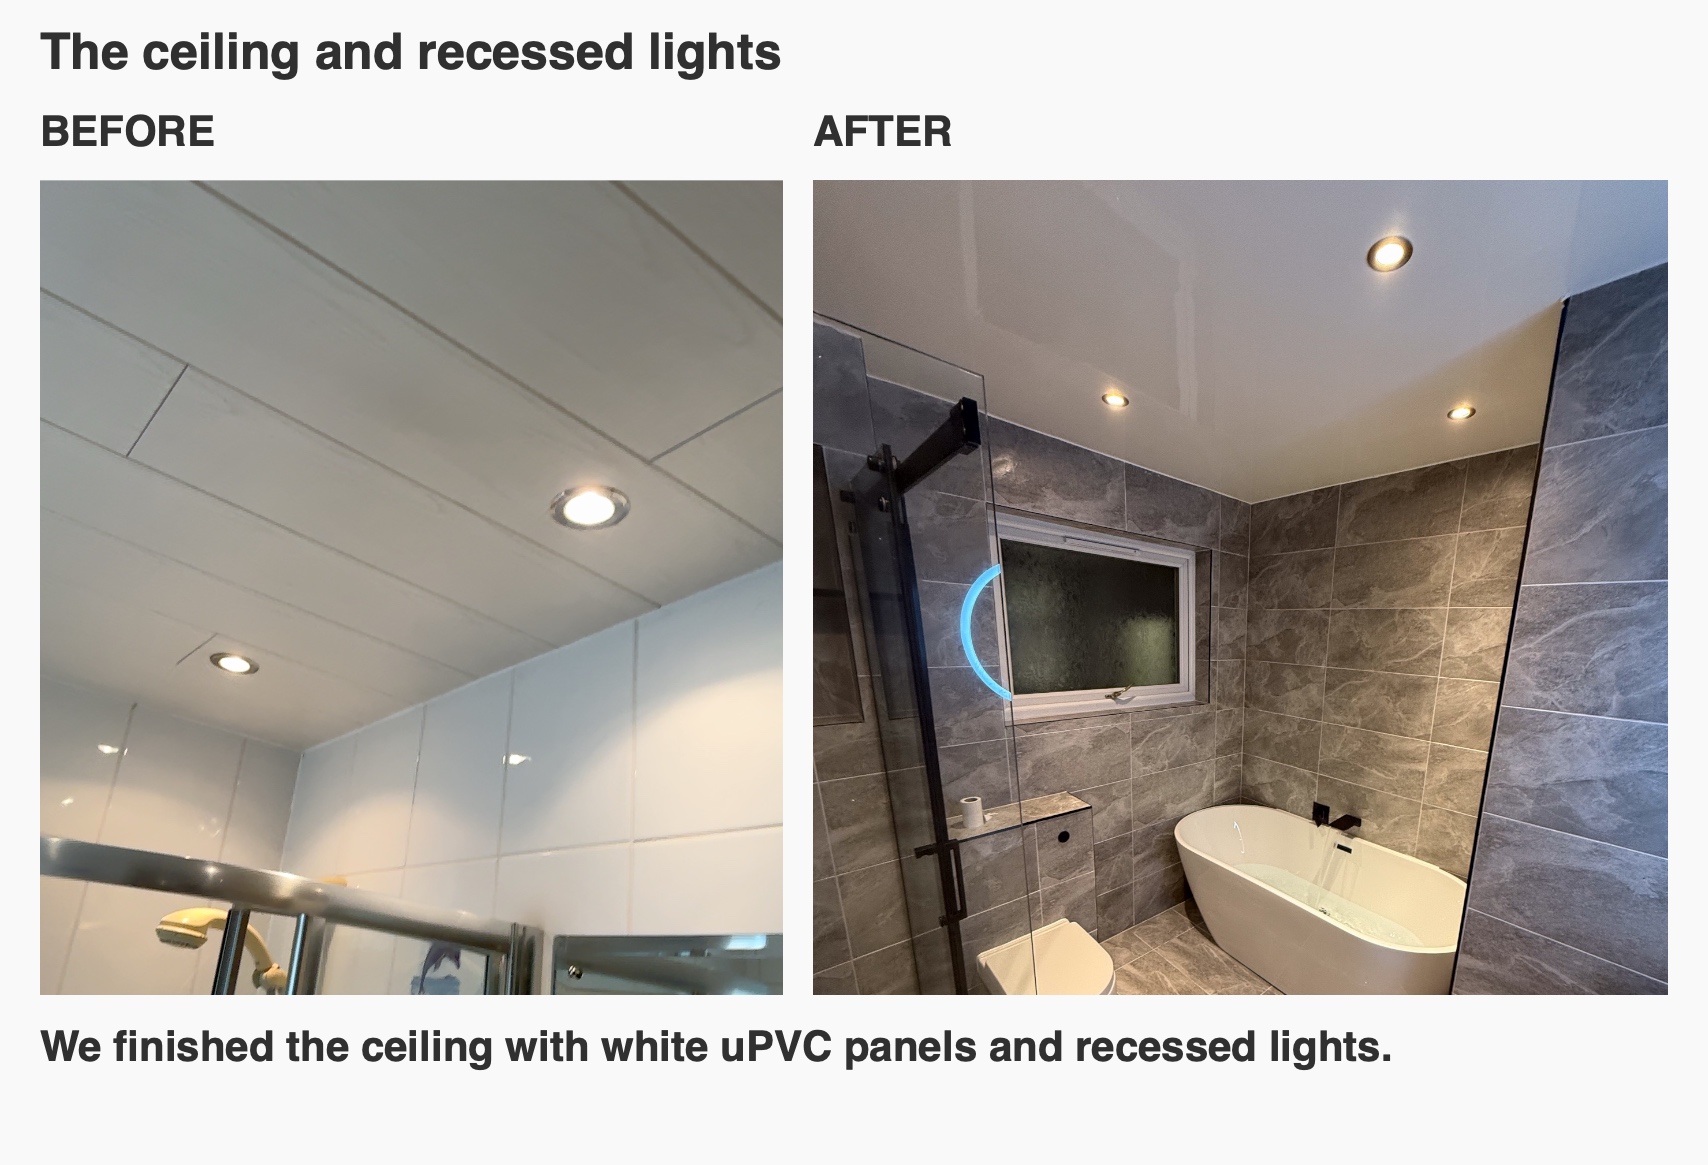
We had originally discussed painting part of the wall. Once the layout was settled, we agreed to tile throughout. The stone-effect finish runs across the main floor and around the new fittings, tying the basin, shower and bath together. We fitted a black ladder towel radiator beside the shower, so a towel can hang close to where it is needed. White uPVC ceiling panels and recessed lights finish the room above.
Project videos
If you're considering a bathroom refurbishment in Bridge of Don, we can visit to see what fits your room and talk through the layout with you. Book a quotation visit.
More projects you might like
A Bath and Separate Shower in Stonehaven
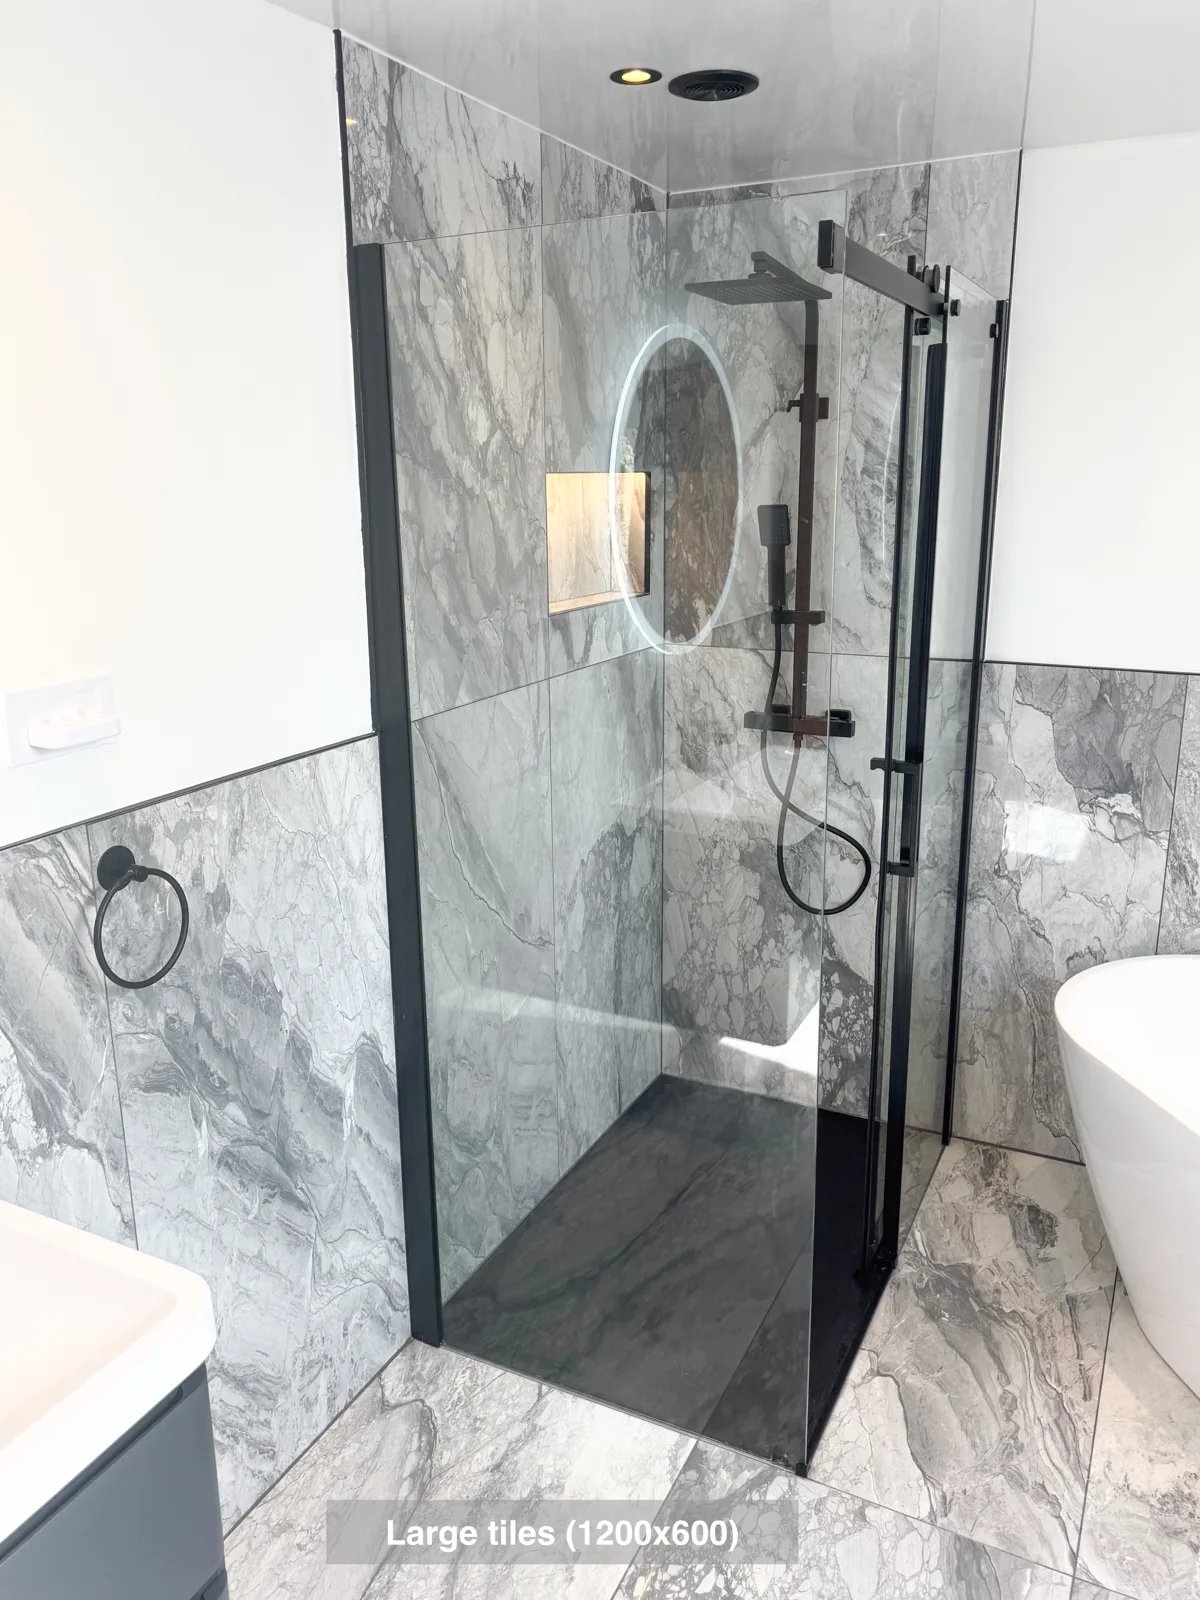
Reach the Velux window more easily, with the freestanding bath positioned at an angle to preserve access in the ensuite.
Bathroom West End, Aberdeen: the option of a bath
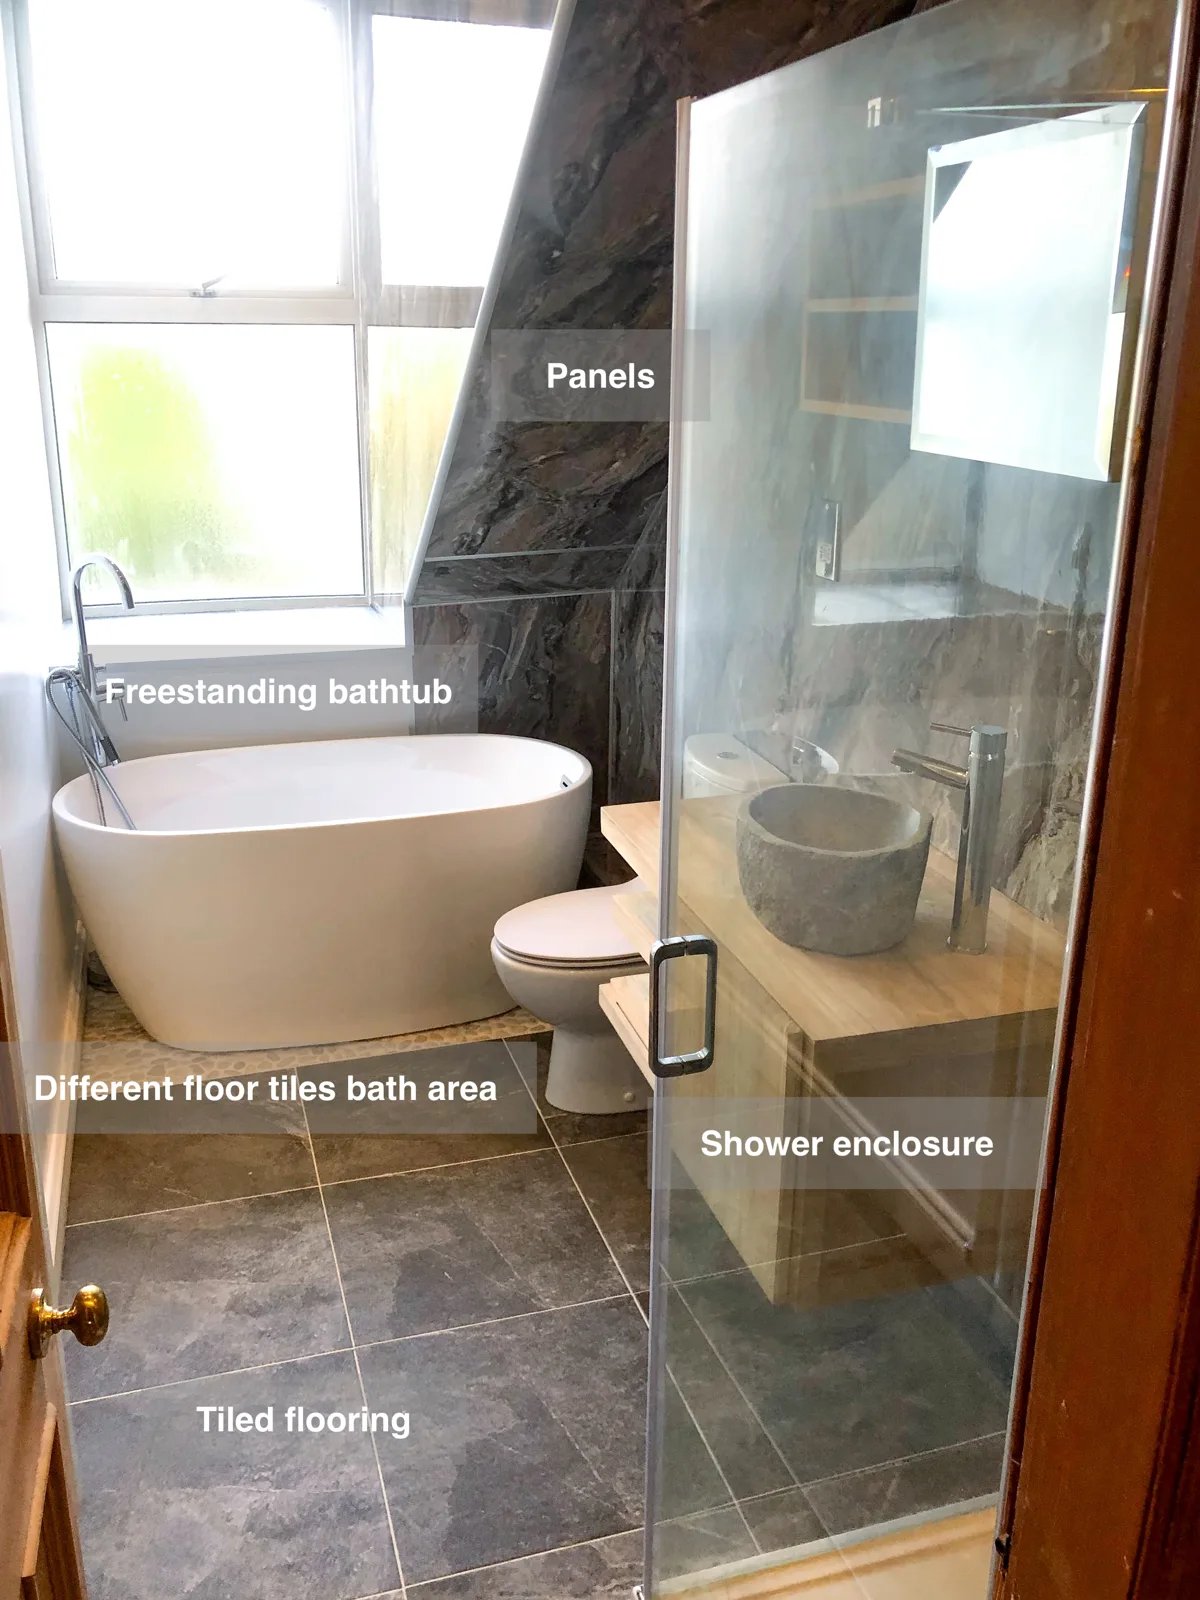
Choose between a separate shower and a freestanding bath, with both fitted into the bathroom alongside a wall-hung vanity unit.
Bathroom Cove: the option of a bath
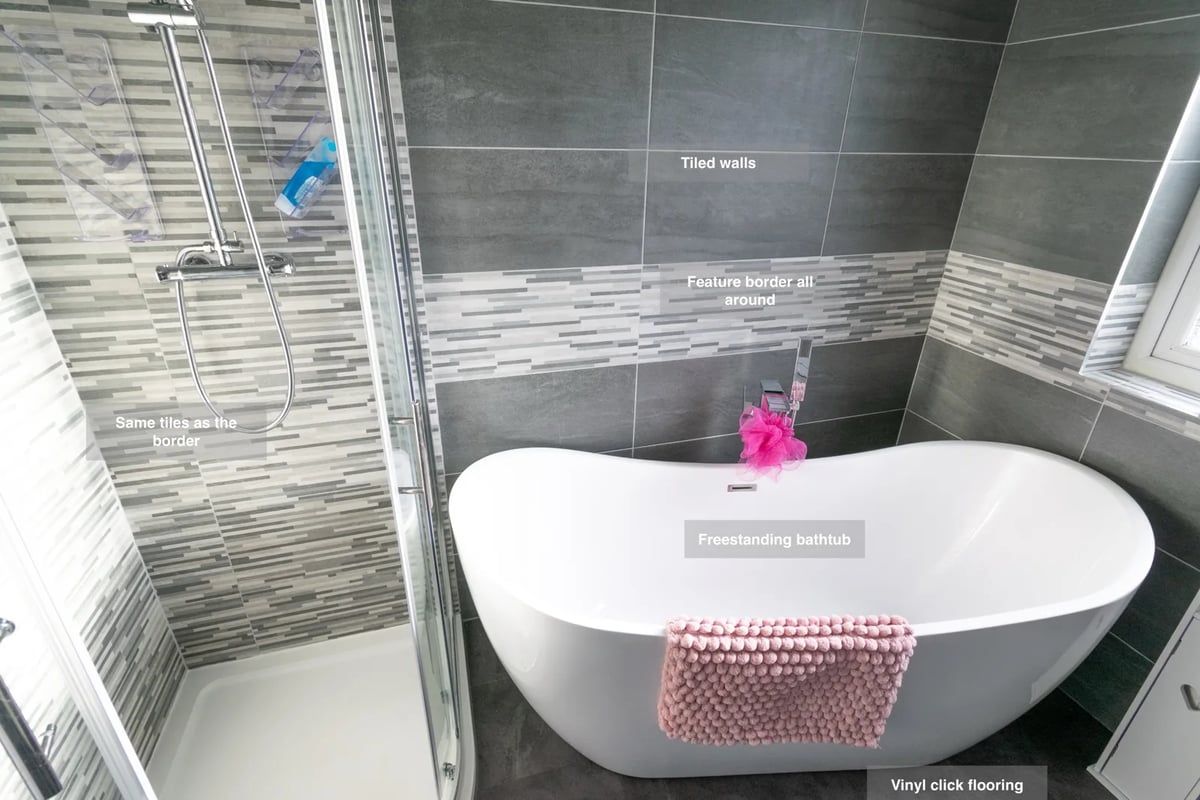
A separate shower enclosure and freestanding bathtub provide a choice between showering and bathing, offering flexibility for everyday washing routines.
Separate Bathing and Generous Storage in Bridge of Don, Aberdeen
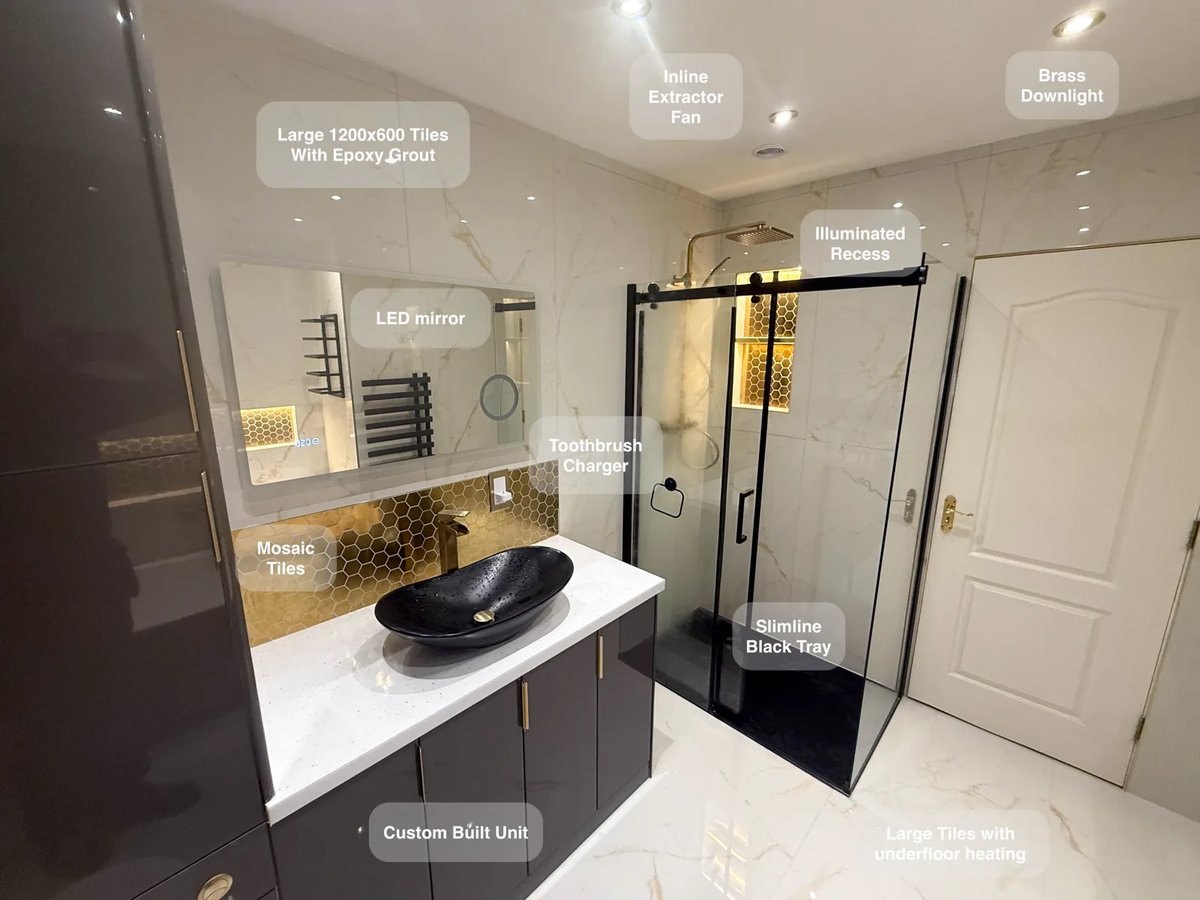
Large tiles with epoxy grout reduce the number of joints to clean, making everyday upkeep more manageable across the bathroom.